Introduction
The Twilio Segment integration does not currently support Unified Identity (Identity Resolution).
Integration modes
| Integration mode | Details |
|---|---|
| Side-by-side (Device mode) | Preferred mode of integration Device mode uses Segment’s SDK to send data directly to MoEngage. This allows access to deeper features and more comprehensive usage of MoEngage. |
| Server-to-server (Cloud mode) | Cloud mode forwards data from Segment servers directly to MoEngage Data APIs. Cloud mode is generally recommended for sending offline data to MoEngage. Limitations: Cloud mode does not support Push Notifications, In-app Messaging, On-site Messaging, Cards. You will need to install MoEngage SDKs separately to use these functionalities. |
Destination frameworks
MoEngage supports two type of destination frameworks- MoEngage Classic and MoEngage Actions. Refer to the table below to select the type of framework that best suits your needs.| Destination Frameworks > Integration Modes v | MoEngage Classic | MoEngage Actions |
|---|---|---|
| Device Mode | Recommended | N/A |
| Cloud Mode | To be deprecated by Dec 2025 | Recommended |
Integration
- Login credentials for MoEngage and Segment.
- Installed source and Segment source libraries—The origin of any data sent into Segment, such as mobile apps, websites, or backend servers. You must install the libraries into your app, site, or server before being able to set up a successful
Source > Destinationflow.
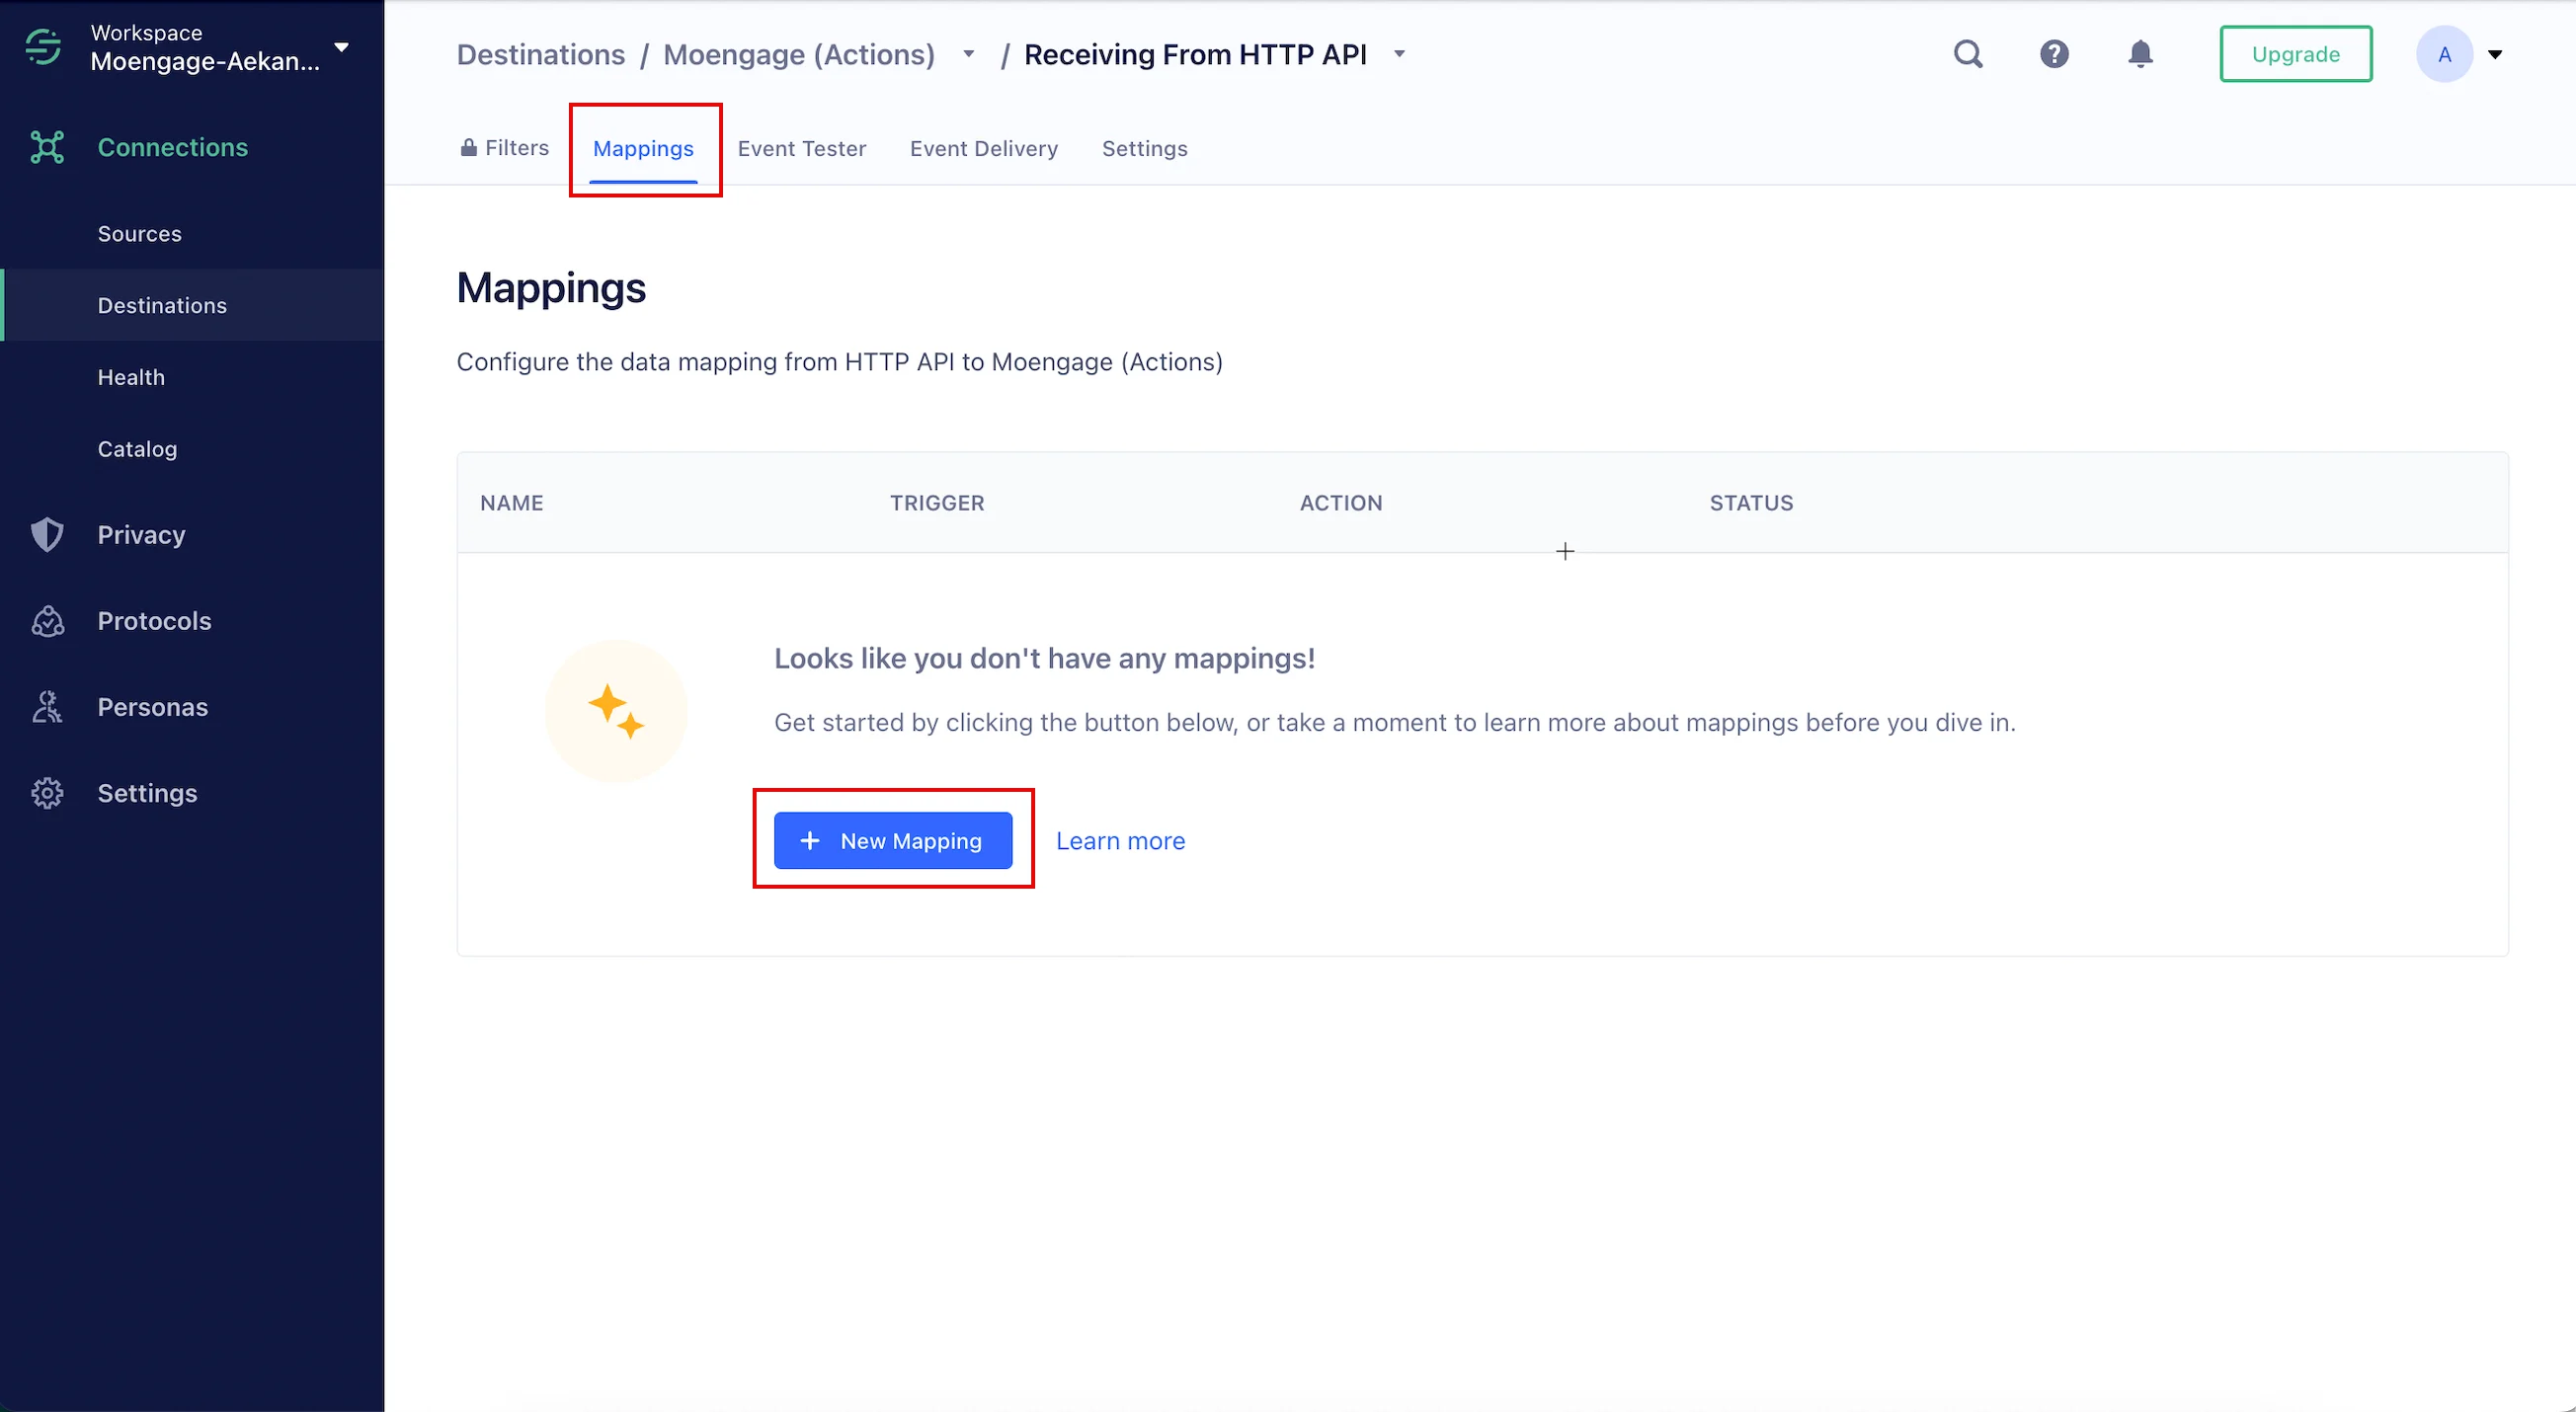
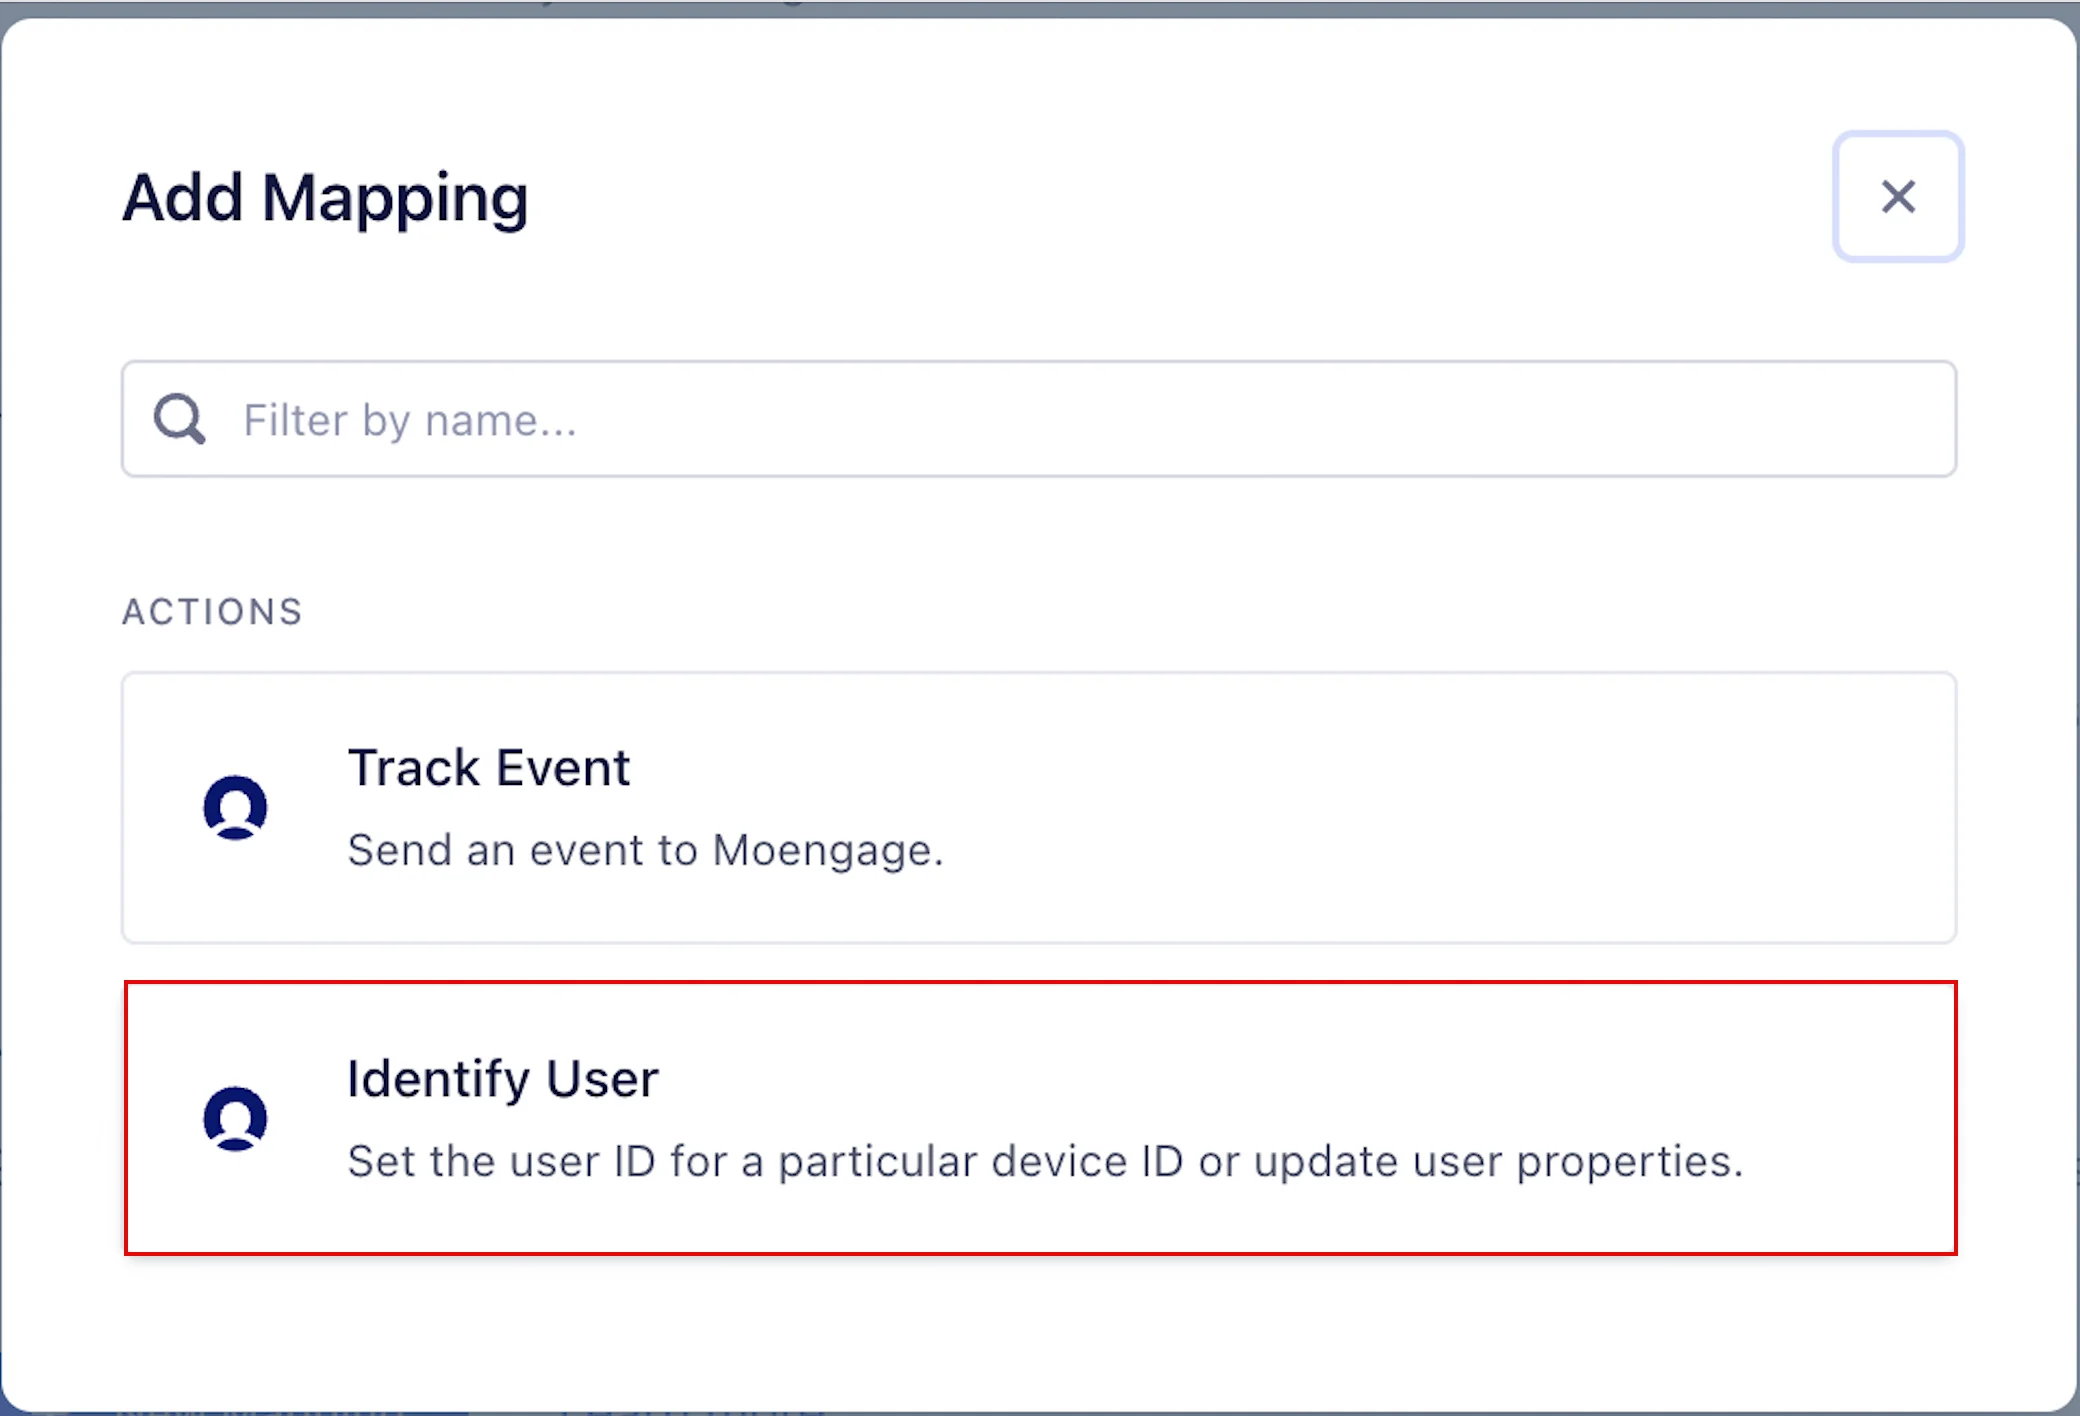
Step 1: Add MoEngage as the Destination
After your sources are successfully configured, you must establish MoEngage as a destination. The connection settings offer numerous ways to customize how data moves between MoEngage and Segment. To add MoEngage as the destination, perform the following steps:- Log in to your Segment App.
- On the left navigation menu in the Segment dashboard, click Connections > Destinations.
- Click + Add destination.
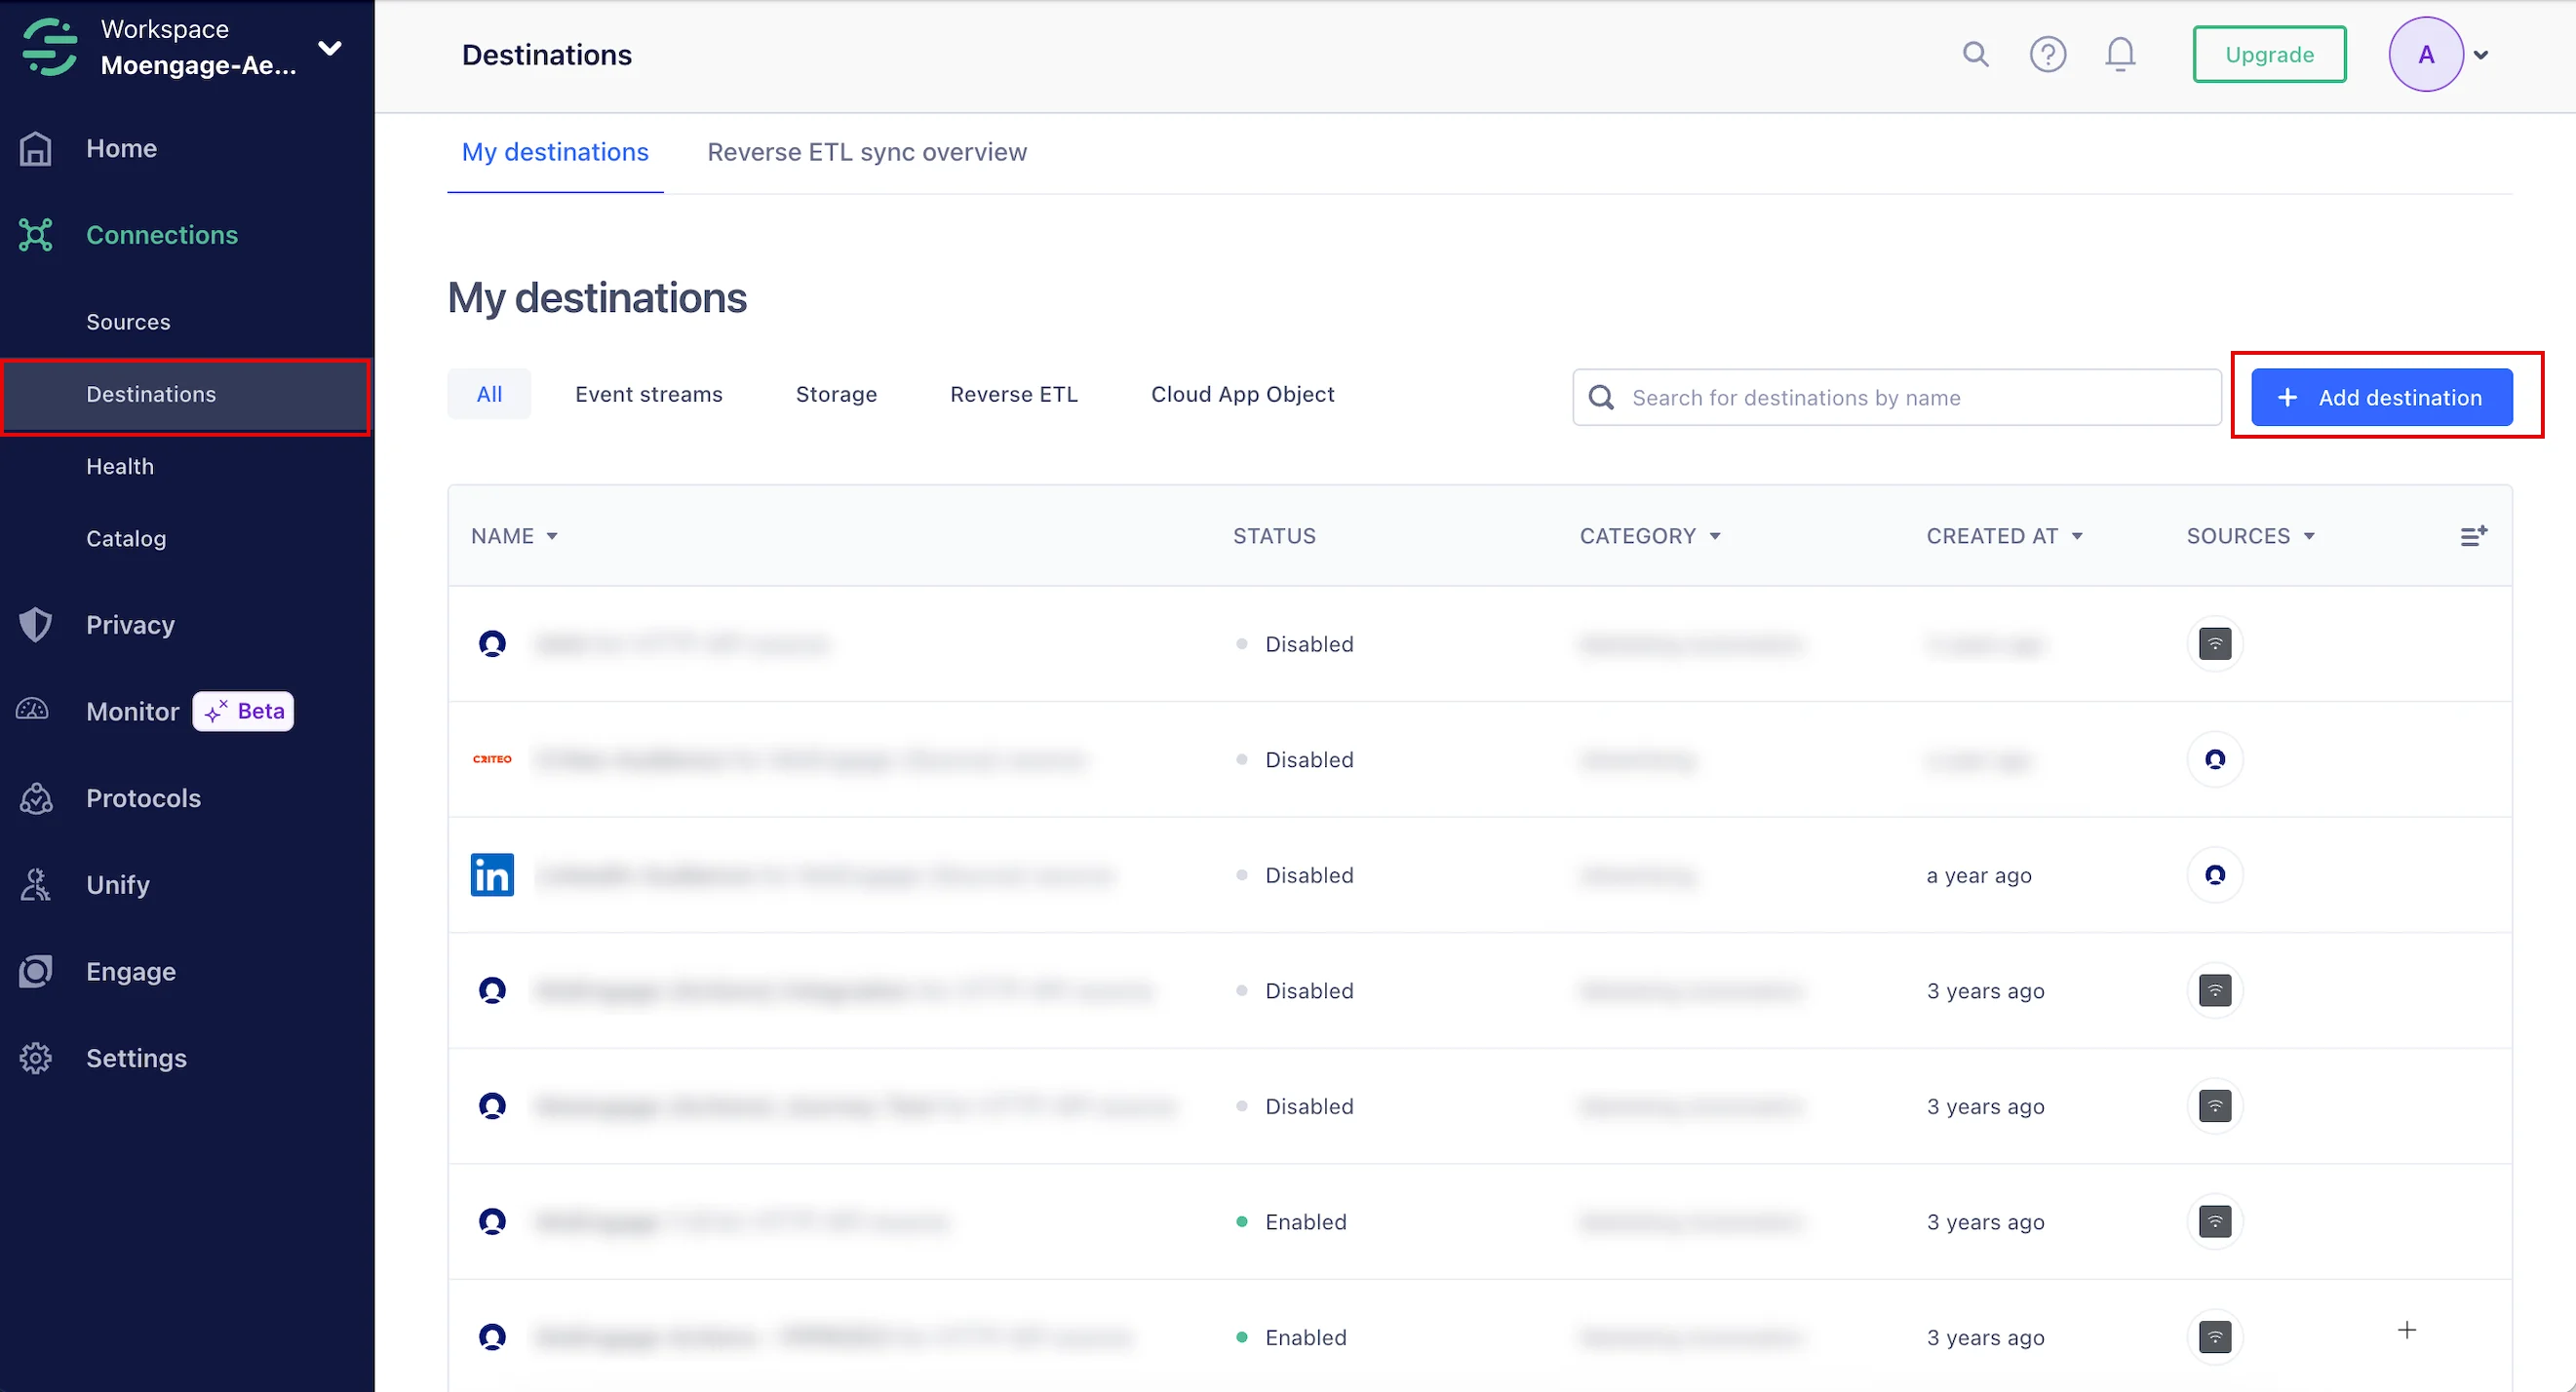
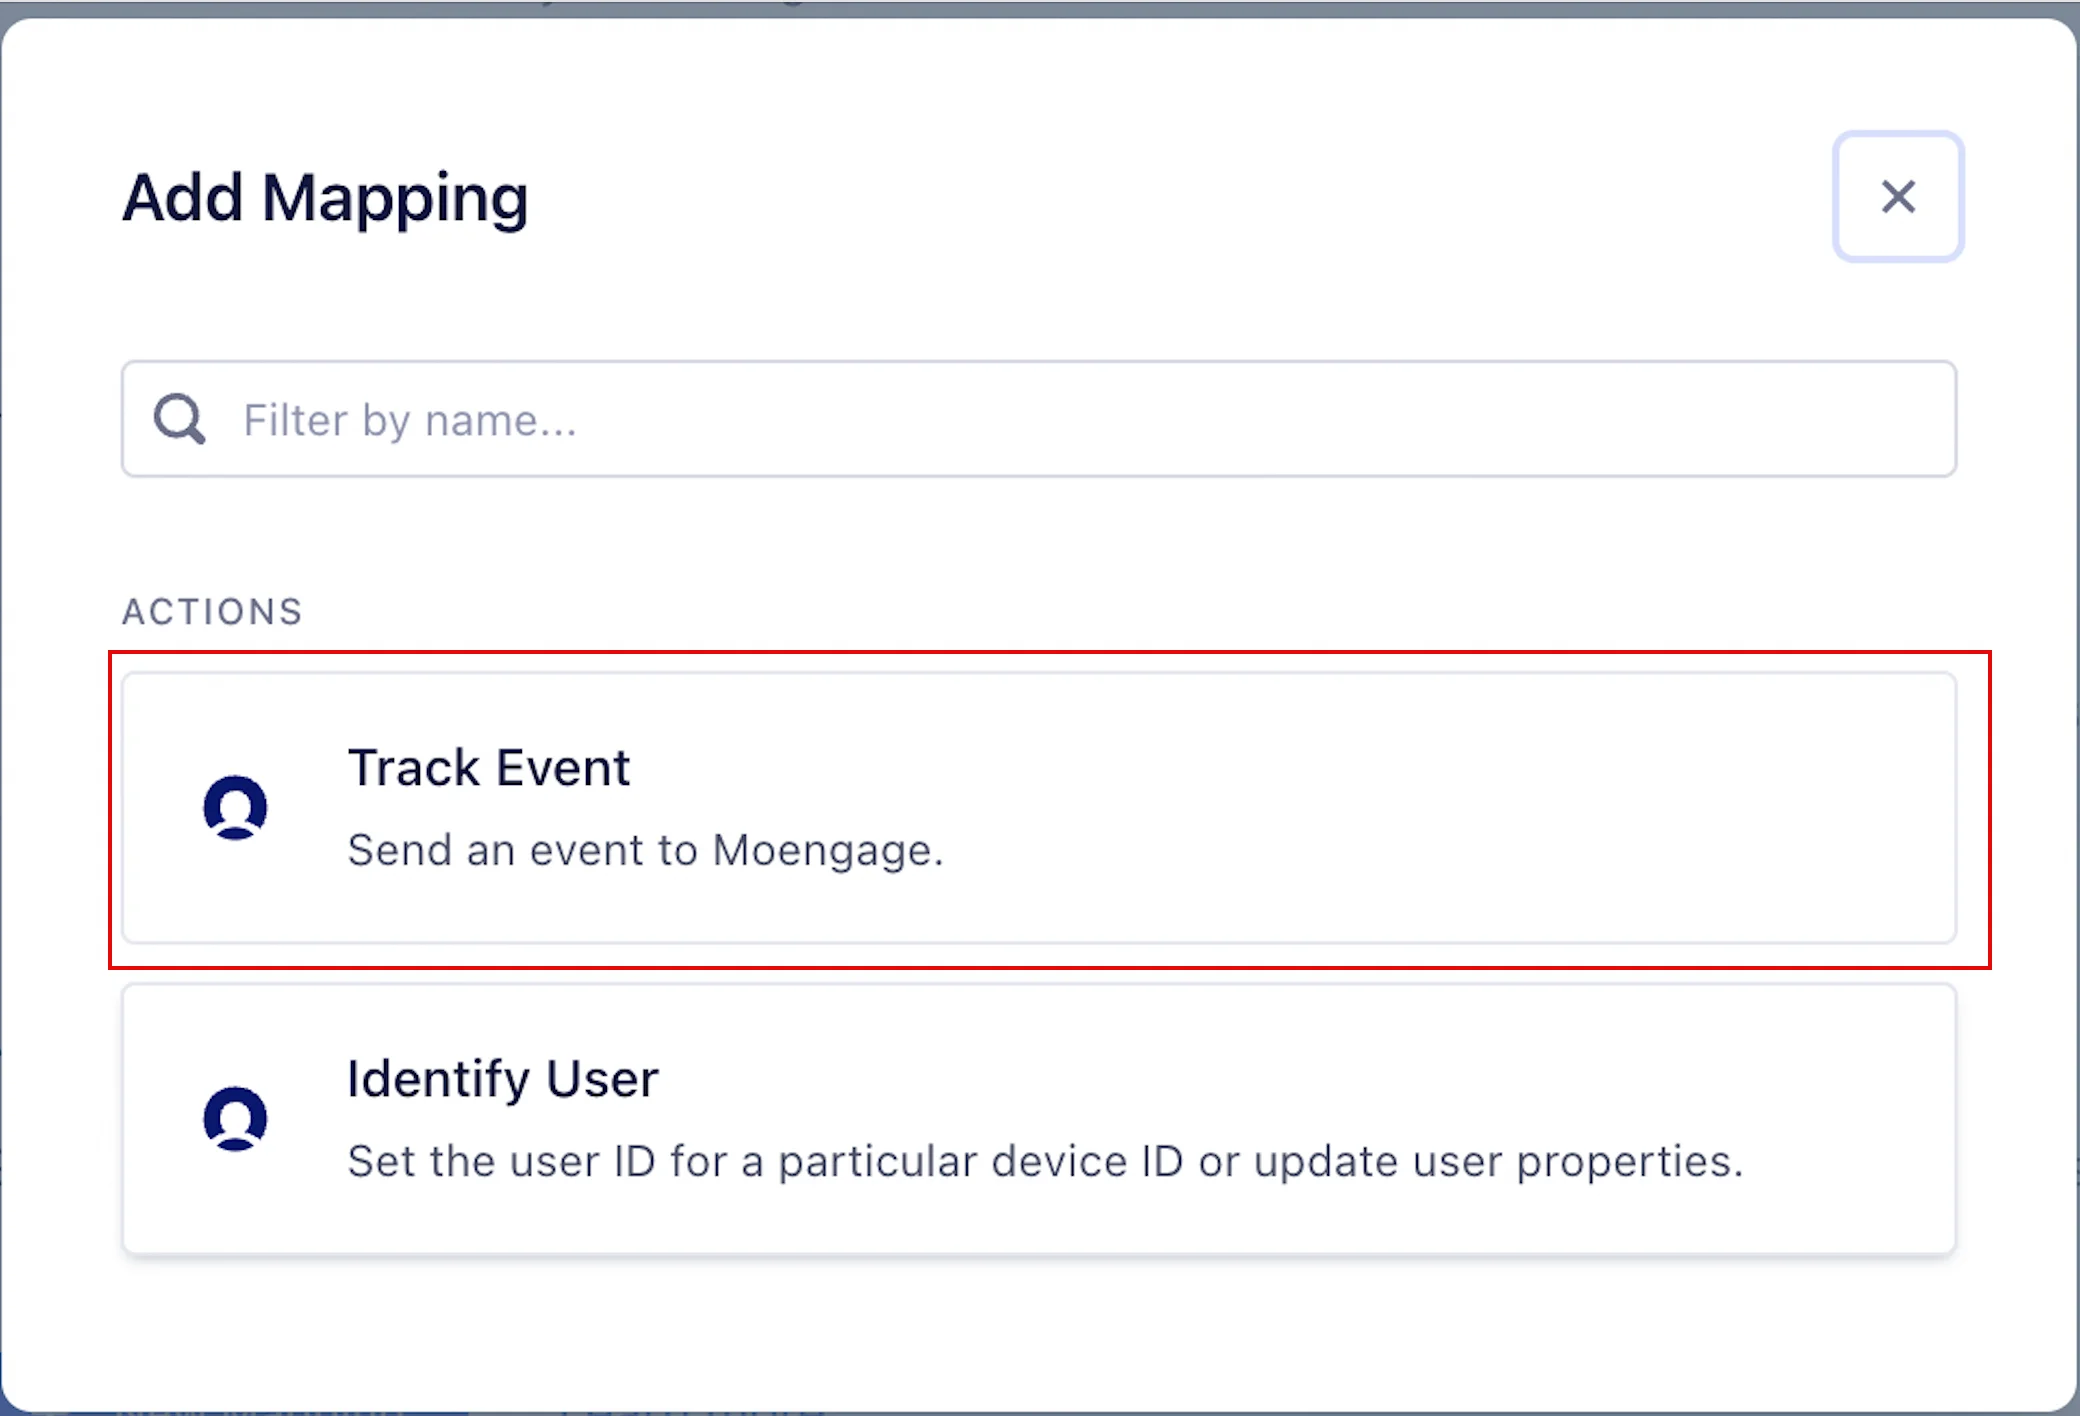
- Under Destinations , you can select MoEngage and MoEngage (Actions) based on your preferred destination.
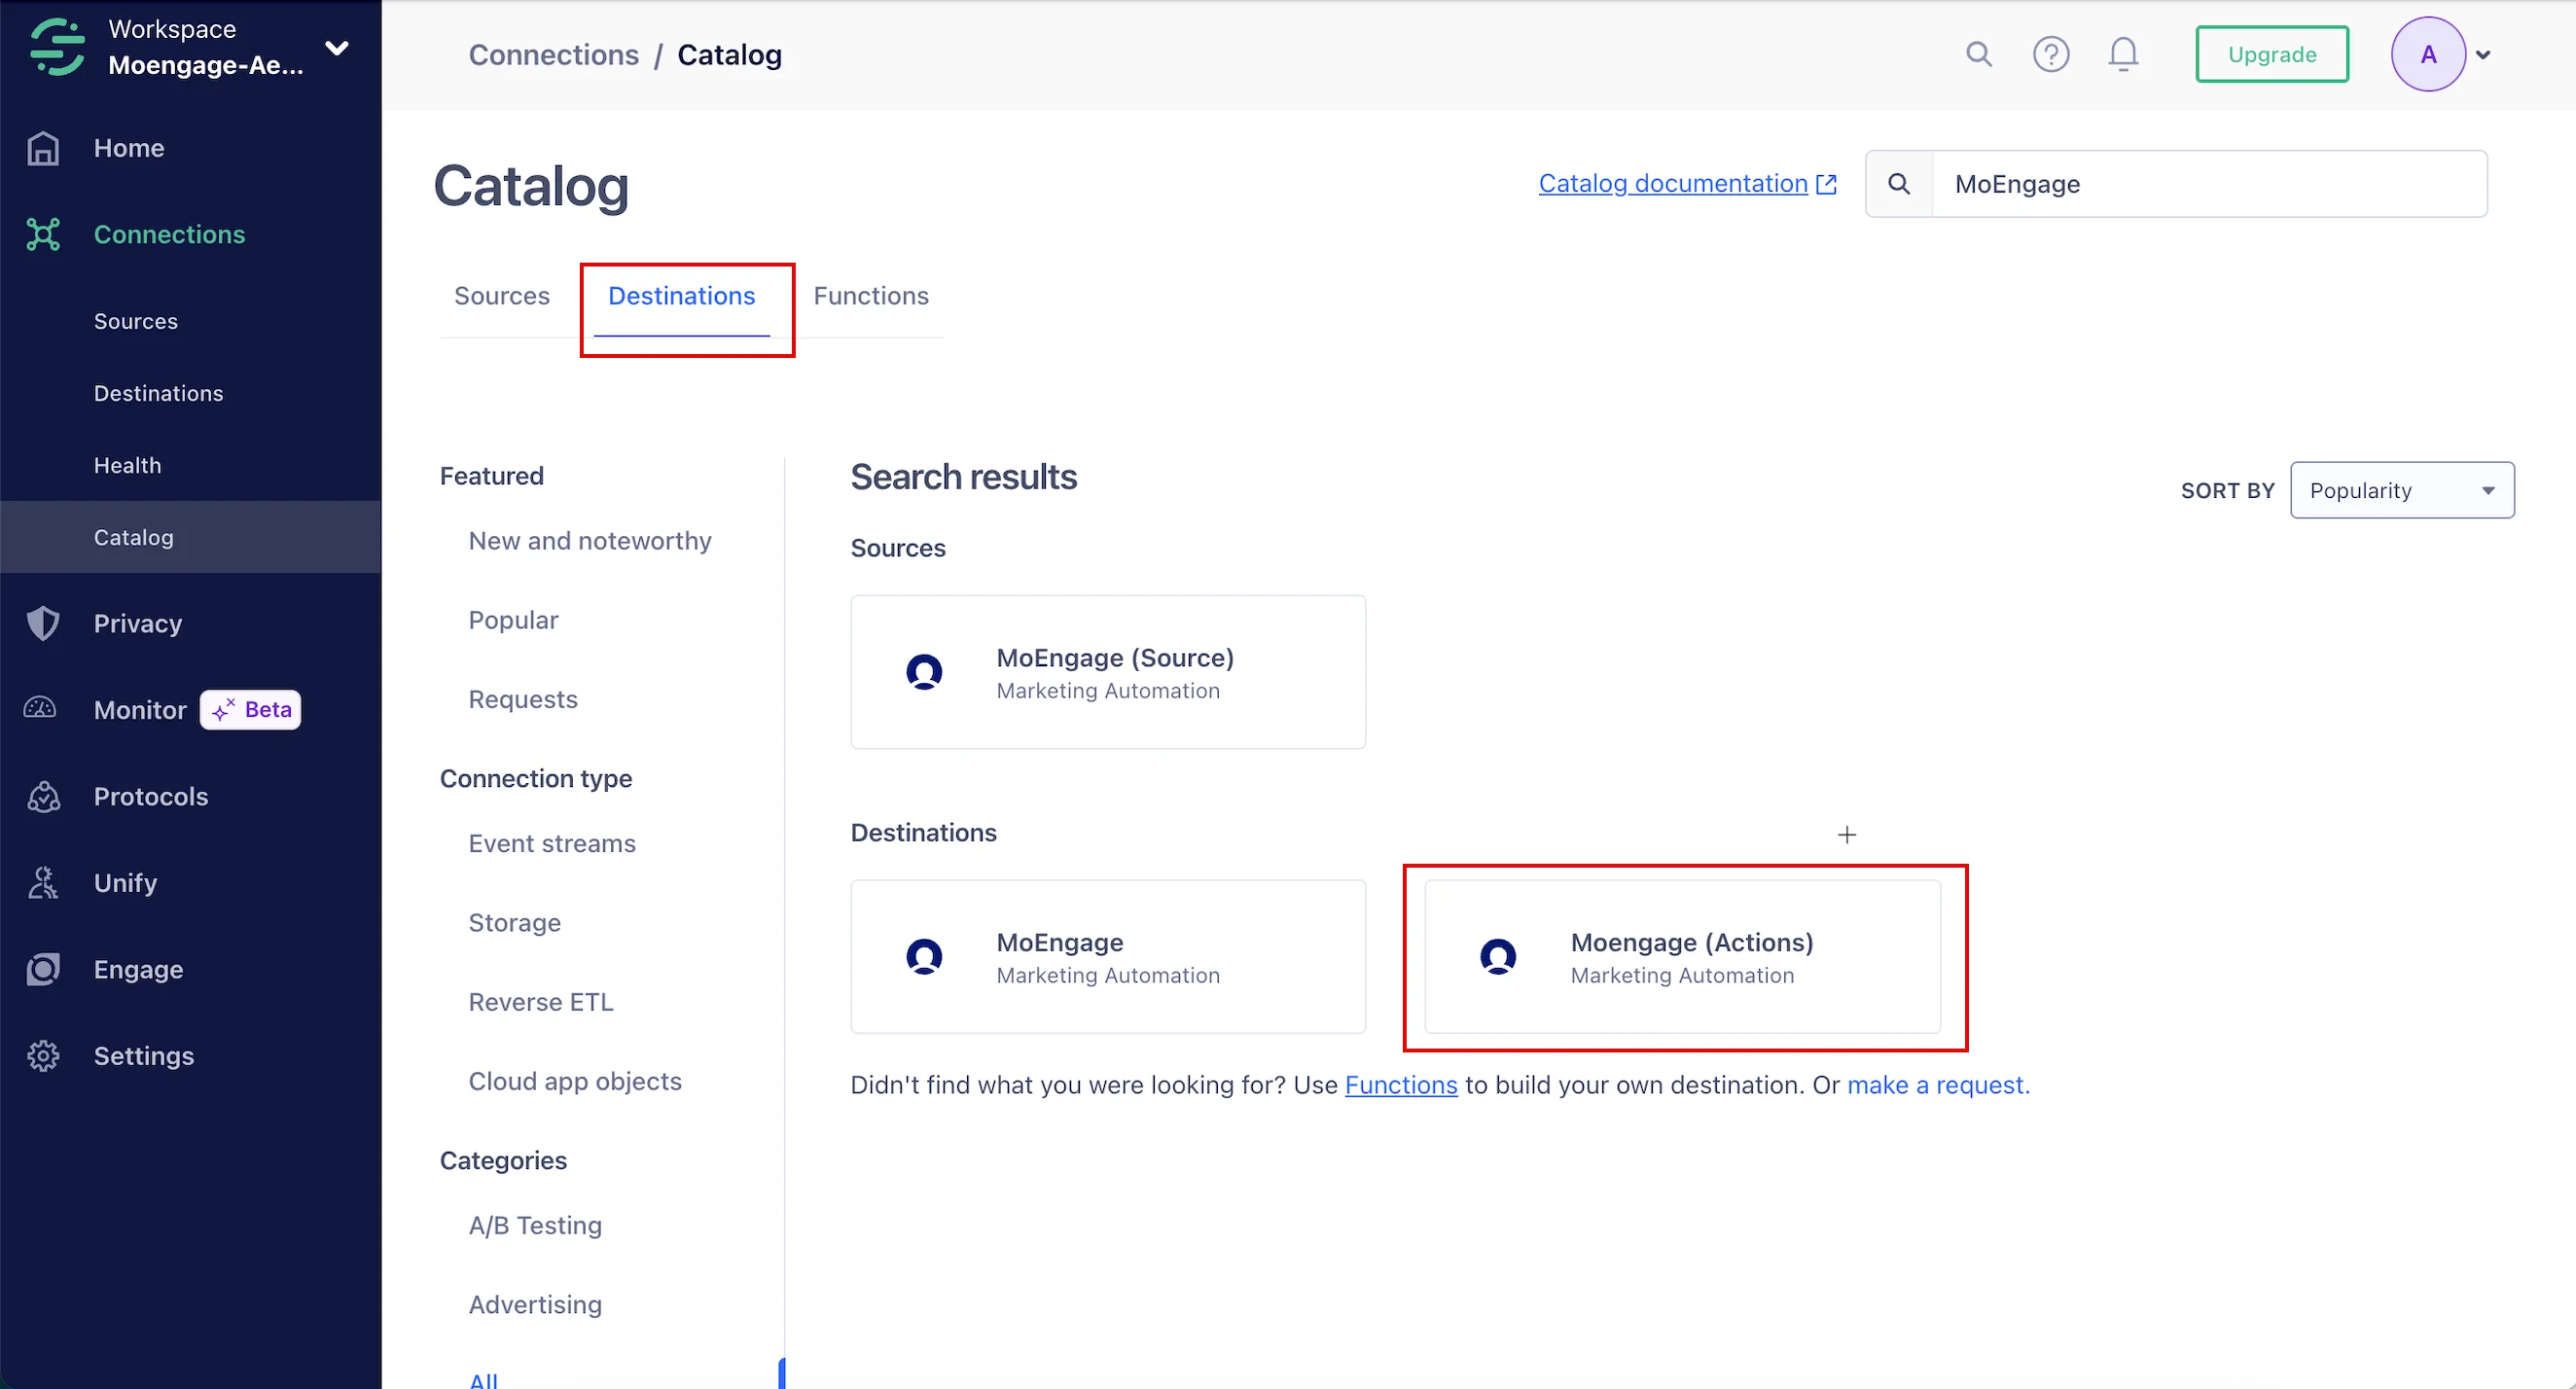
- MoEngage (Classic)
- MoEngage (Actions)
MoEngage (Classic)
The MoEngage or “MoEngage (Classic)” Destination allows you to forward Users and Events data from Segment using either Segment’s Device mode or Cloud mode. To set up MoEngage:- On the MoEngage Destination page, click Add Destination.
- Select Data Source and click Next.
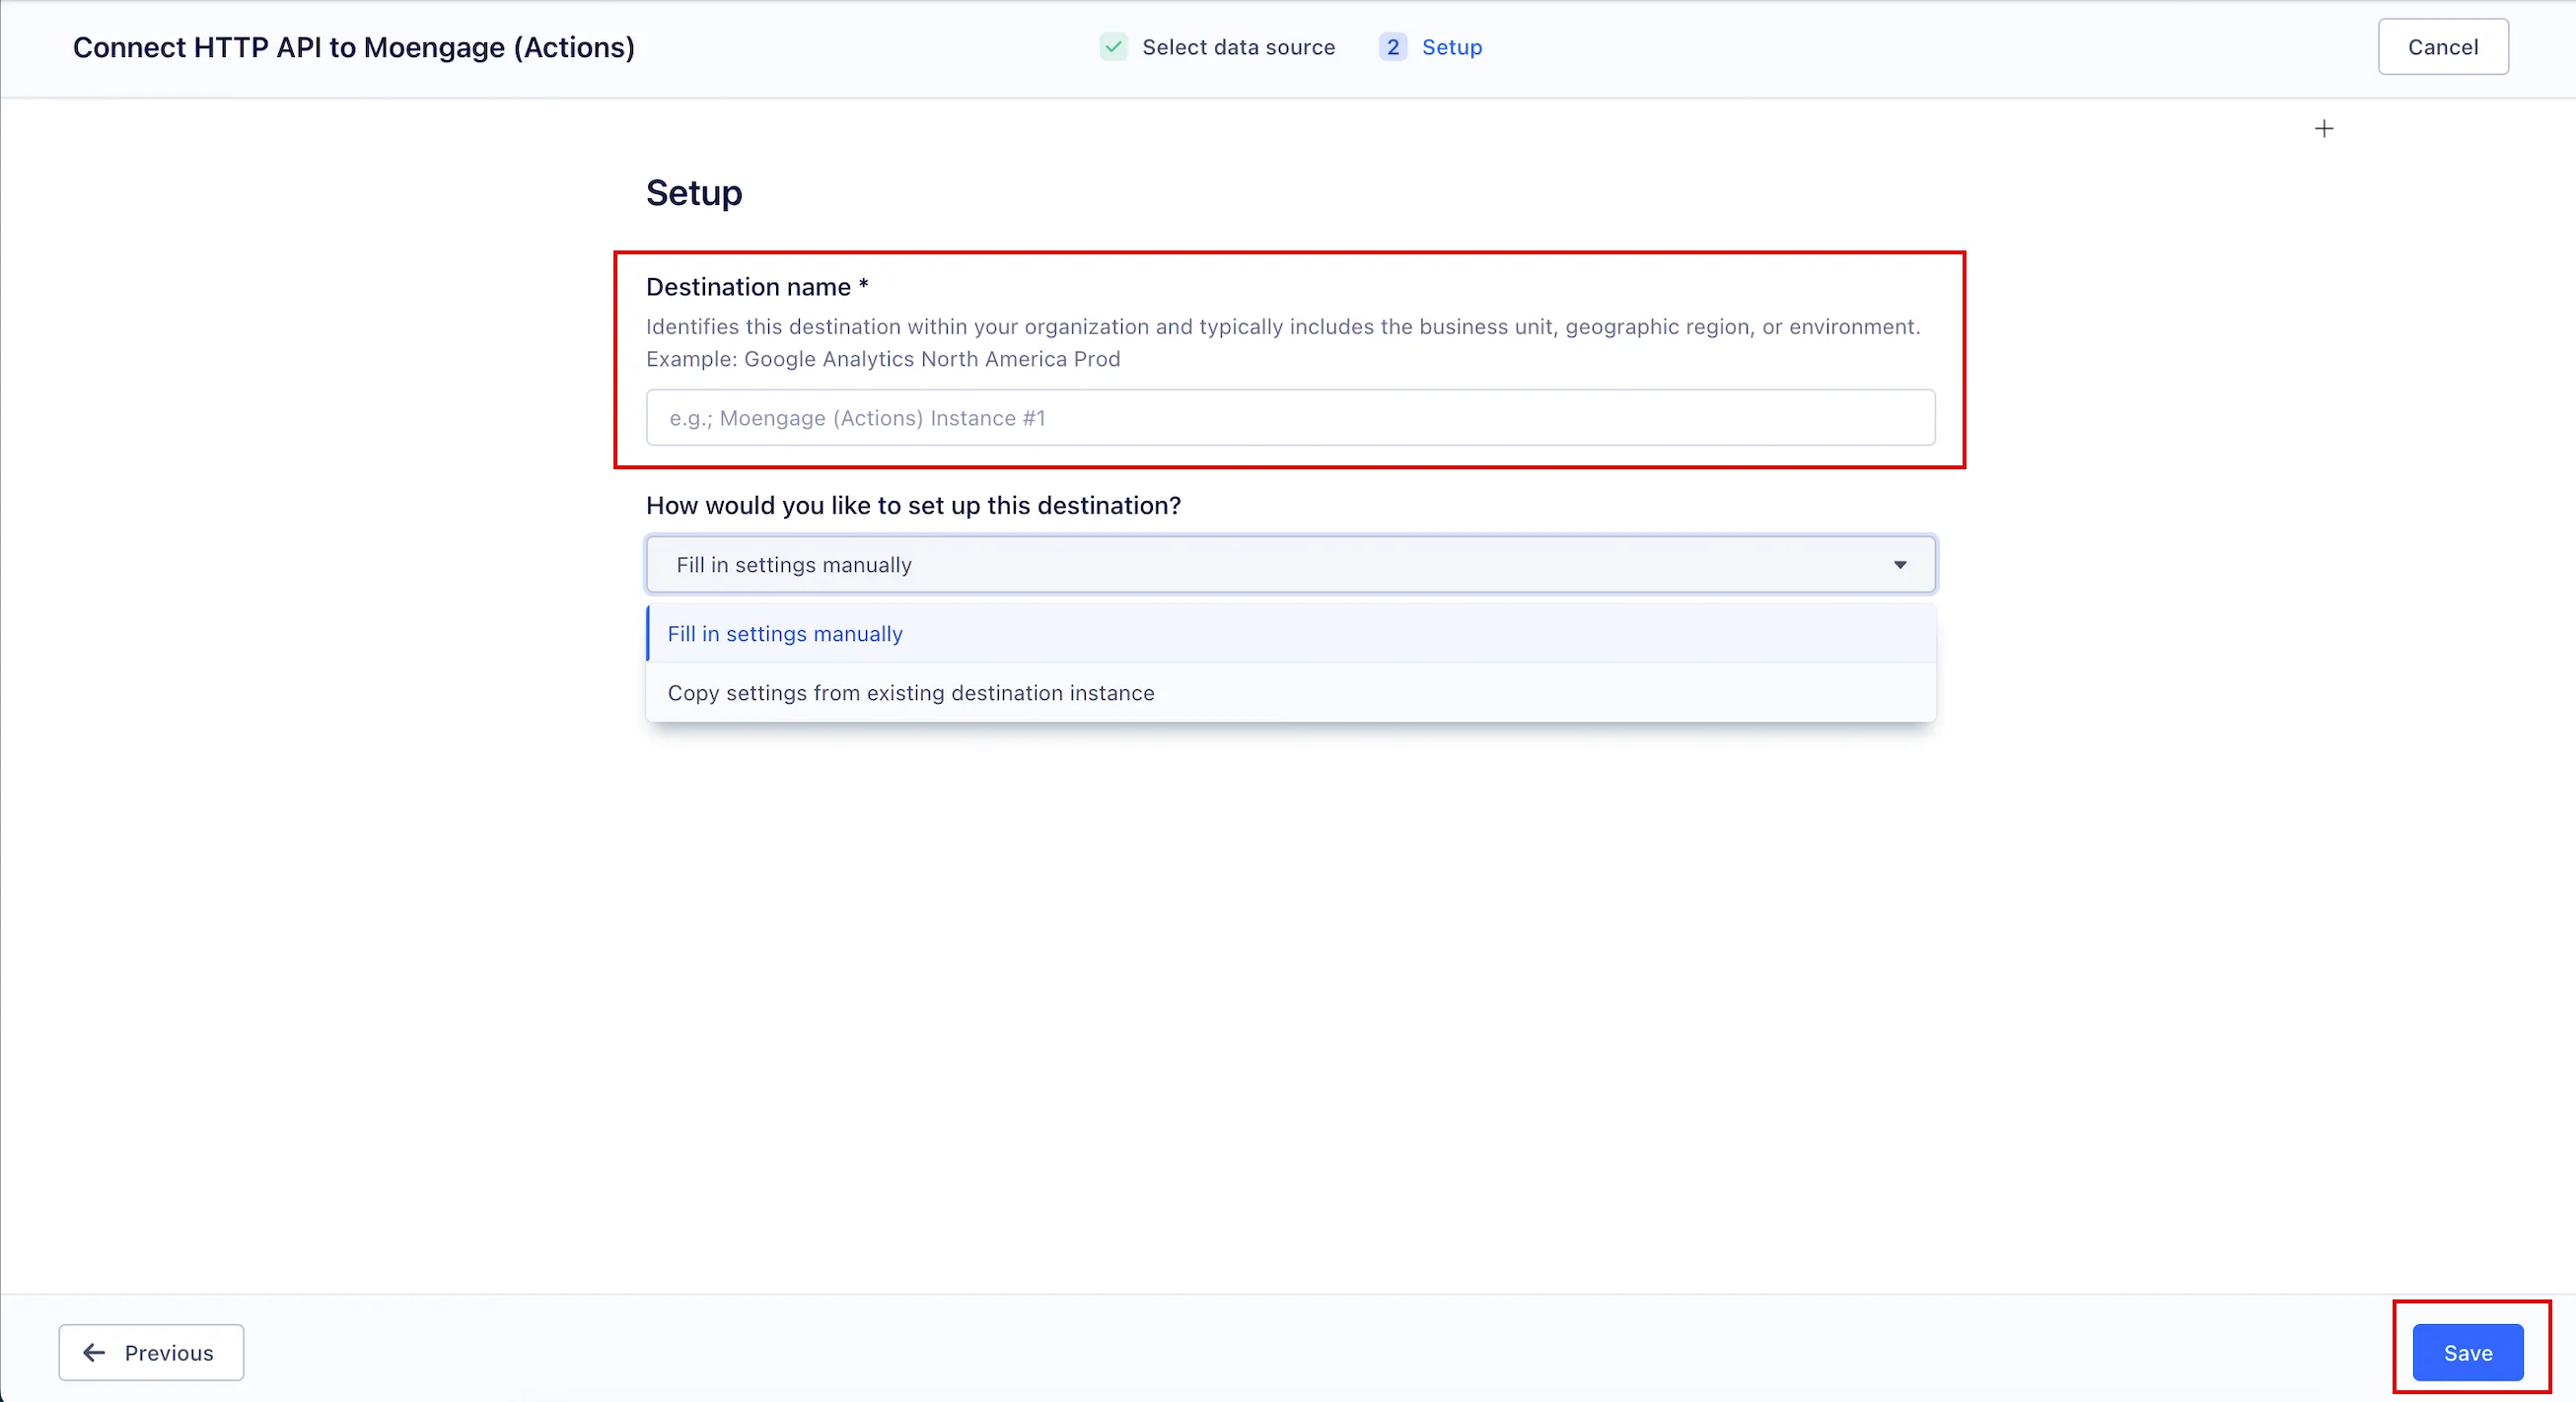
- Based on your integration mode selected in Step 2, on the Setup page, enter the destination name.
Optional: If you previously integrated with the MoEngage destination, you can select to copy those settings here.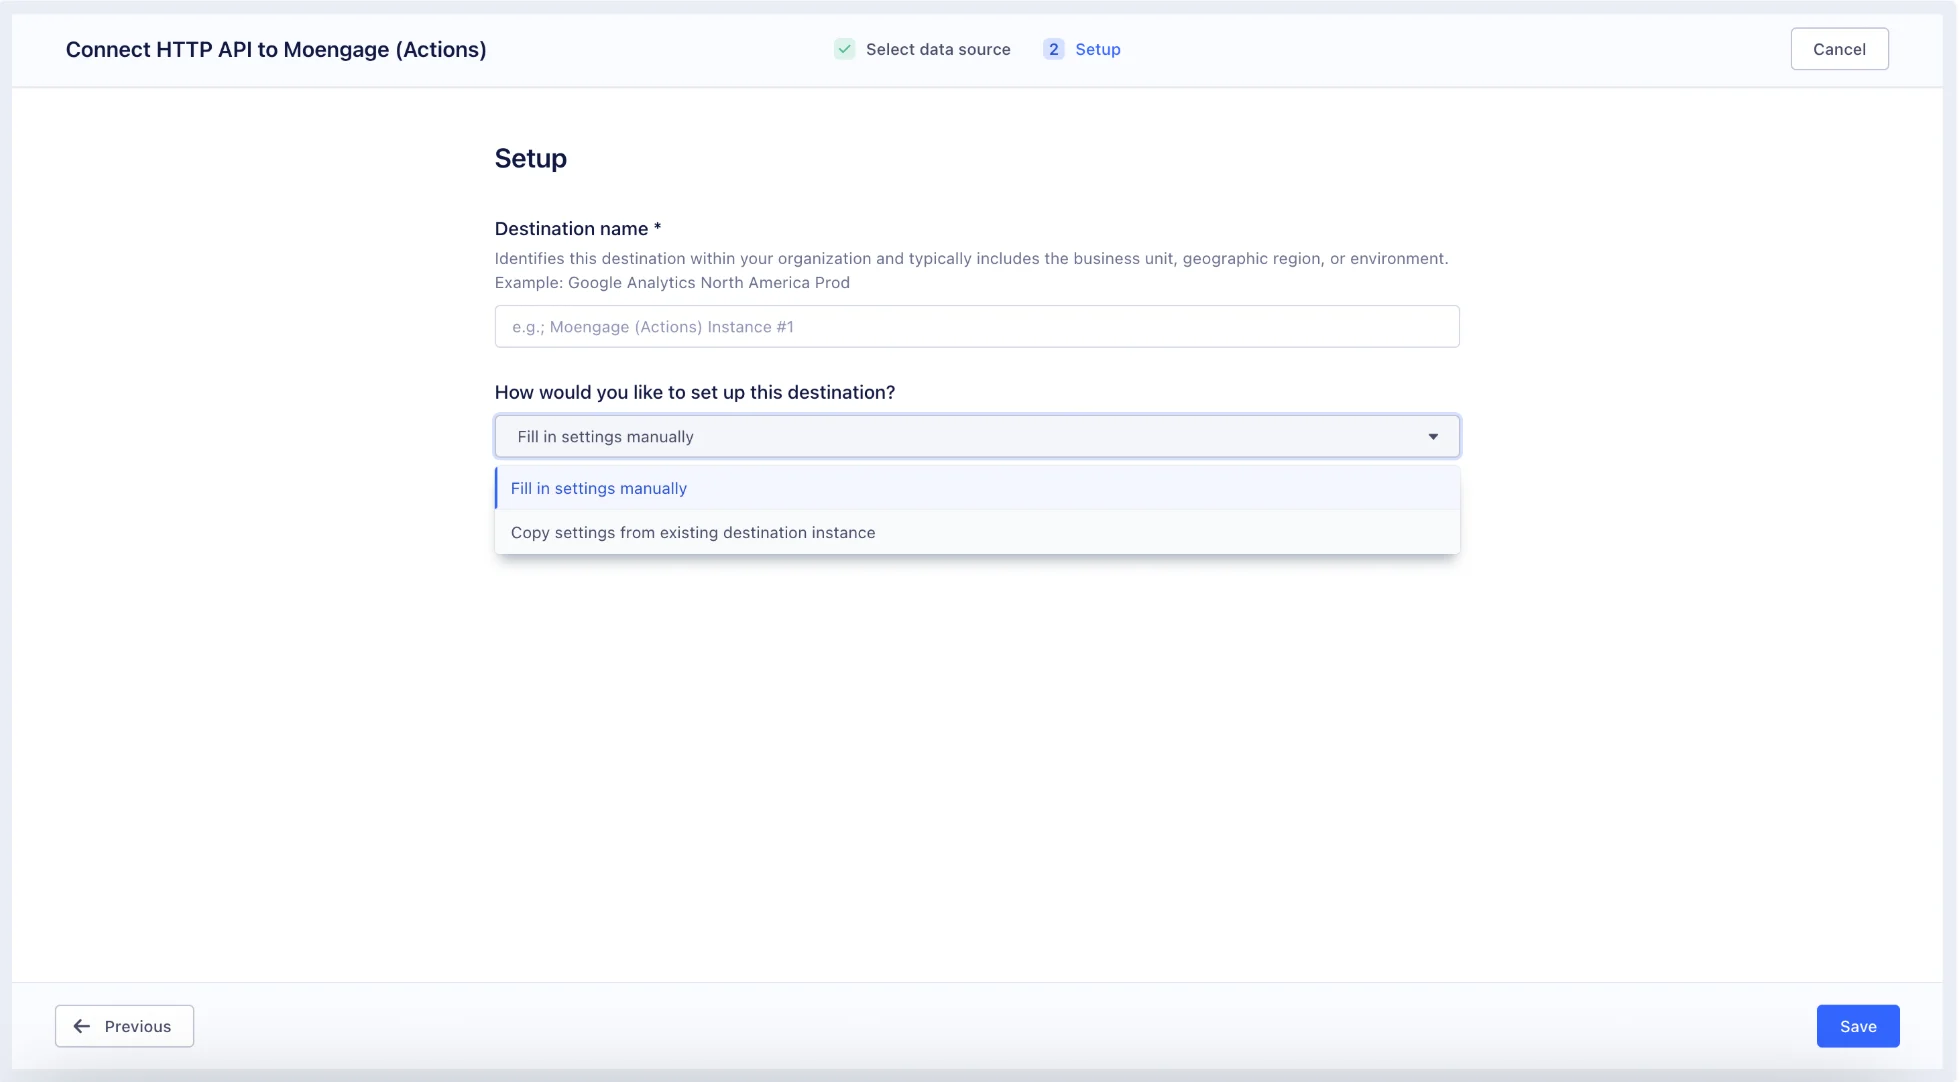
- Click Create Destination.
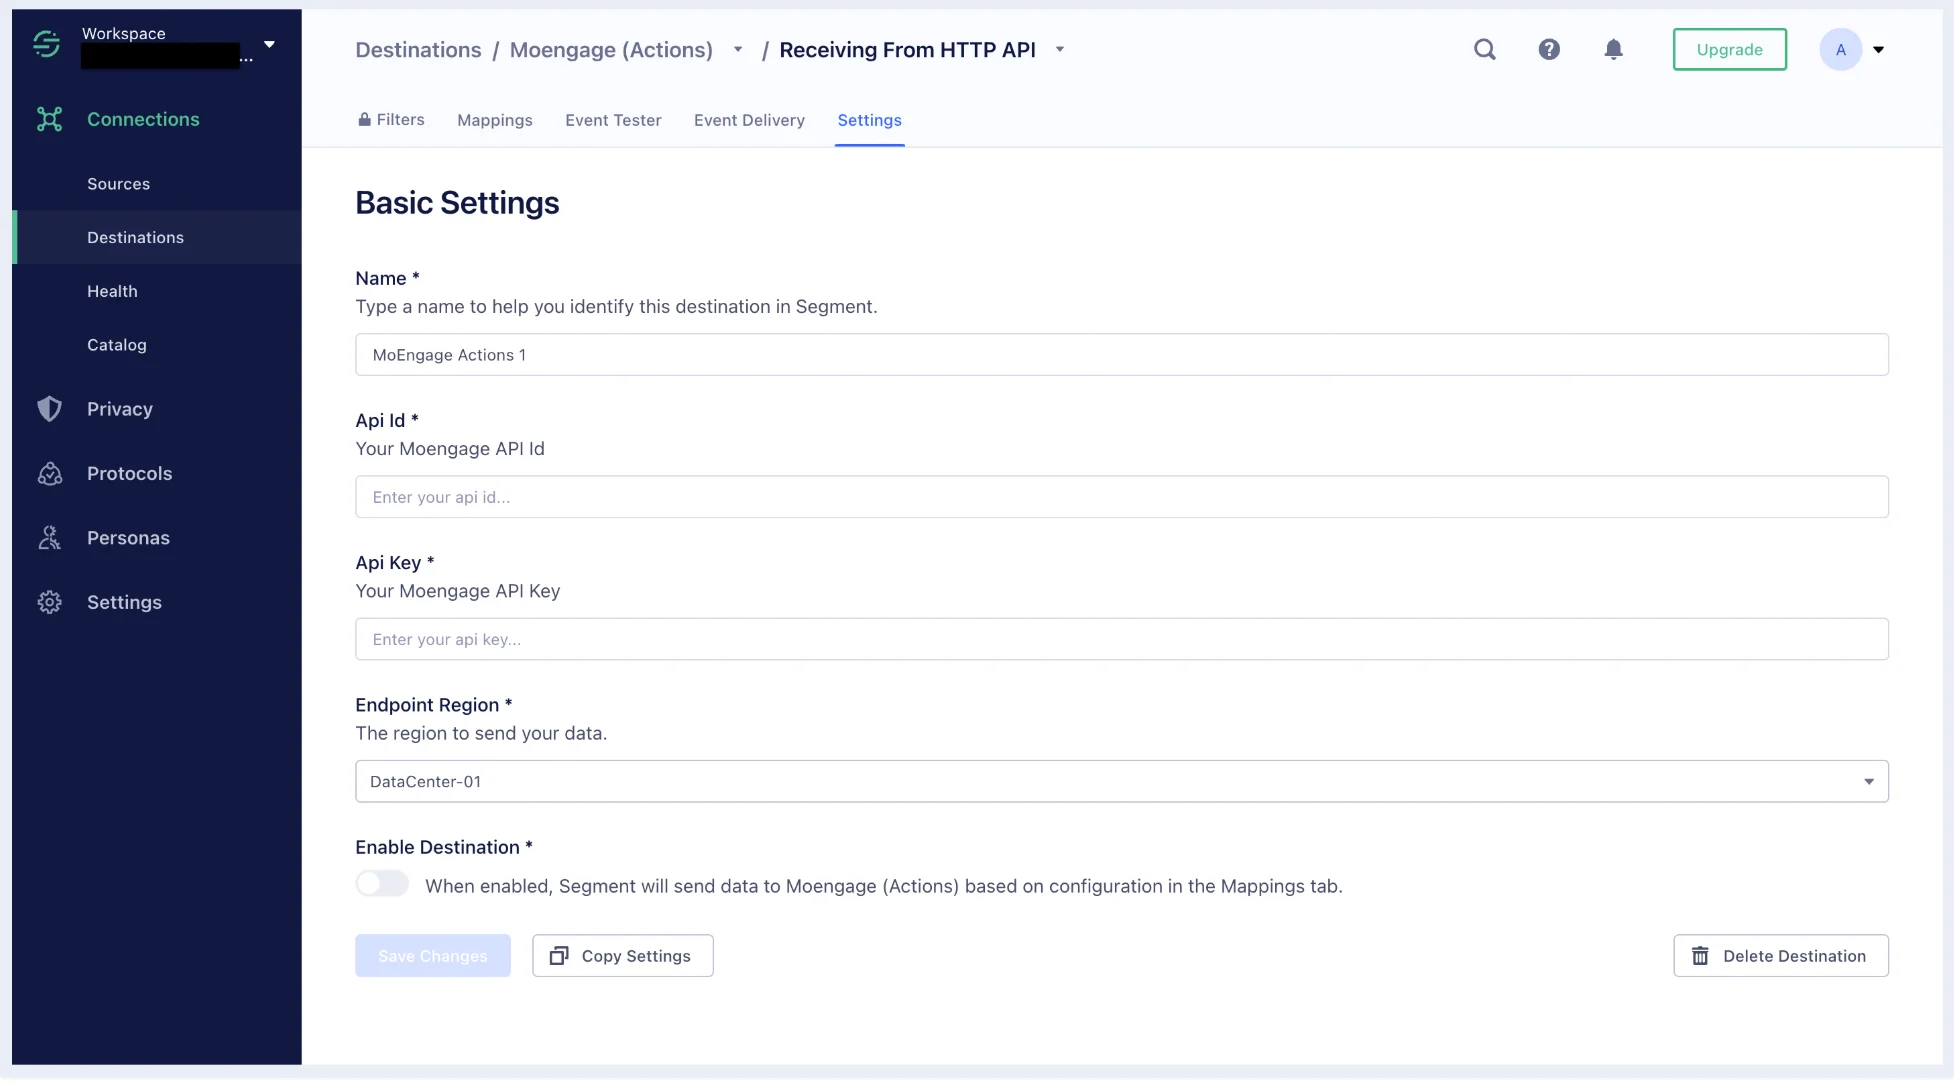
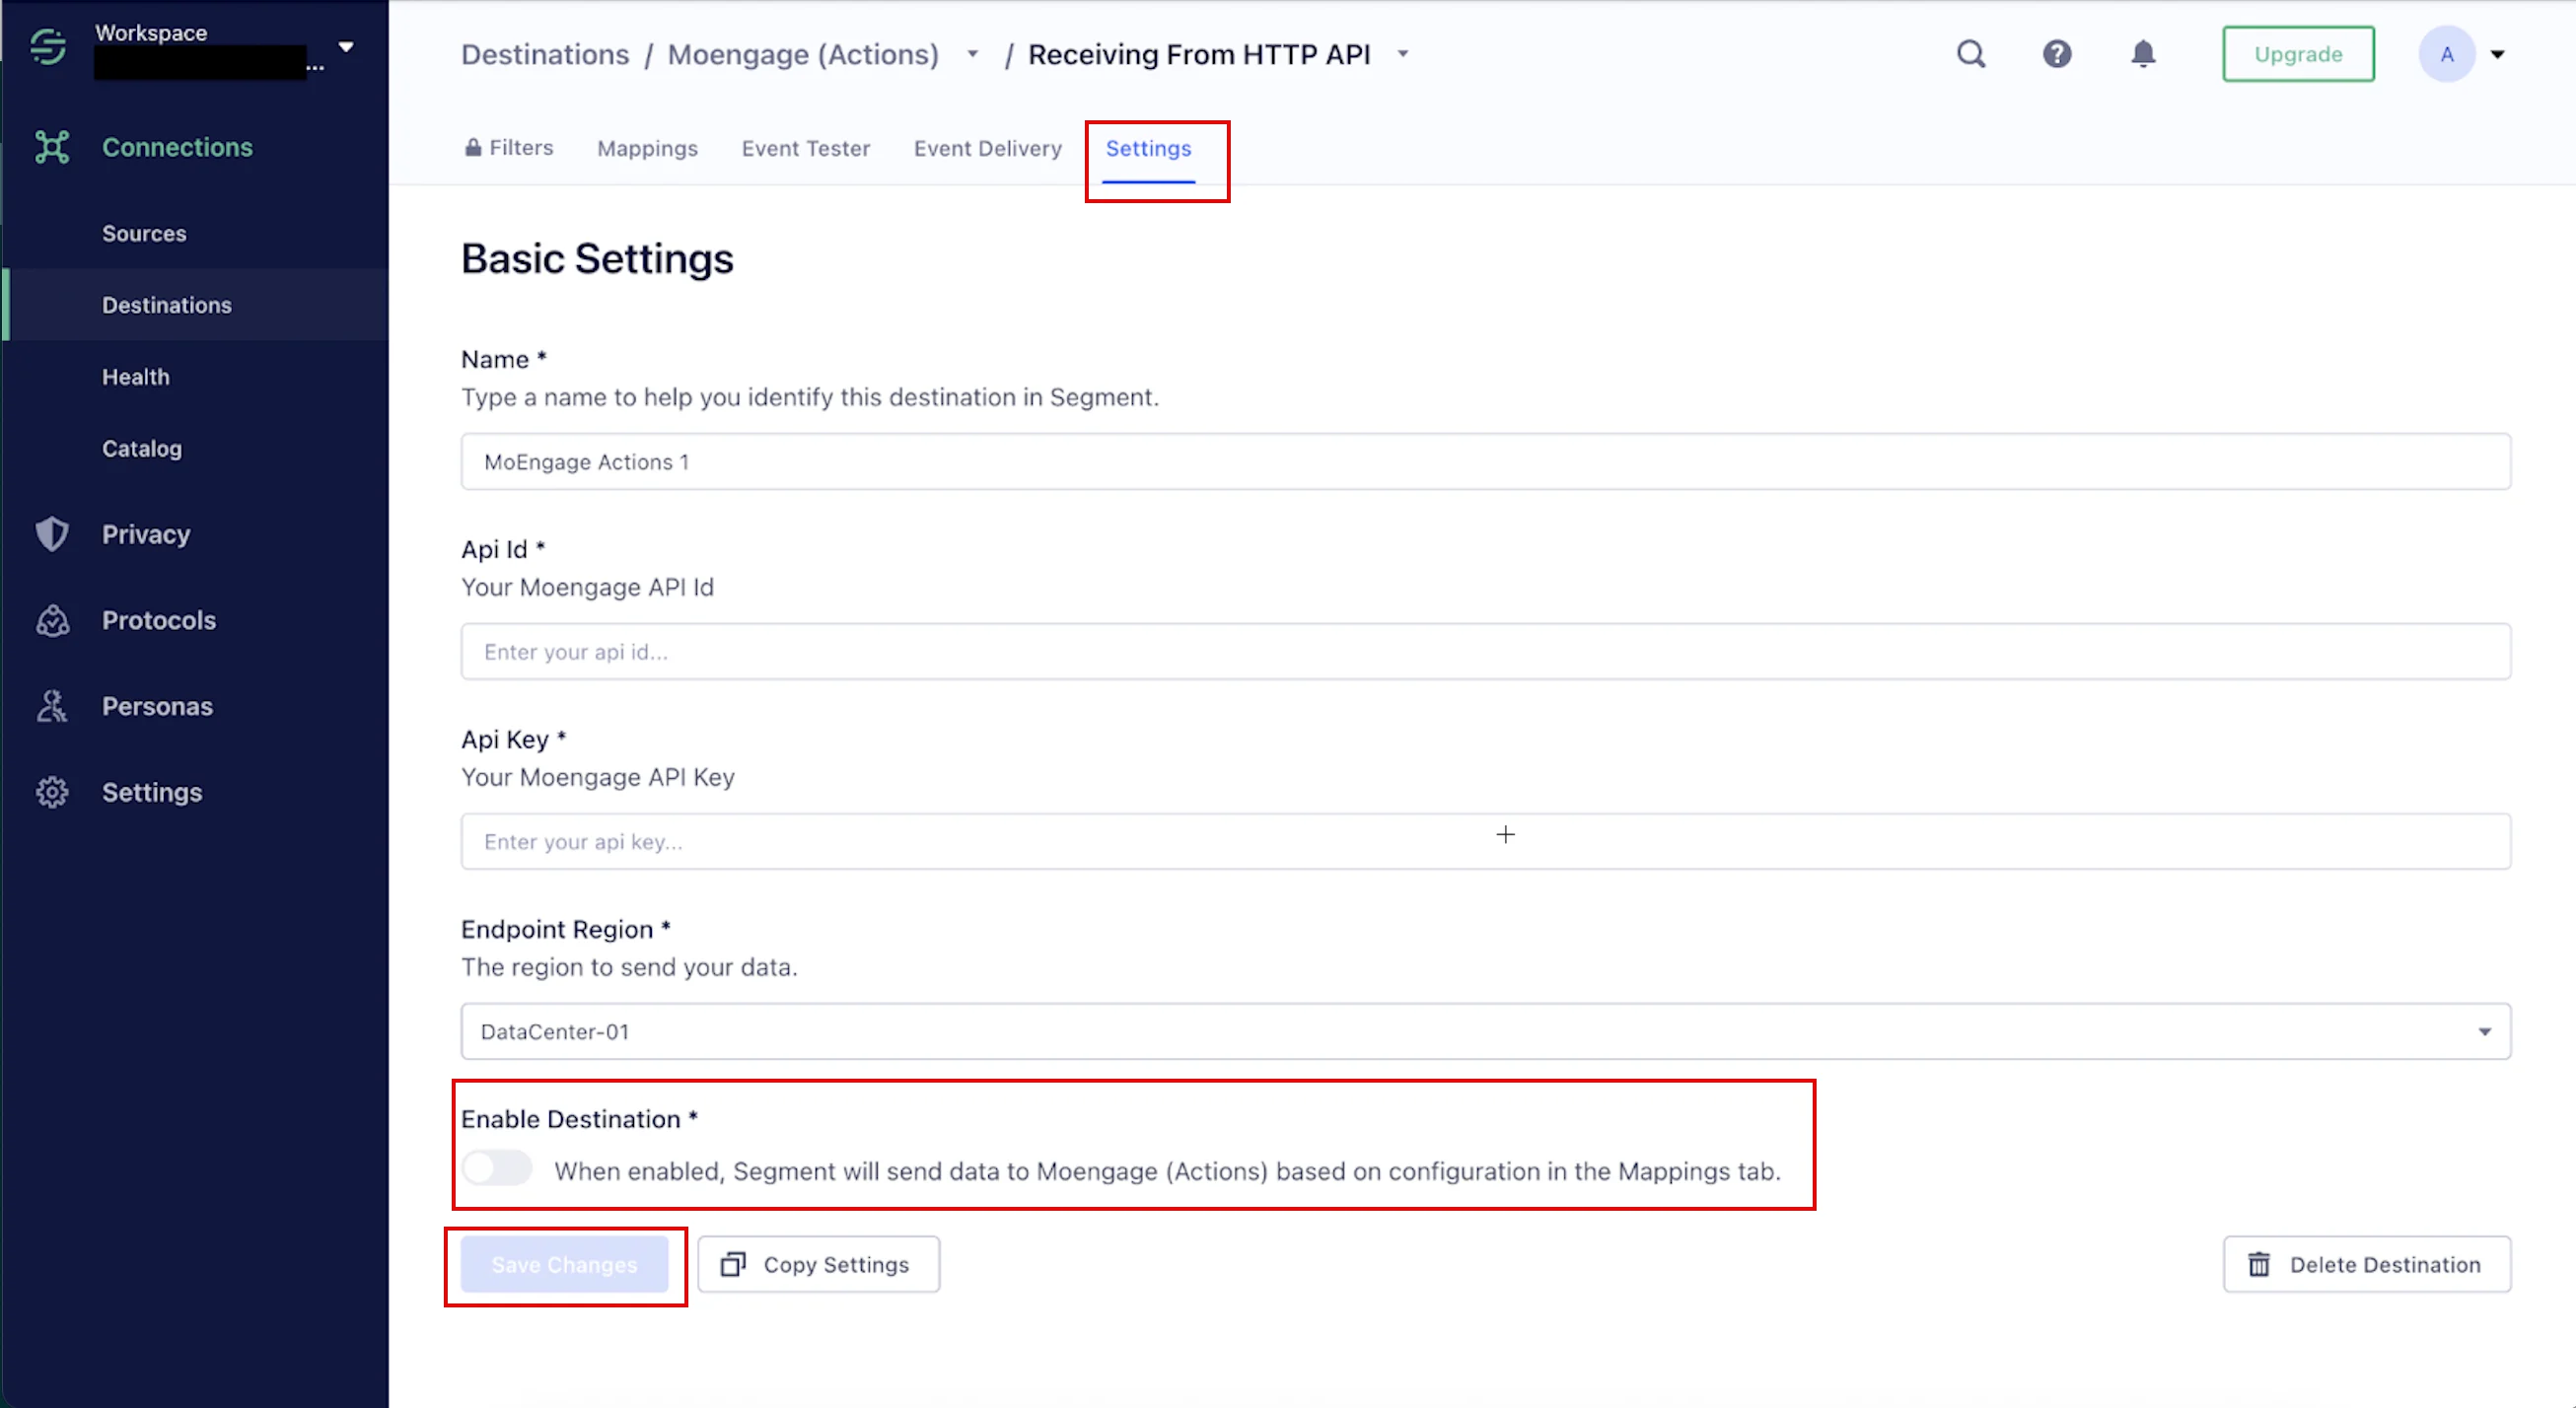
- On the Settings tab, enter the details of your MoEngage app and enable the connection to start forwarding data to MoEngage.
Step 2: Select the Integration Type and Implement
The MoEngage (Classic) integration supports two connection modes for forwarding data from Segment to MoEngage:- Device Mode (Side-by-side) : This mode enables all MoEngage capabilities for your mobile app and forwards all data directly from your mobile app to MoEngage. This is the preferred mode.
- Cloud Mode (Server-to-server) : This mode is recommended for sending offline data to MoEngage.
Device Mode (Side-by-side)
Device Mode is the preferred connection mode for using MoEngage with Segment. When configured with Device Mode, Segment forwards all track and identify requests directly to MoEngage via the user’s device. This means your app makes separate requests to Segment and MoEngage, eliminating the need for you to explicitly send data to MoEngage. To use Device Mode on Android and iOS, integrate the MoEngage + Segment bundle. For your website data, select a Device Mode connection.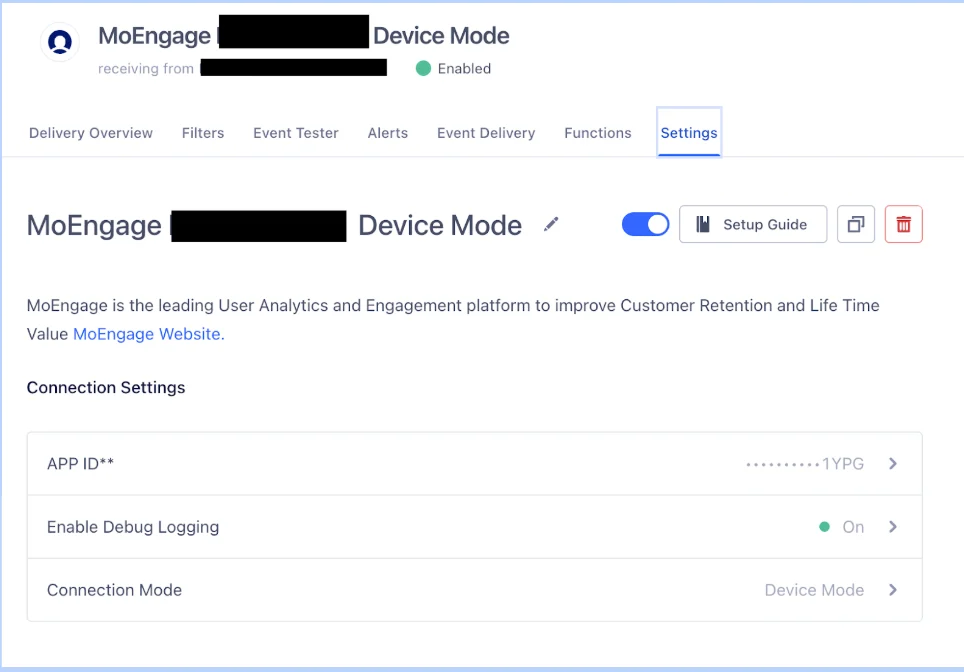
| Entity | Description |
|---|---|
| App ID | To obtain your Workspace ID, navigate to Settings > Account > General settings in the MoEngage dashboard. |
| Debug Logging | You must enable debug logs by turning on this option. This routes your data to the TEST environment in MoEngage. |
| Connection Mode (You will see this option only for the JavaScript source) |
|
Cloud Mode (Server-to-server)
It is preferred to use MoEngage (Actions) for Cloud Mode.
- Forwarding data to MoEngage generated by Segment’s server-side sources.
- Automatically sending data via Cloud Mode when the MoEngage + Segment code is not bundled on an Android or iOS device.
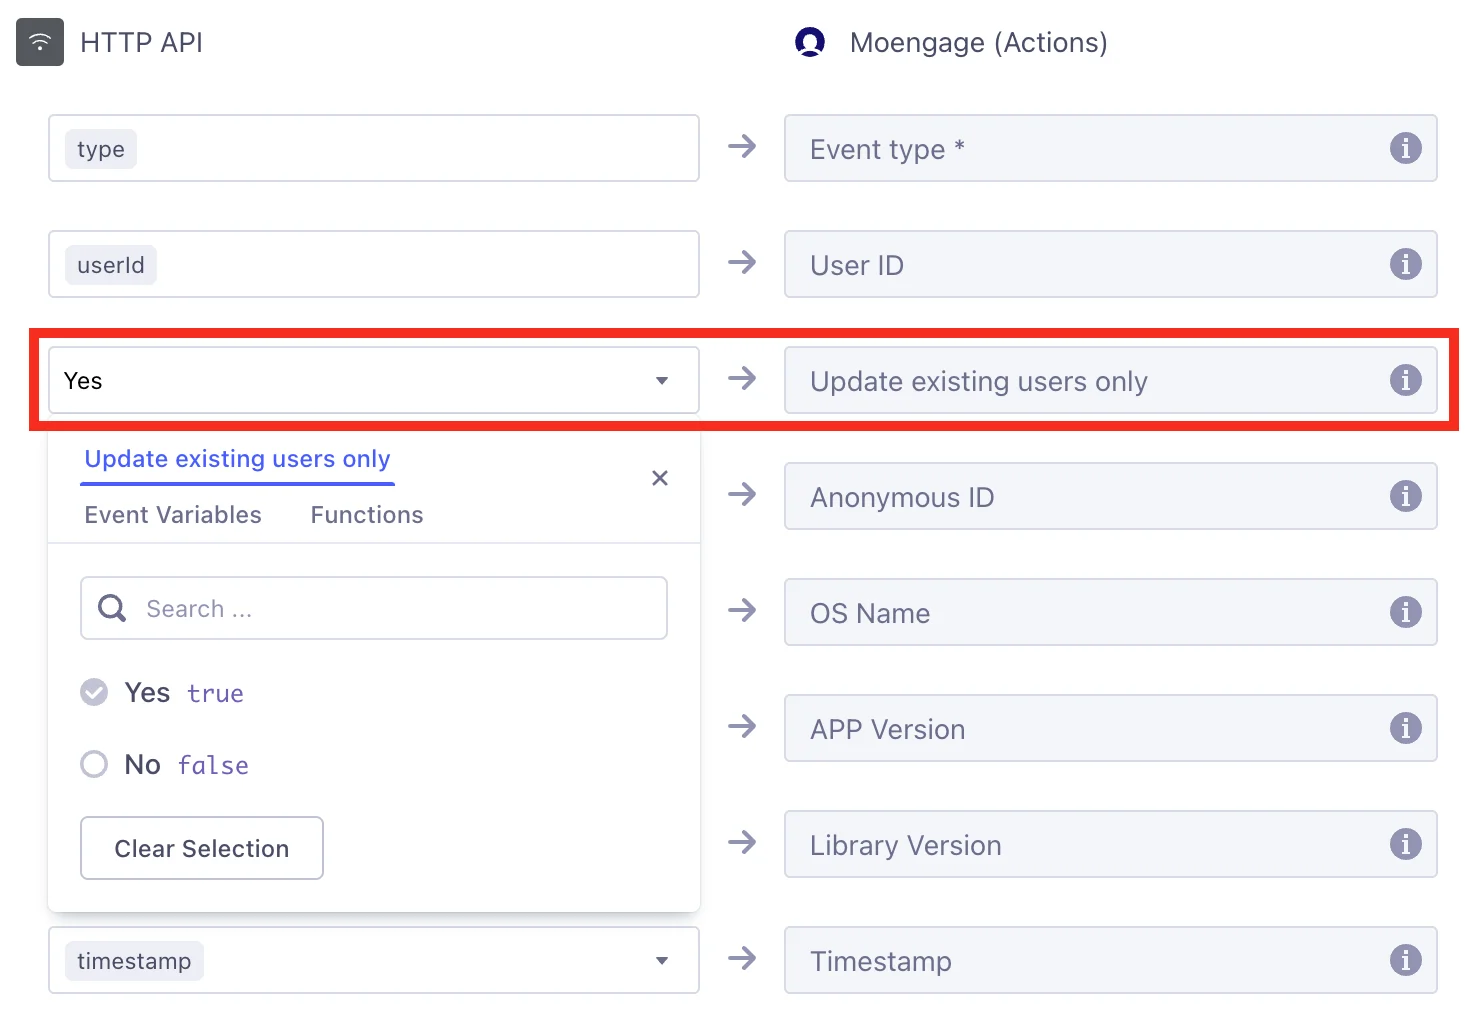
LimitationsA few limitations exist when using Cloud Mode integration: Segment transforms all your attributes (properties) from
camelCase to snake_case before sending this data to MoEngage (only via Cloud Mode). This might result in duplicate attributes appearing on your MoEngage dashboard. This transformation does not occur when you use Device Mode.iOS
The MoEngage SDK you need to use will depend on which Segment SDK you use:| Segment SDK | MoEngage SDK | |
|---|---|---|
| Preferred | Analytics Swift | MoEngage Segment Swift |
| Legacy | Analytics iOS | MoEngage Segment iOS |
Android
The MoEngage SDK you need to use will depend on which Segment SDK you use:| Segment SDK | MoEngage SDK | |
|---|---|---|
| Preferred | Analytics Kotlin | MoEngage Segment Kotlin |
| Legacy | Analytics Android | MoEngage Segment Android |
Web
To complete the side-by-side integration, please refer to the detailed instructions for Segment Web.React Native
To complete the side-by-side integration, please refer to the detailed instructions for Segment React Native.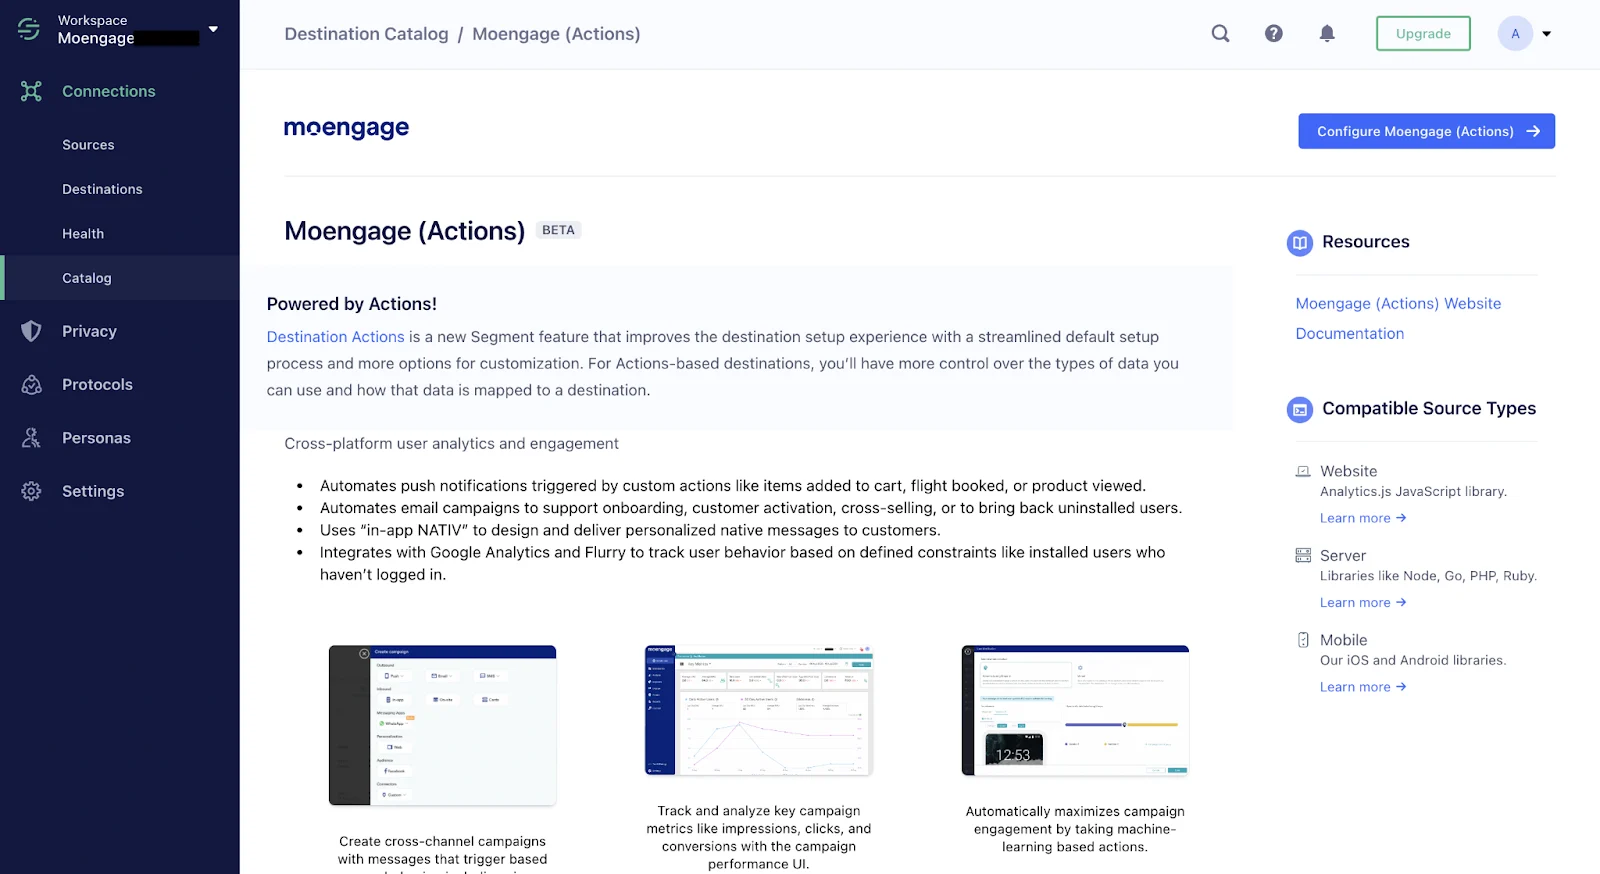


Step 3: Test Your Integration
After your integration is configured, you must confirm that data is being sent to MoEngage correctly. First, perform some test actions in your app. Then, in the MoEngage dashboard, you can view your data in the recent events, segments, or analytics sections. To verify specific data, you can filter your users and events based on the custom event and attribute data.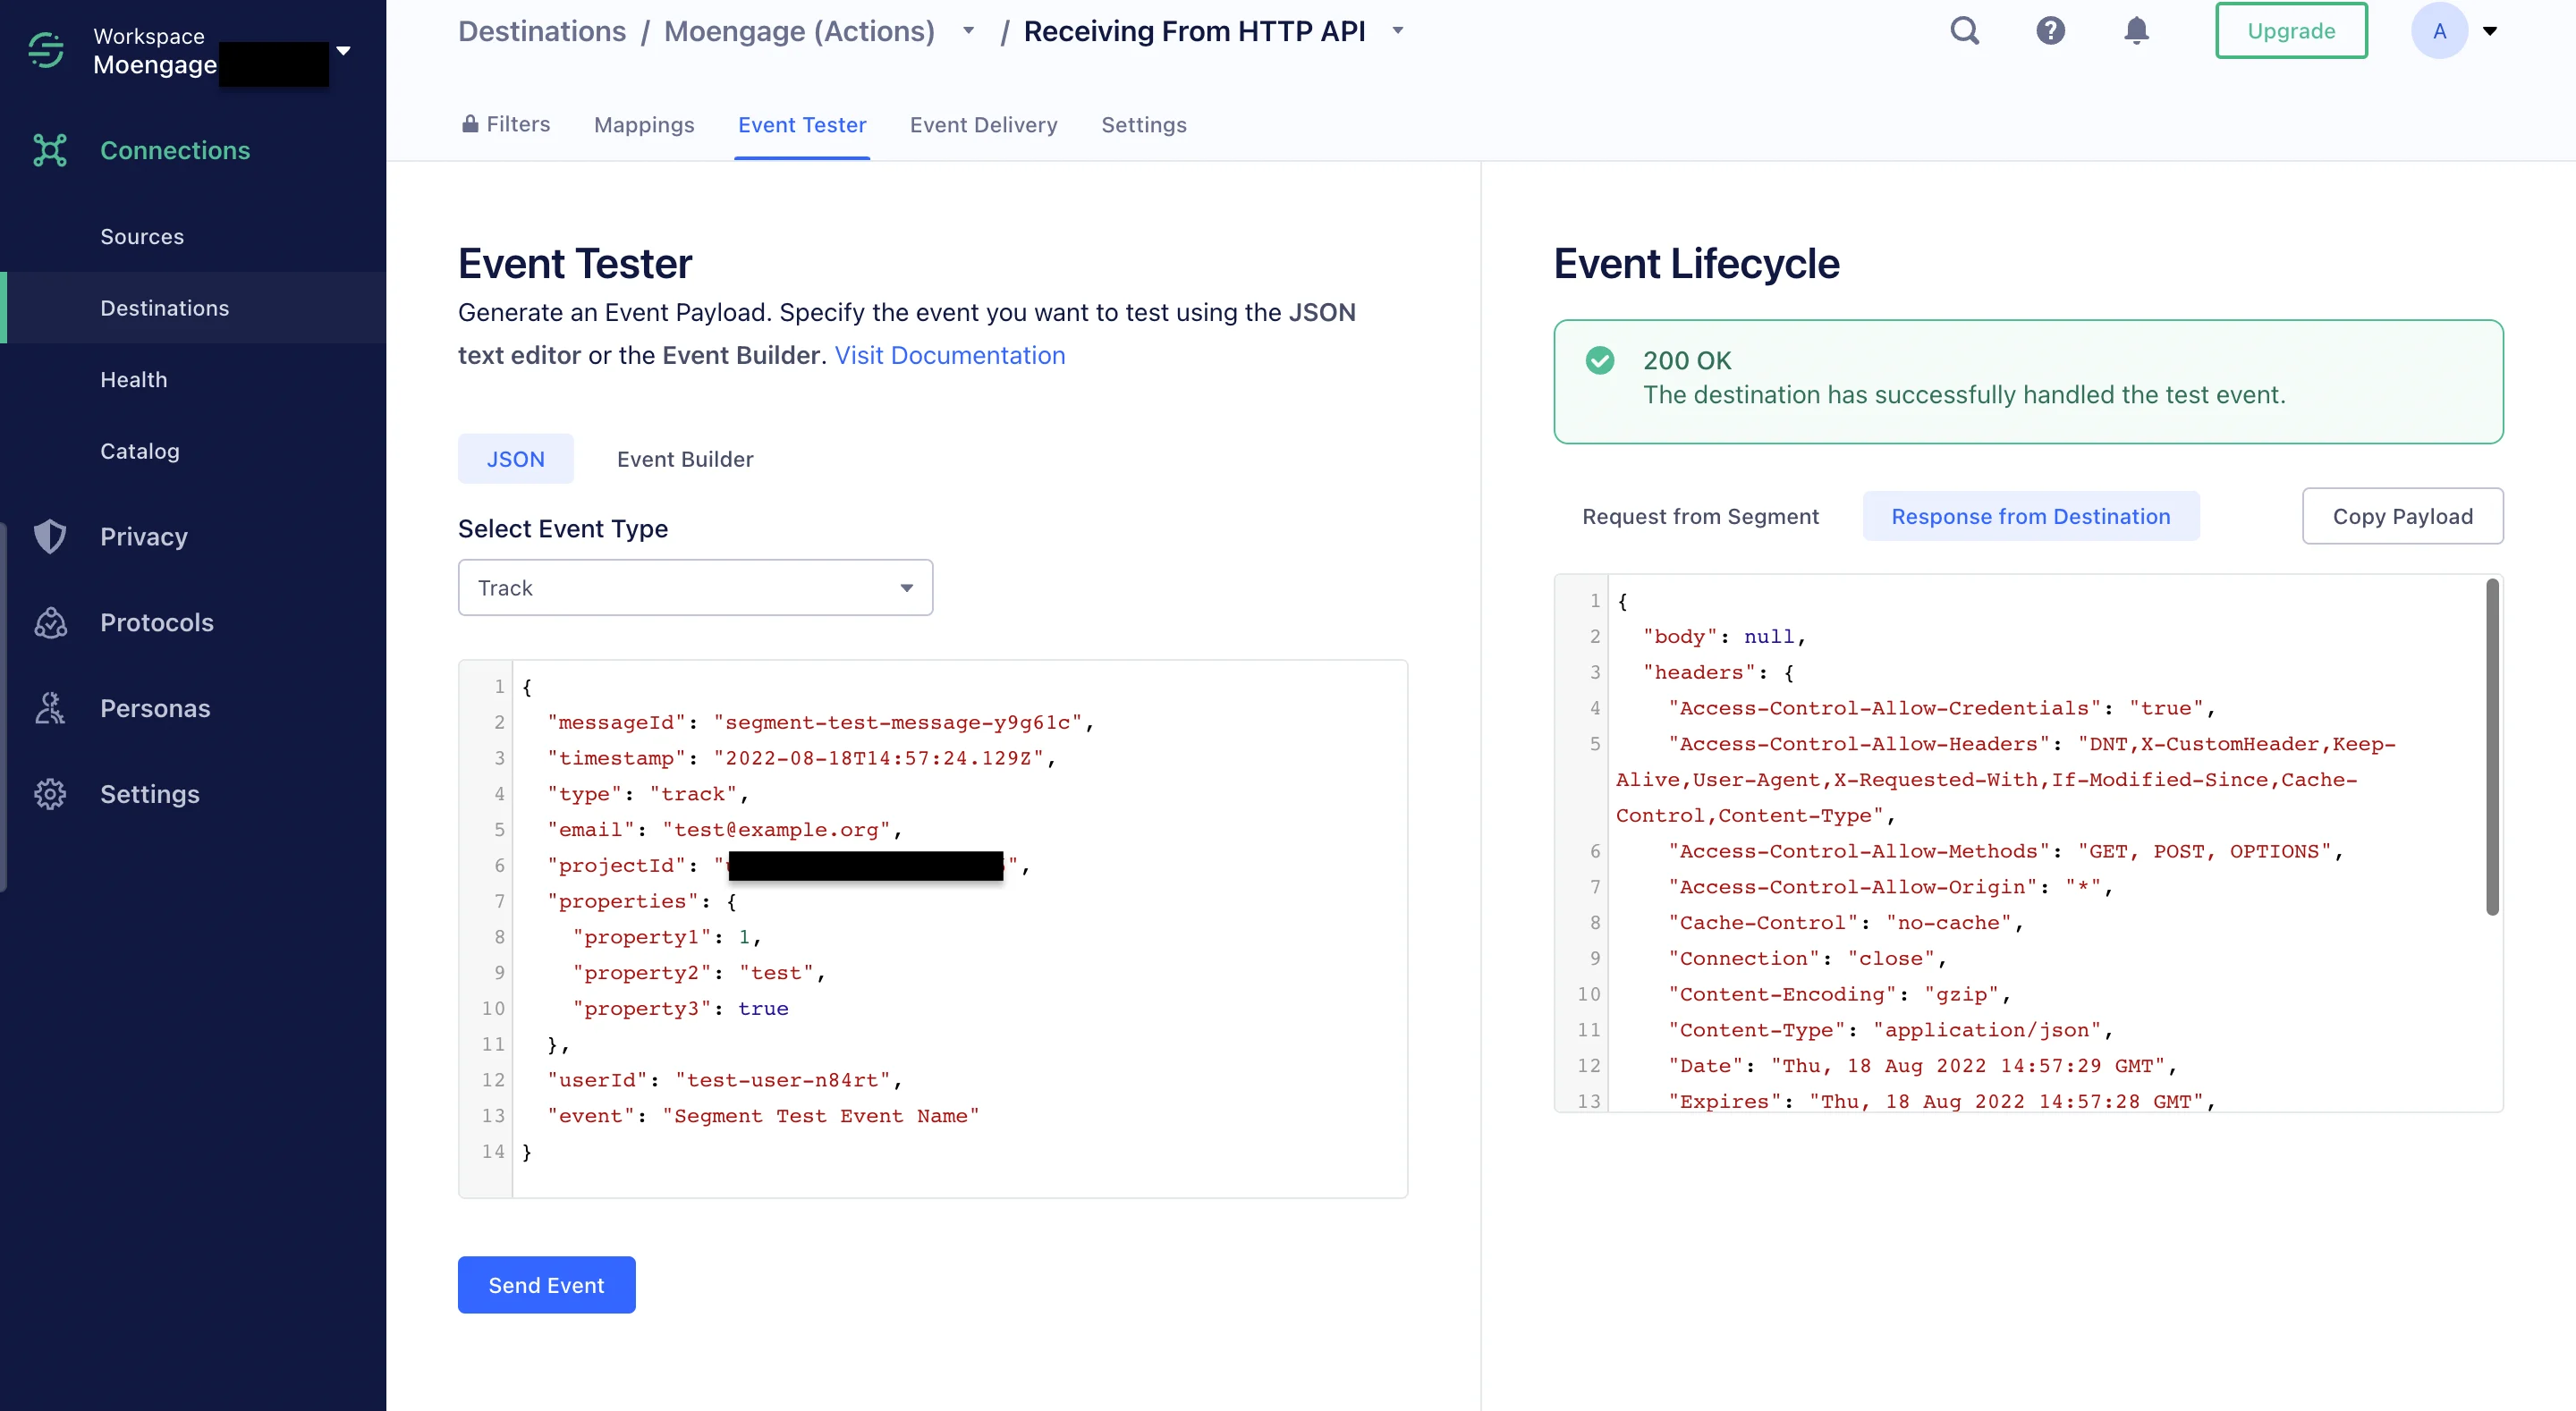
Segment Replays
Segment Replay takes an archived copy of your Segment data and resends it to MoEngage. With this, you can import all historical data from Segment to MoEngage. For more information, contact your Segment CSM related to Segment Replays.Segment Engage and Computed Traits
Using Segment Engage, you can create segments of users based on data you have already collected across various sources and sync them to MoEngage. For more information, refer to how to set up and sync Segment Personas and Computed Traits.Segment Unify
The existing Segment-to-MoEngage integration remains unchanged and requires no configuration updates on your MoEngage destination. Segment Unify works upstream to ensure theIdentify calls sent to MoEngage contain the most accurate, stitched customer profile. Your MoEngage setup will automatically leverage the new, unified user traits and event data flowing from Segment’s Unify layer.
Rate Limits
To maintain platform stability, MoEngage limits ingestion of Segment data to a maximum of 500 requests per second (RPS) per workspace. If your workspace exceeds this limit, MoEngage returns an HTTP429 (Too Many Requests) status code.
Segment typically handles rate-limiting instances automatically. Refer to Segment’s default retry policy to understand how rate limiting affects your data flow. For more information, see the Segment documentation.
Retry Exhaustion: If Segment exhausts all retry attempts for a batch of data, you must contact the Segment Support Team to replay the failed requests.
Frequently Asked Questions
Does Data Exports guarantee the latest user attributes?
Does Data Exports guarantee the latest user attributes?
No, Data Exports is primarily built to export your Events in near real-time and user attributes in MoEngage are updated asynchronously so it is currently not possible to guarantee the latest values of user attributes in the exports.
How soon will I start getting the data?
How soon will I start getting the data?
It typically takes up to 30 minutes for the automated data exports to be set up for your account and for you to start seeing data there.
Can I export additional events at a later time?
Can I export additional events at a later time?
Yes, if you need to export new events at a later time, you can always edit your configuration on the App Marketplace and get the new events added to your exports.
Can I export historical data using Automated Data Exports?
Can I export historical data using Automated Data Exports?
As of now, you cannot export historical data using Automated Data Exports. Once configured, you will start seeing data for each event from the time you enabled your exports.
Is there any pricing involved for Automated Data Exports?
Is there any pricing involved for Automated Data Exports?
If your billing plan does not cover this already and you need to get this enabled at a later time, you would need to work with your Customer Success Manager to get this included in your billing plan. Based on the amount of data that MoEngage will place in your Data warehouse/Partner/API on a monthly basis, this could lead to additional charges.