

- Log in directly to your last-used workspace.
- Verify your identity once and select from any workspace you’re authorized to access.
Find Your Login Page
Each workspace resides in a specific data center (for example, DC-01 atdashboard-01.moengage.com). Use the global login page to find your login URL:
Open the global login page
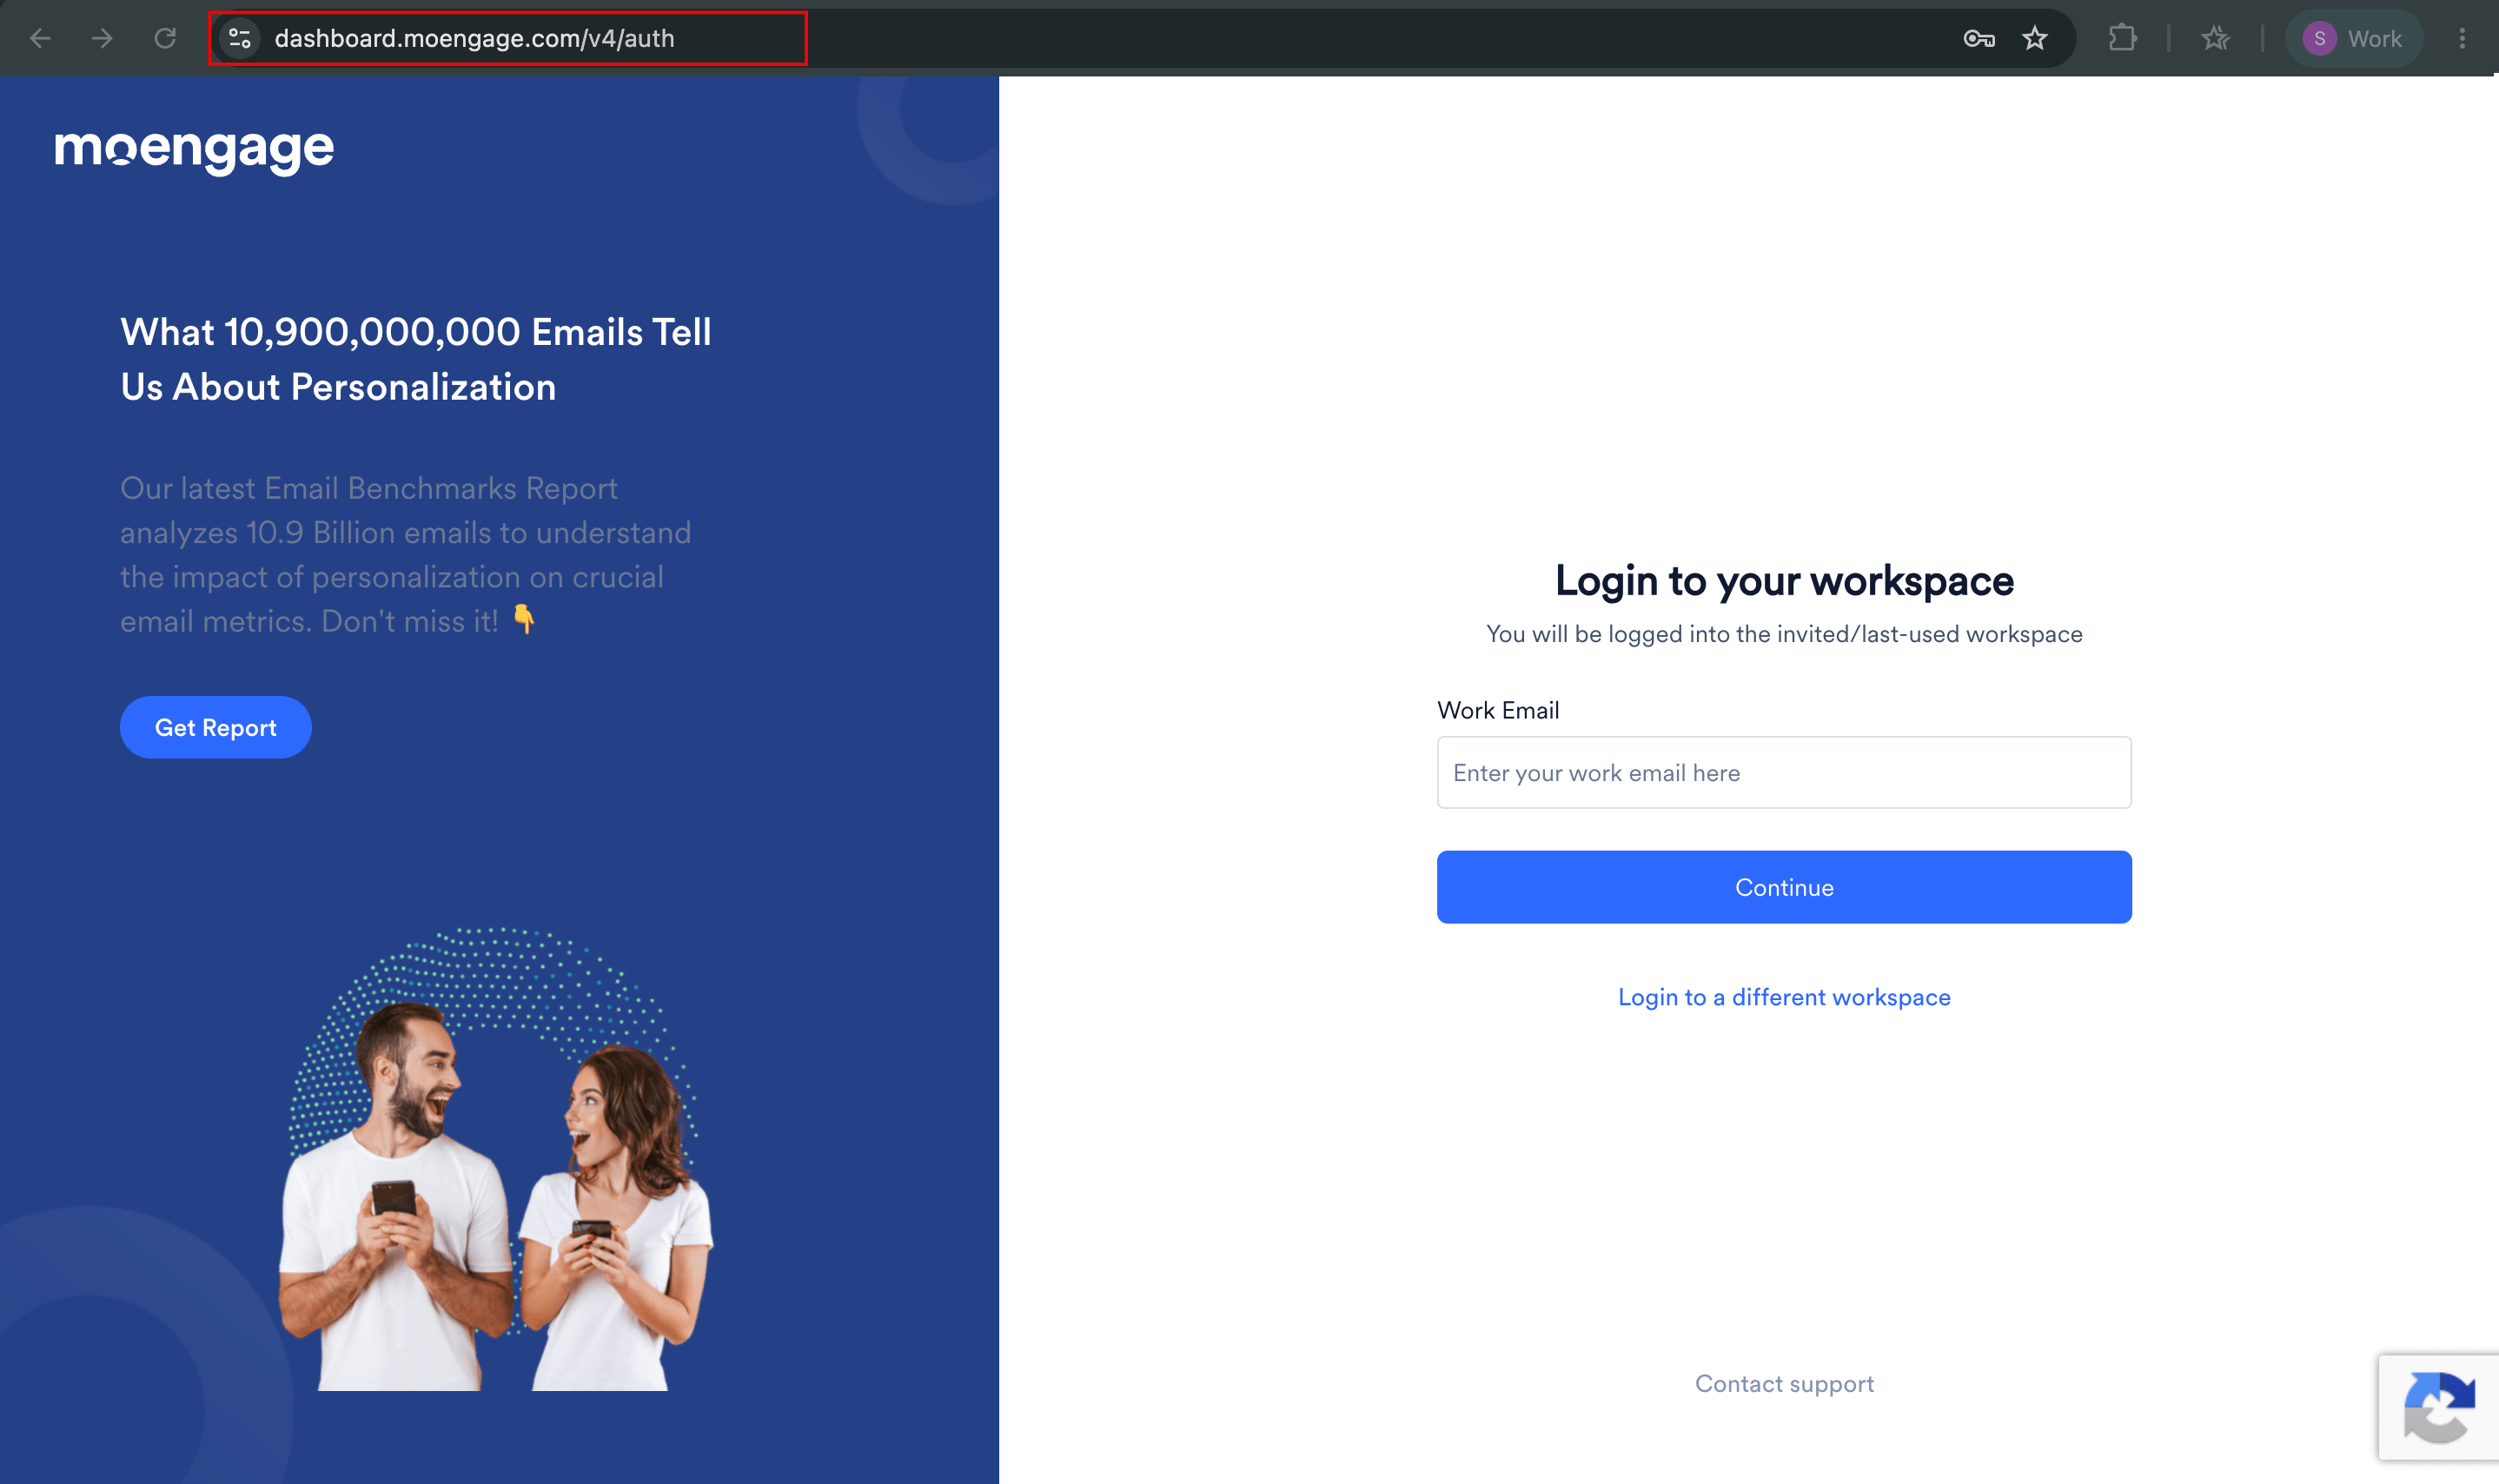
Enter your work email
Continue to your data center
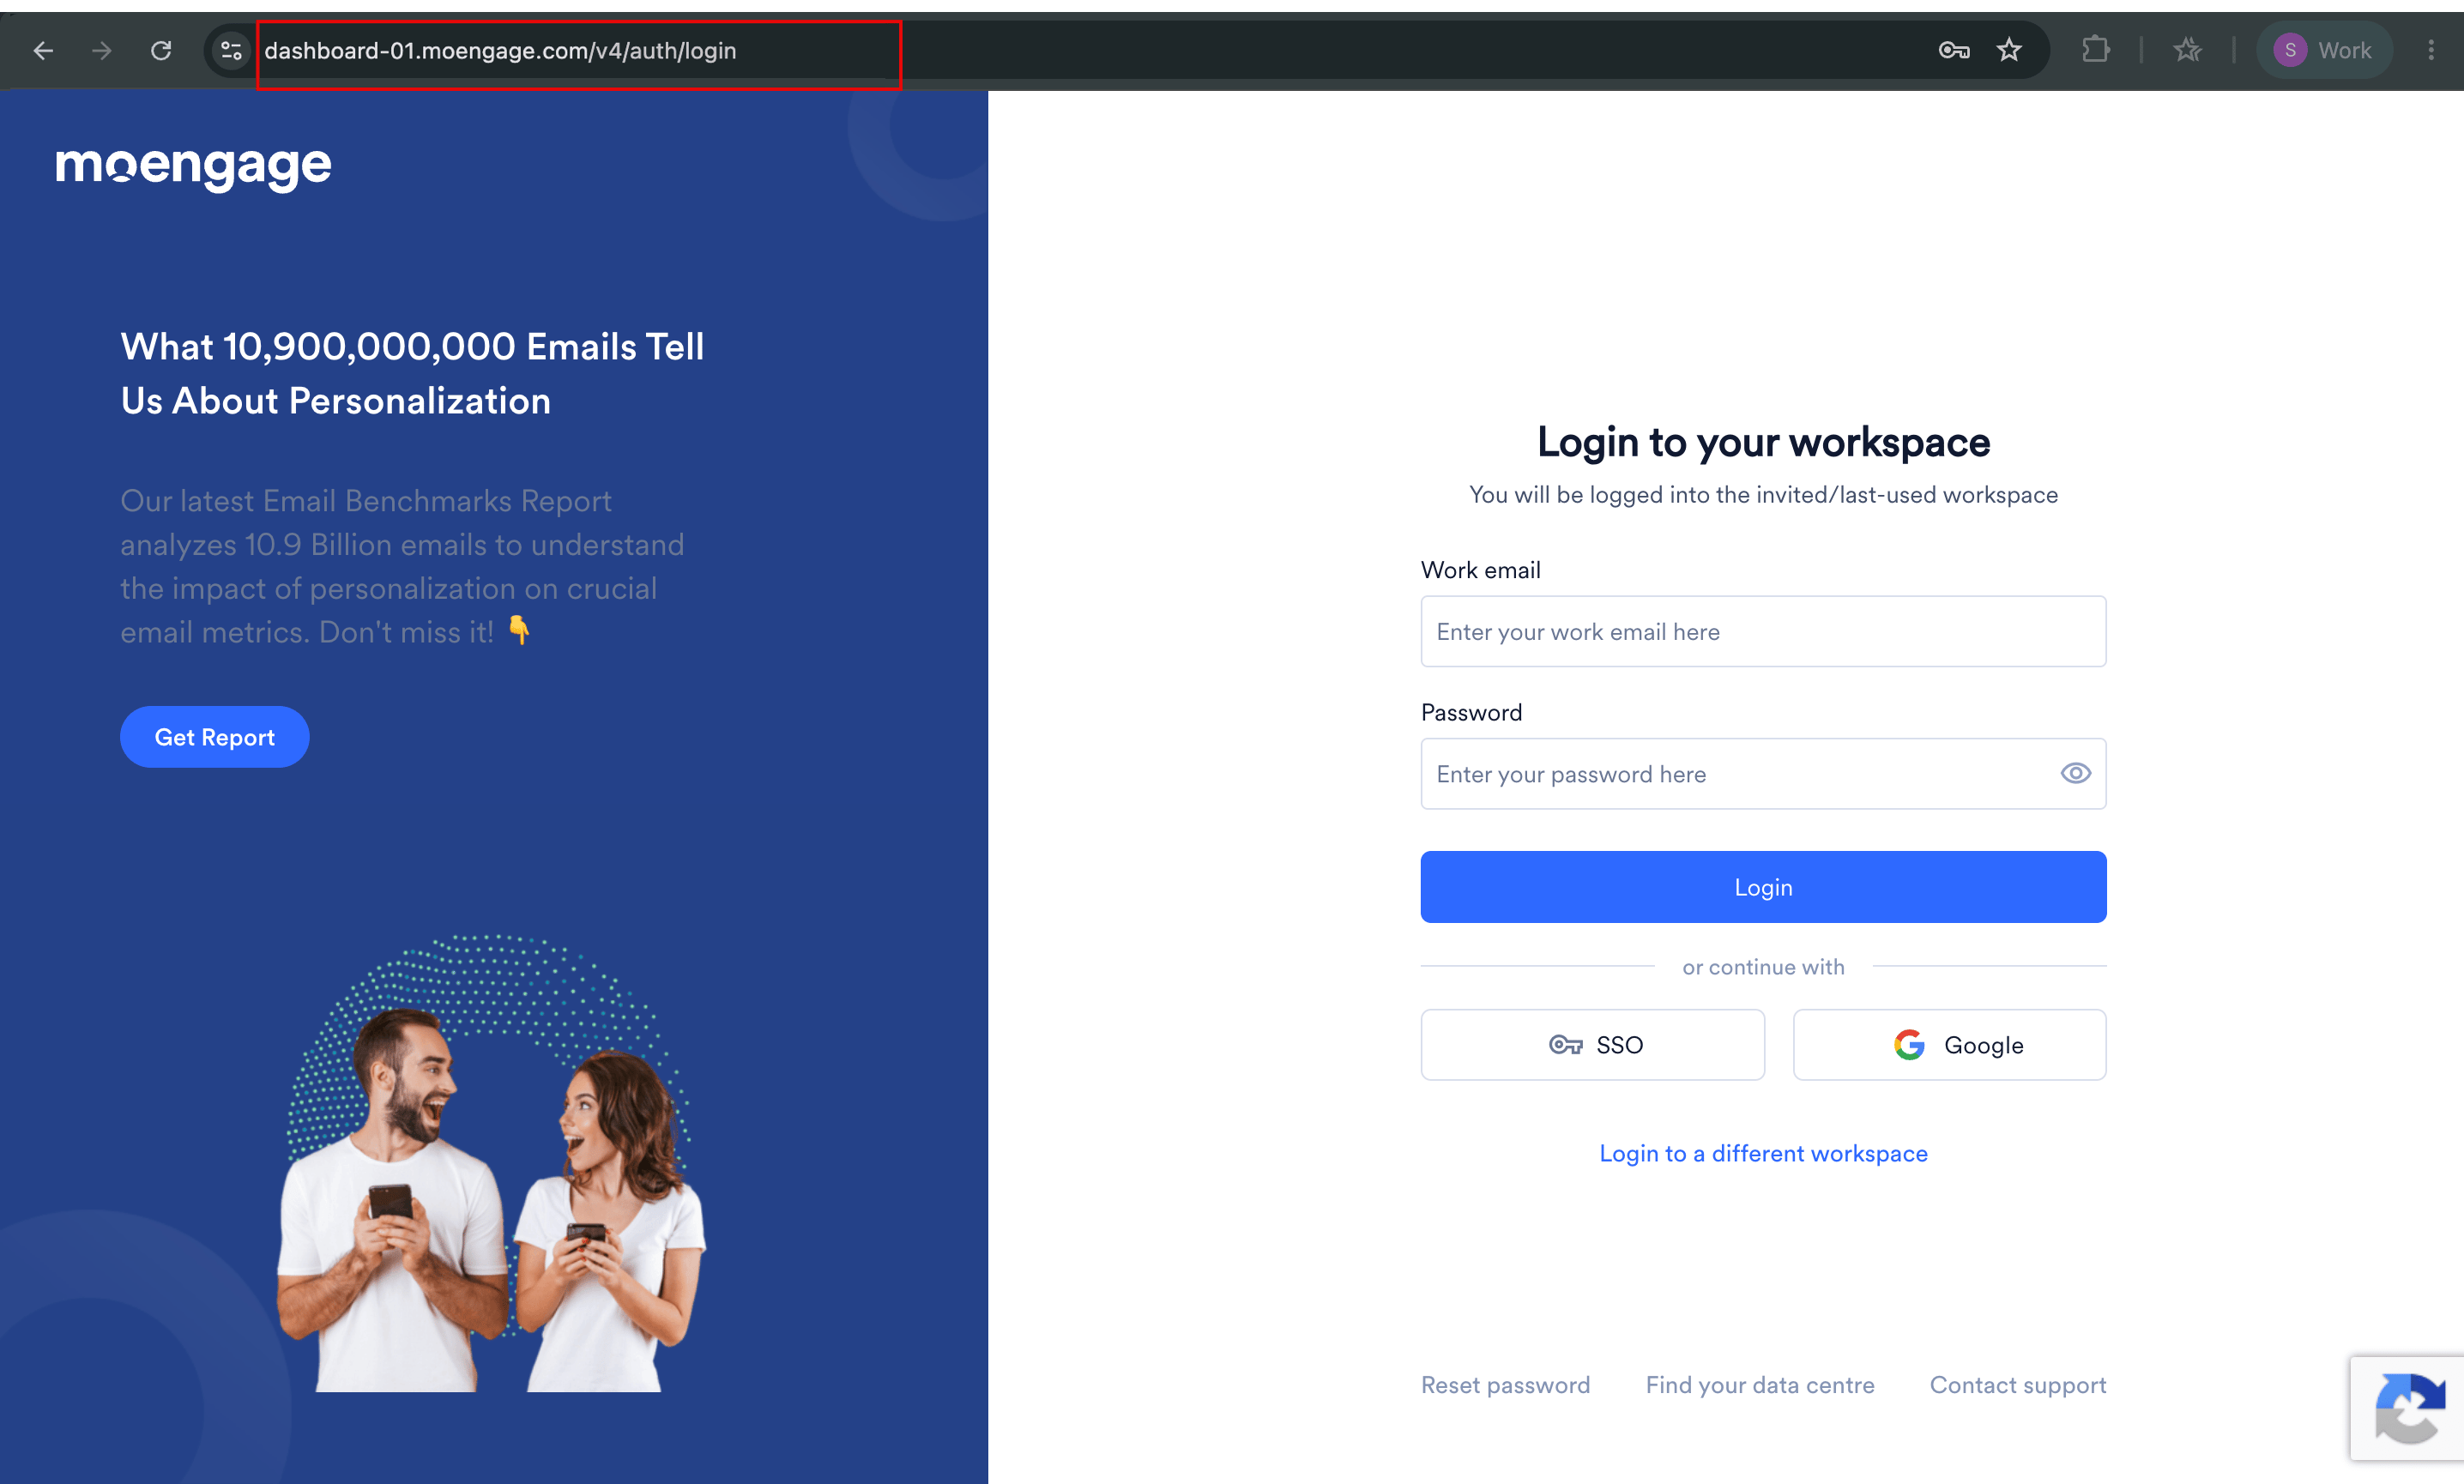
Log In to Your Last-Used Workspace
Log in to your last-used workspace from its data center login page. When you log in for the first time, MoEngage redirects you to your invited workspace. Your Admin configures which login method your workspace uses:- Password
- Google
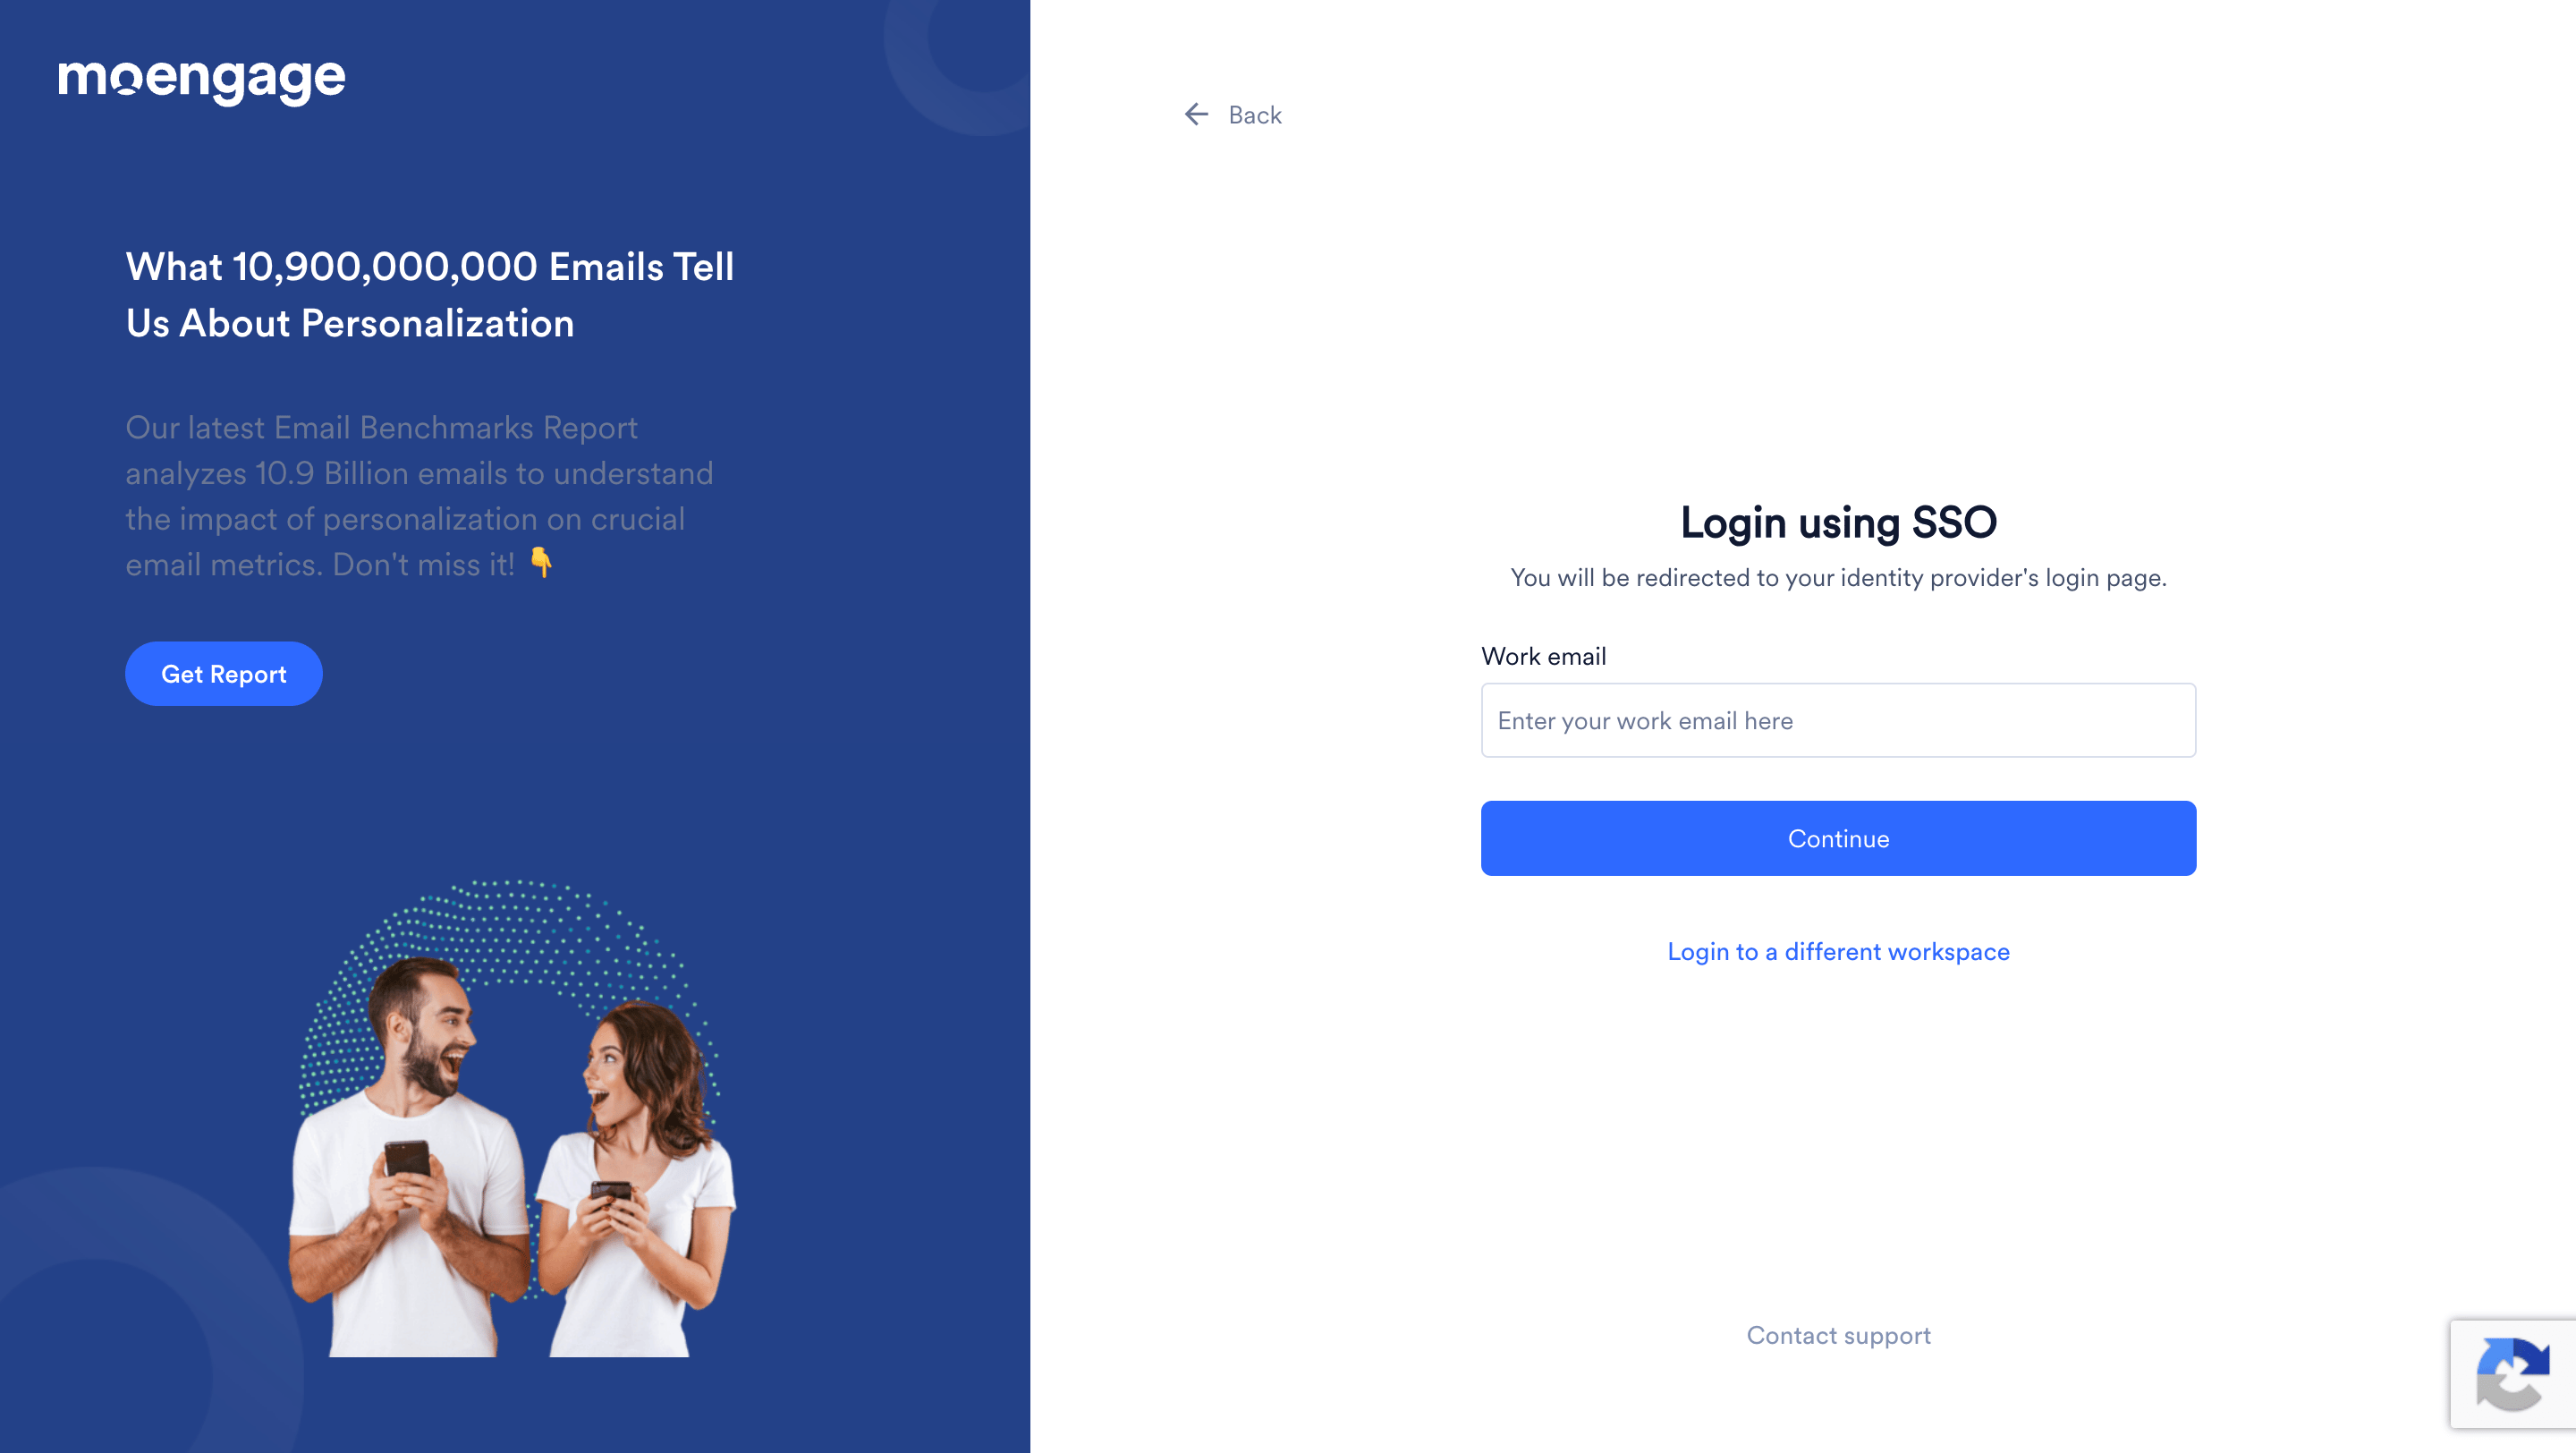
- SSO
- In a web browser, go to the URL of your MoEngage workspace. The login page appears.
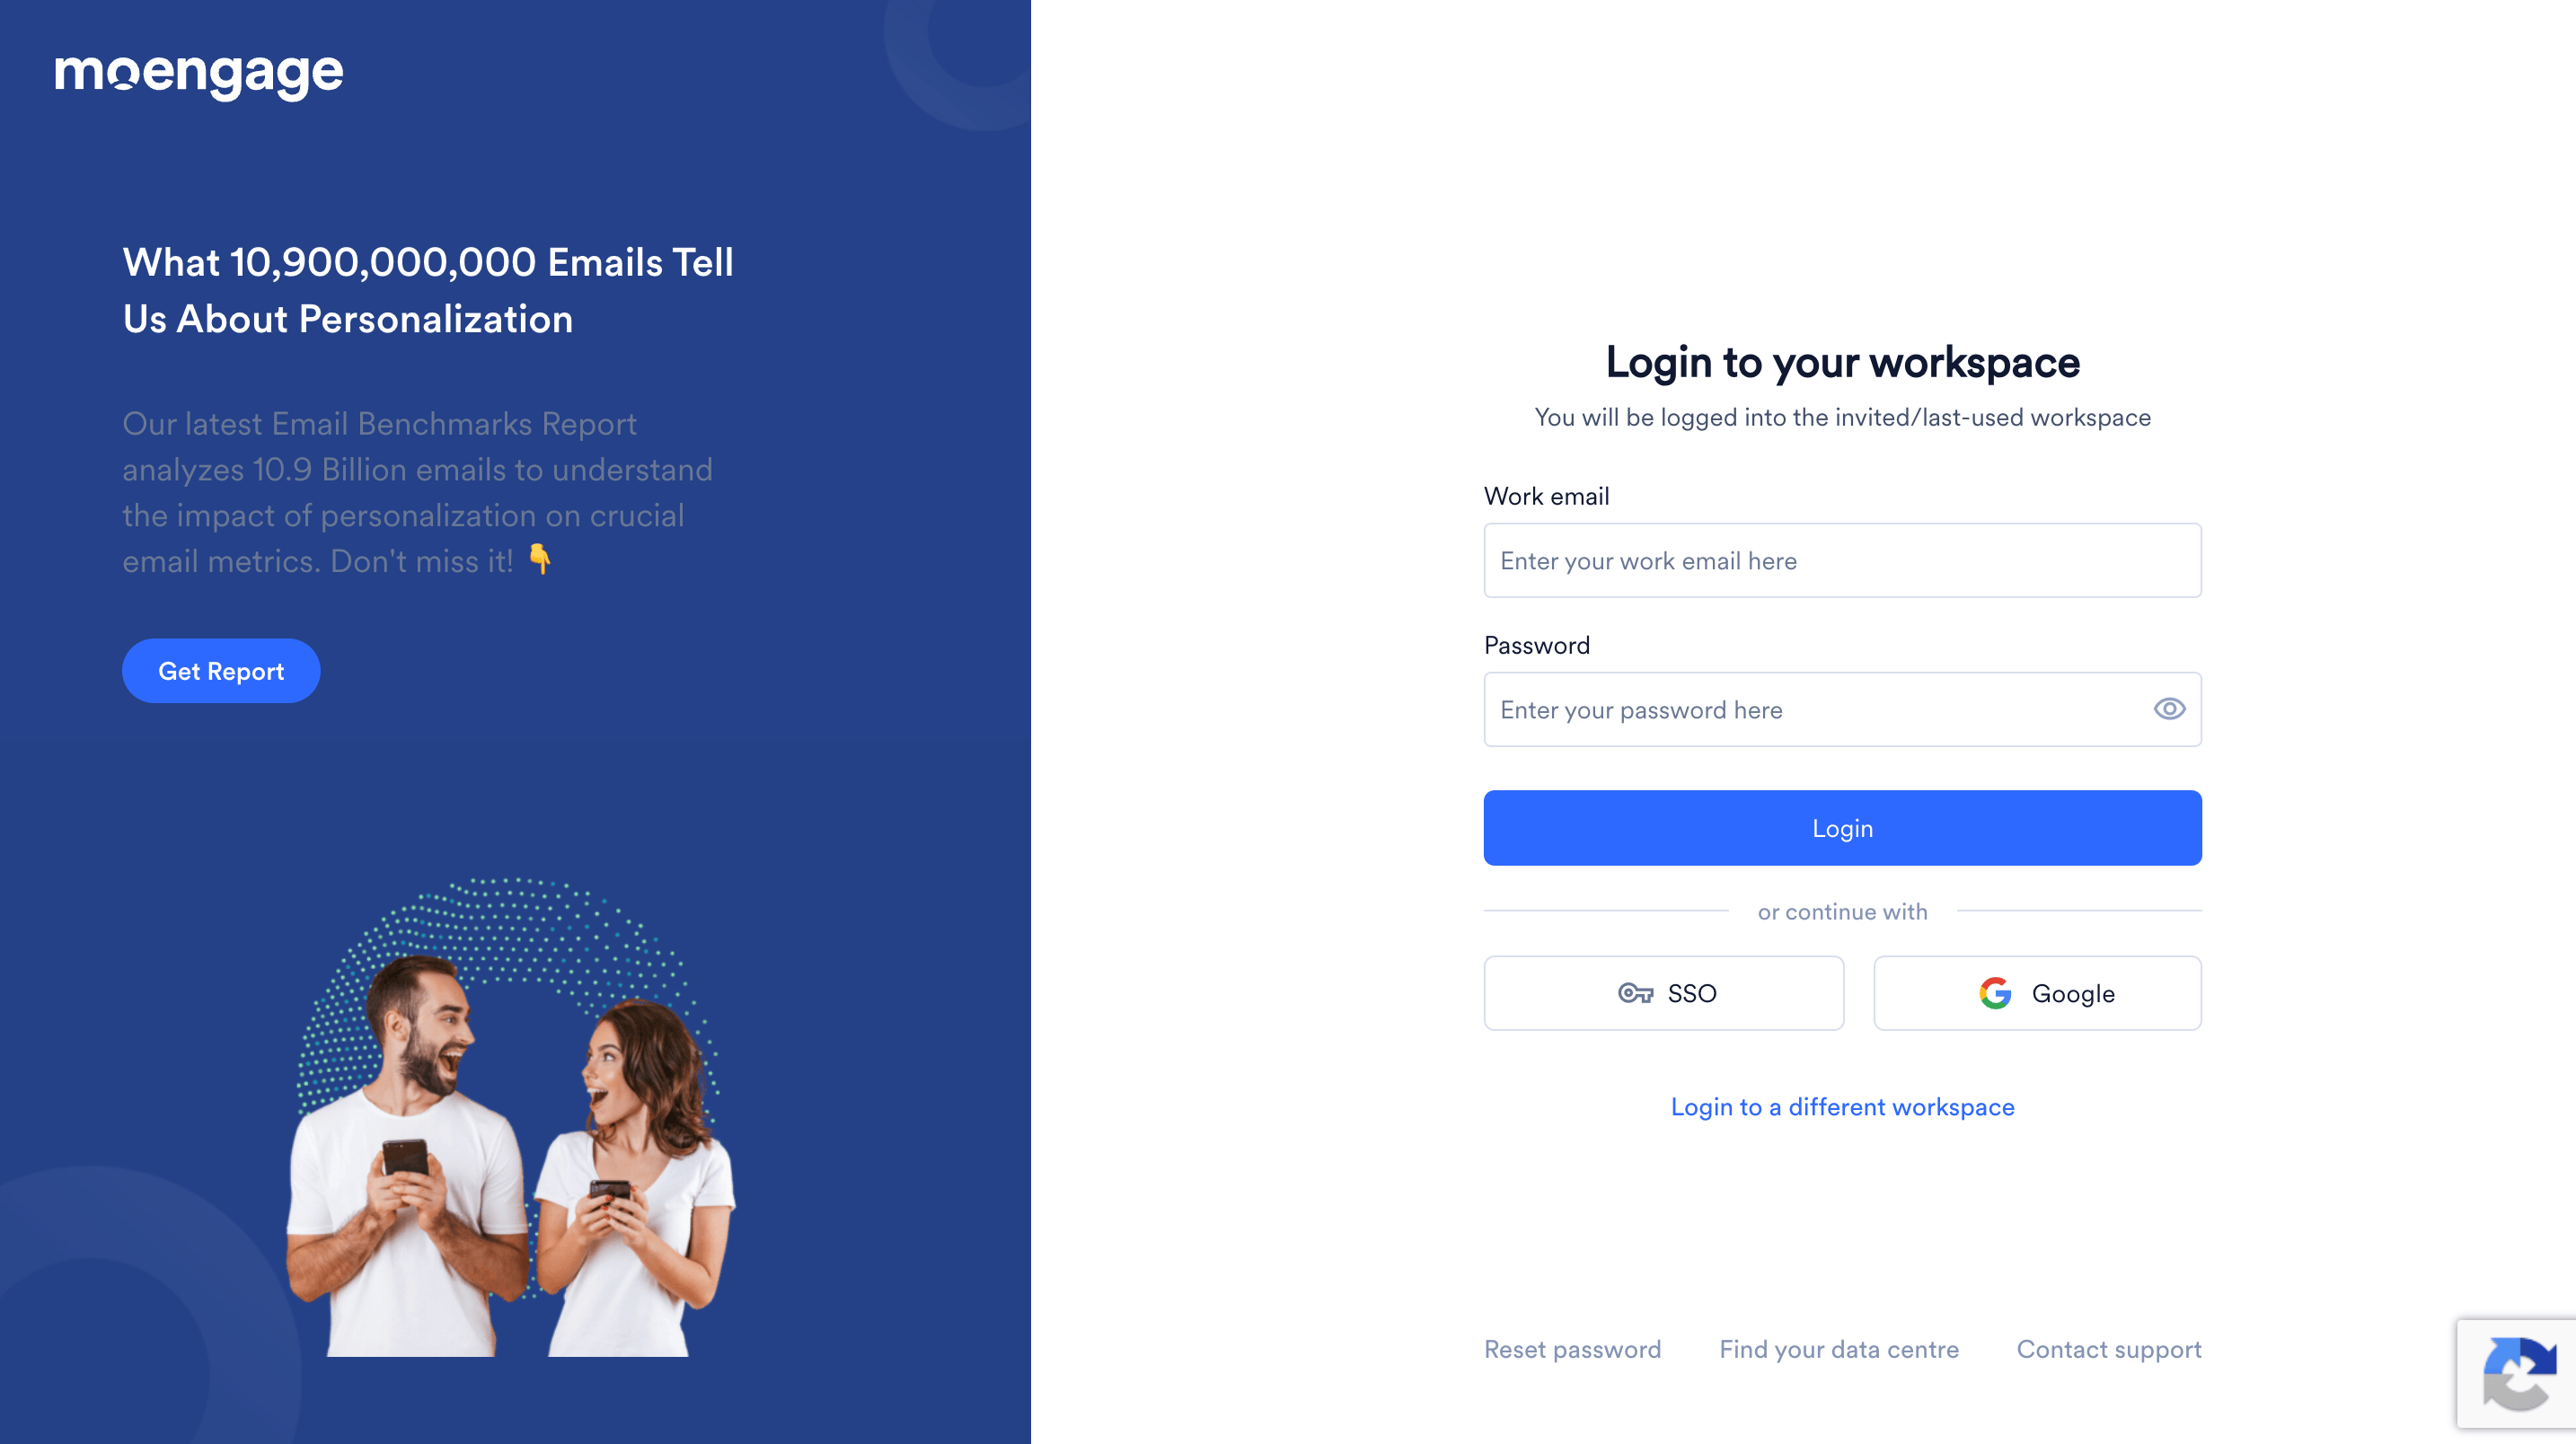
- In the Work email box, type your email address.
- In the Password box, type your password.
- Click Login. 2-step verification is mandatory when you log in with a password. Refer to Complete 2-Step Verification below.
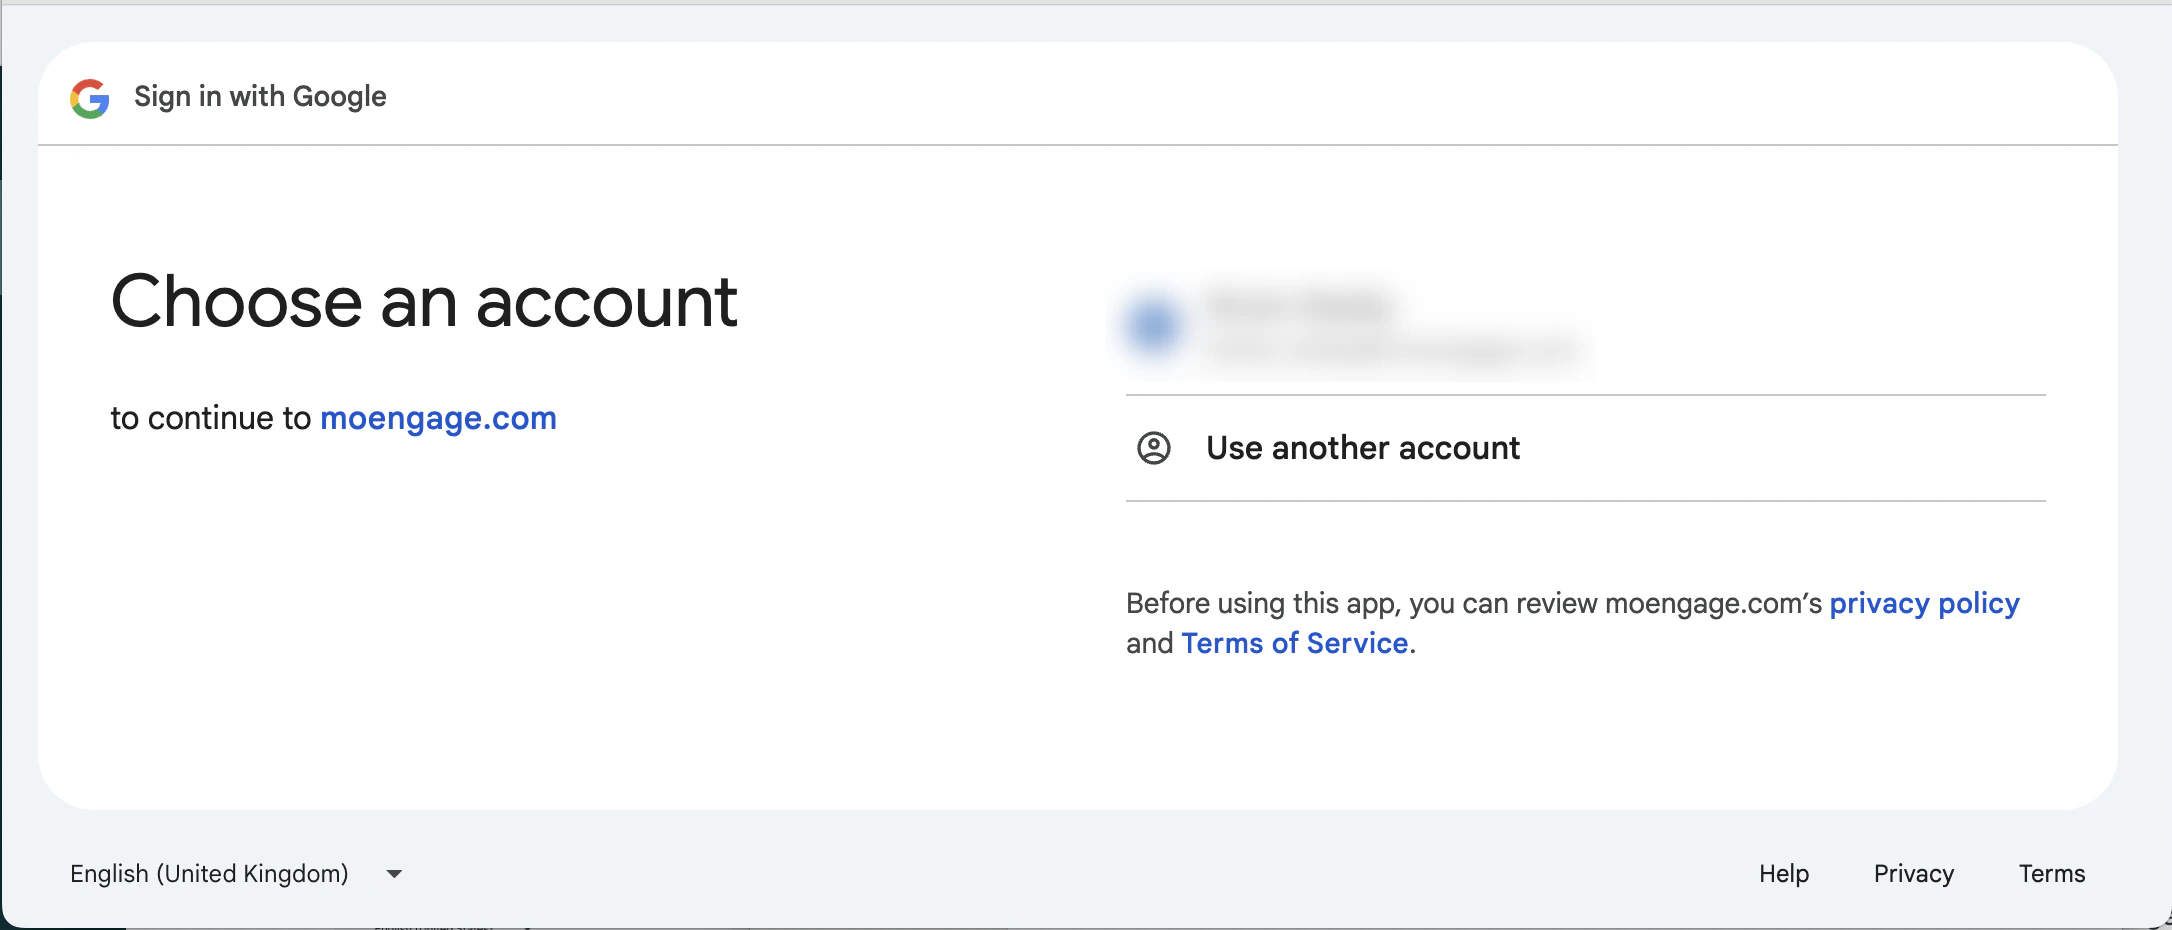
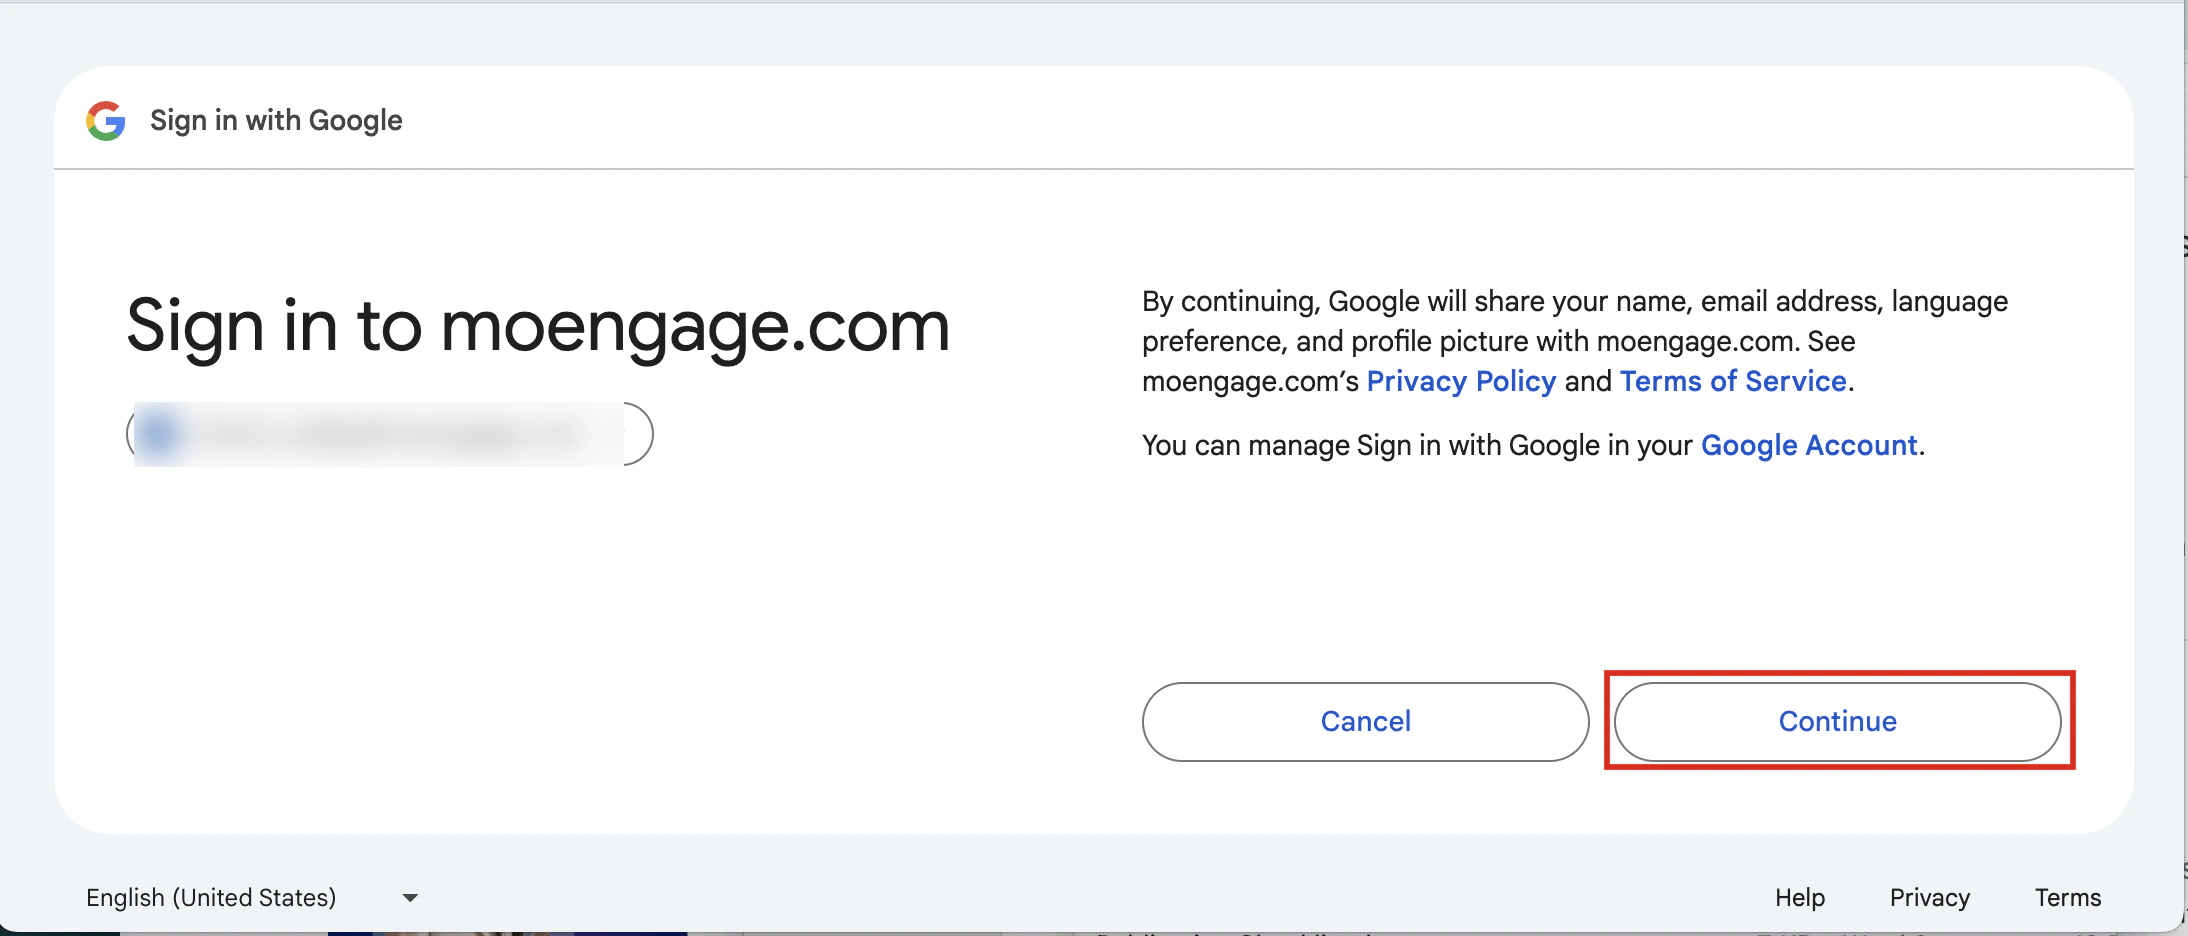 2-step verification is mandatory when you log in with Google. Refer to
  The Login using SSO page appears, with your email pre-filled if you entered it on the previous screen.
Log Into a Different Workspace
Use this flow to log in to any workspace you’re authorized to use. Identity verification happens first (before workspace access checks), so an access issue with one workspace does not affect the others.Choose a different workspace
Enter your email
Verify your identity
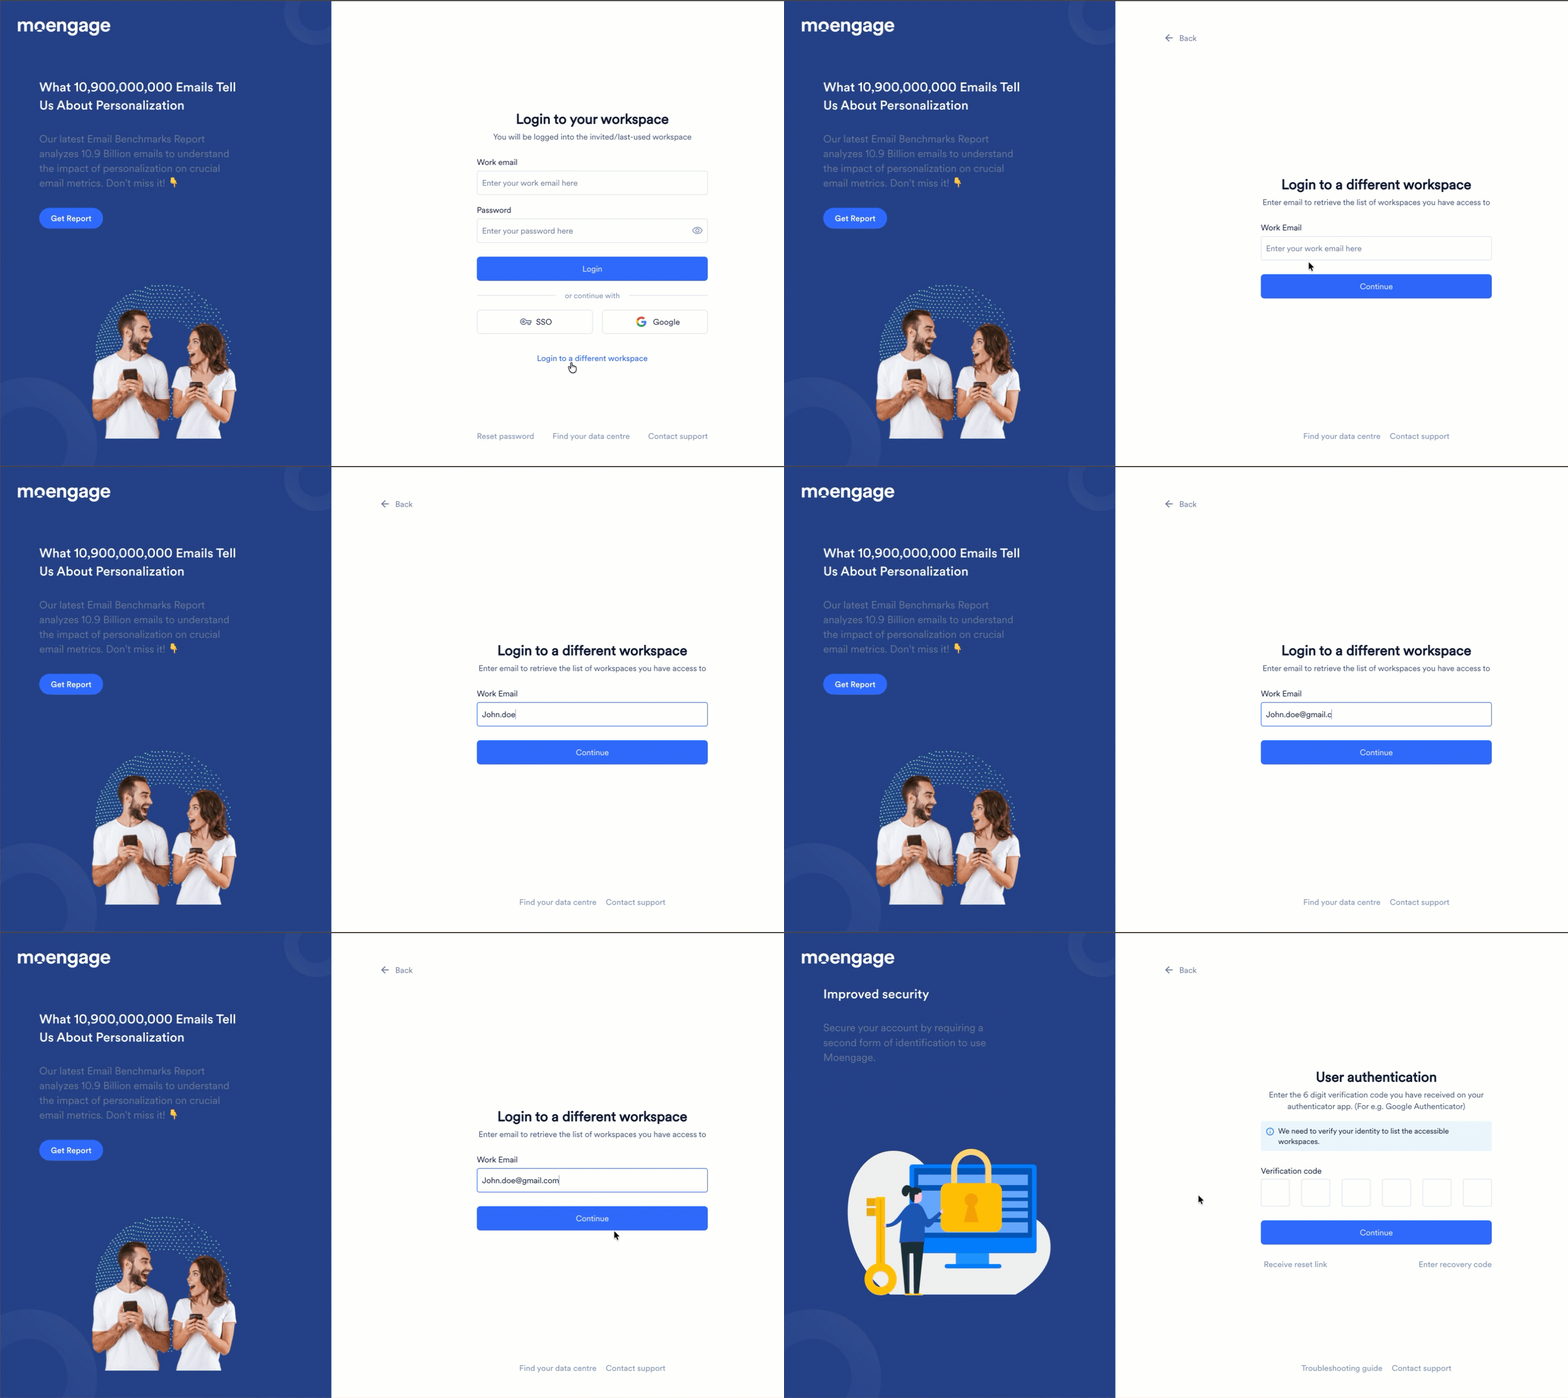
Select a workspace and environment
- Workspace name
- Whether it’s your last-used workspace
- Login method
- Environment (Live or Test)
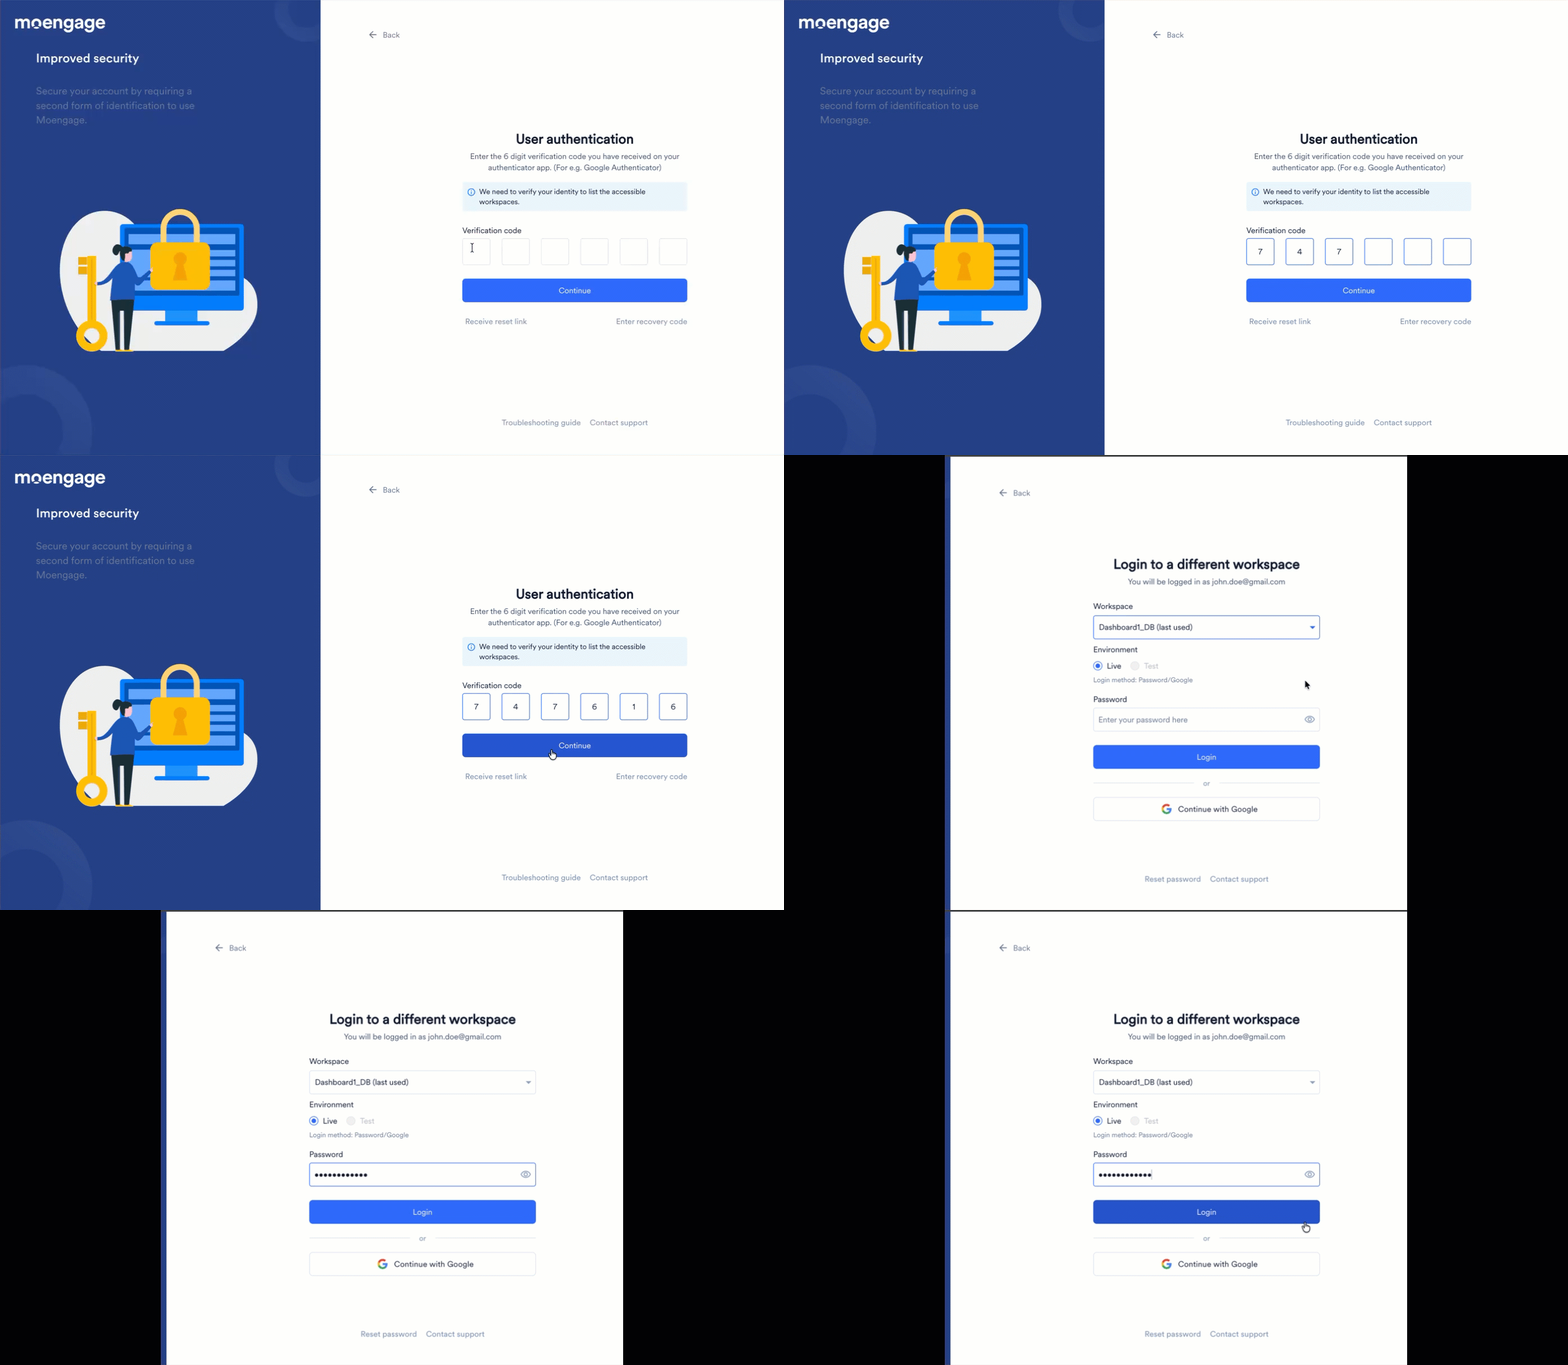
Complete workspace authentication
- Password: Enter your password and click Login.
- Google Sign-In: Click Google and choose your Google account.
- SSO: Click SSO to be redirected to your organization’s Identity Provider (IdP).
Log In via MCP Connection
Connect AI assistants (such as Claude and ChatGPT) via the MoEngage MCP (Model Context Protocol) server to work with your campaigns and data through natural-language conversation. The login flow authenticates the MCP connection rather than the dashboard, and has its own session behavior. For the full login flow, session details, and setup, see MoEngage MCP Server and Connector.Complete 2-Step Verification
When 2-step verification is enabled, MoEngage shows the 2-Step Verification page after you authenticate. On first setup: MoEngage prompts you to configure 2-step verification. Refer to Set Up 2-Step Verification on Your Device. On subsequent logins: Enter your 6-digit code from your authenticator app: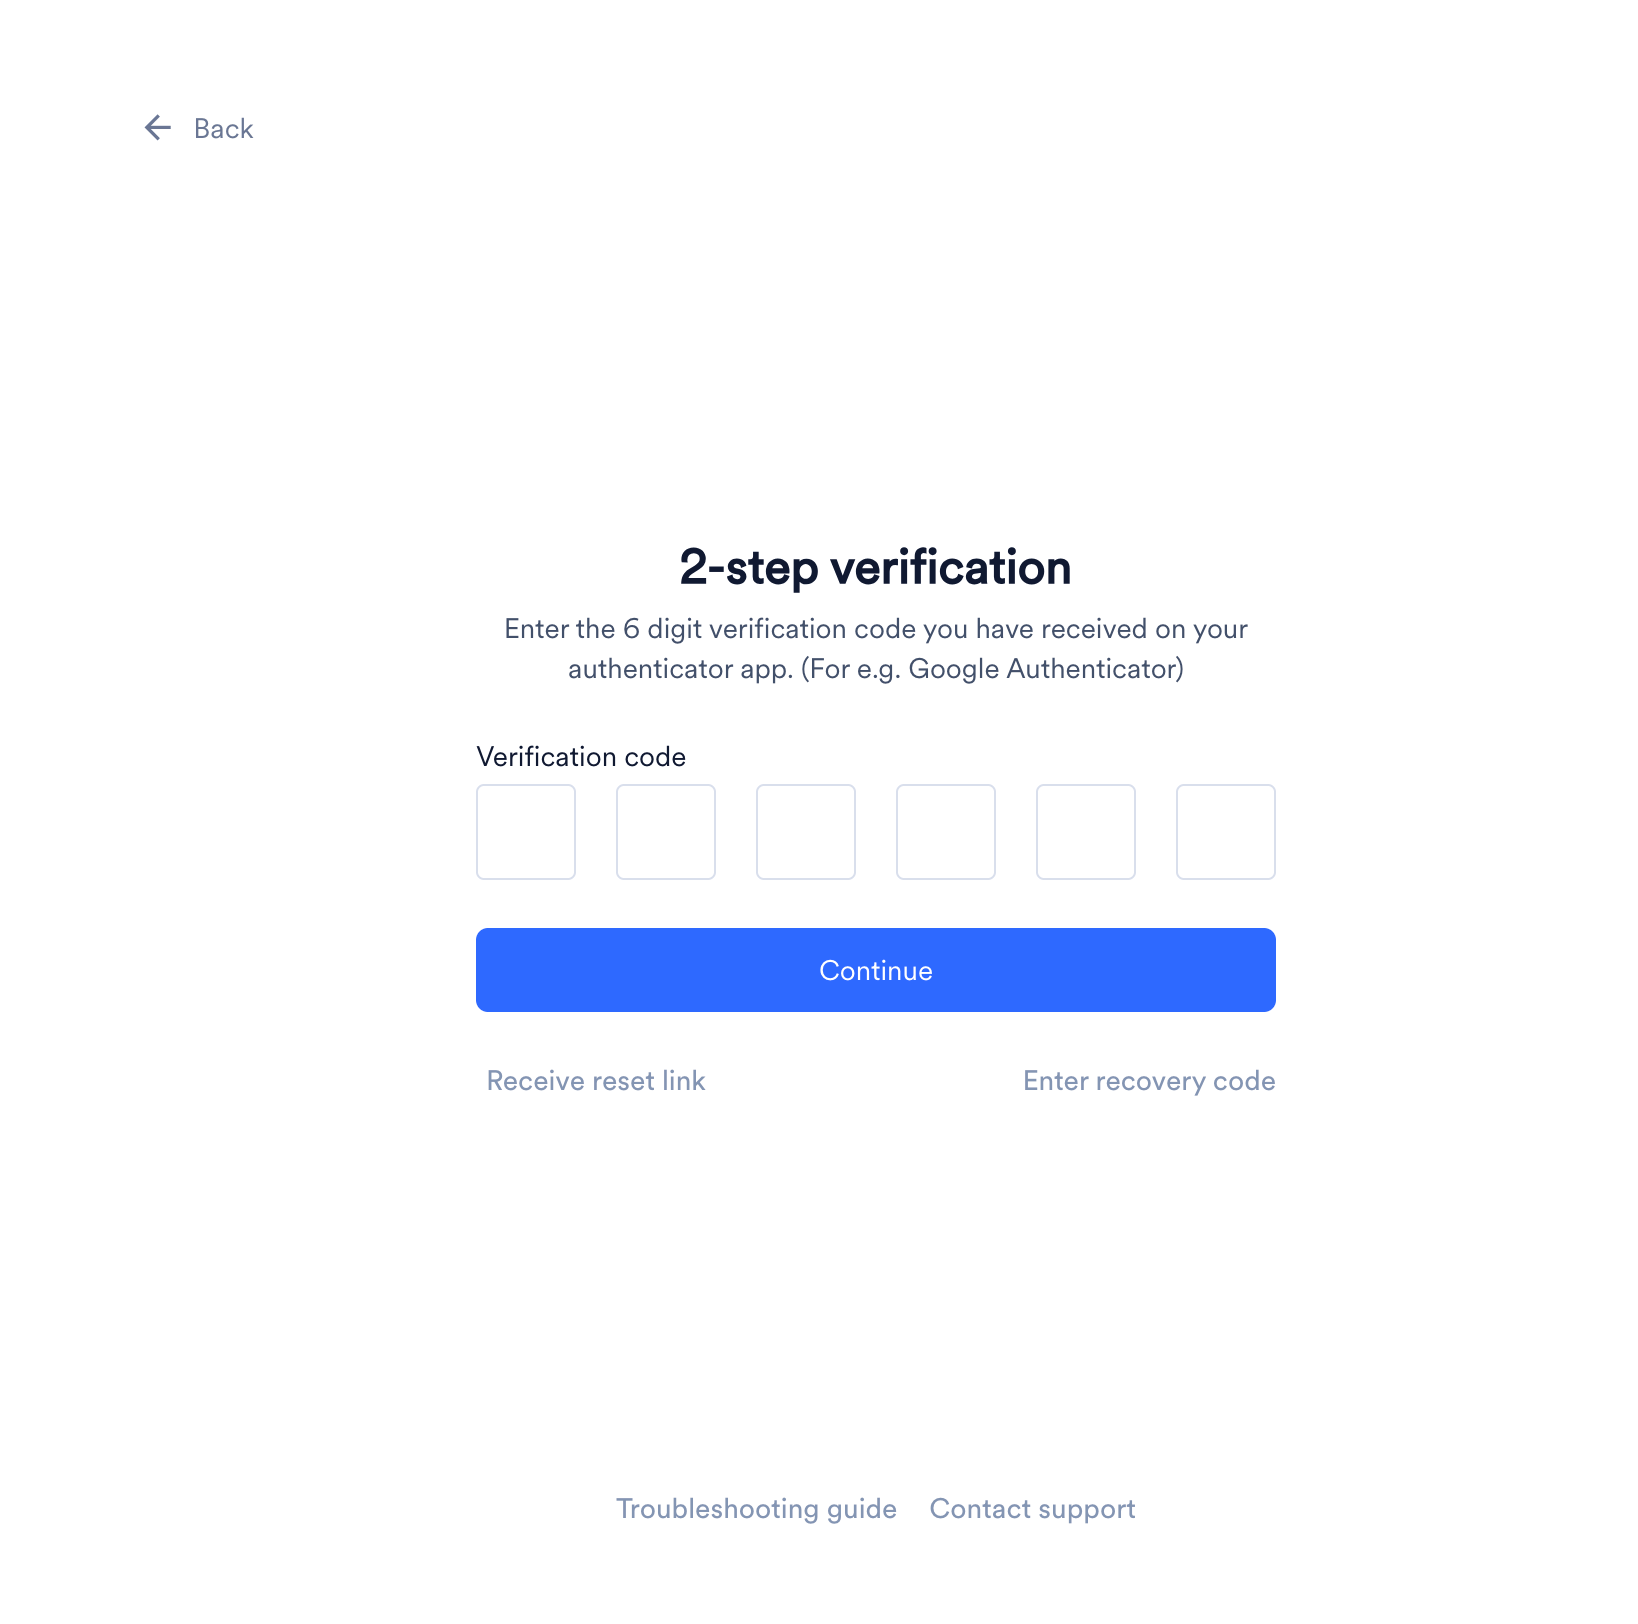
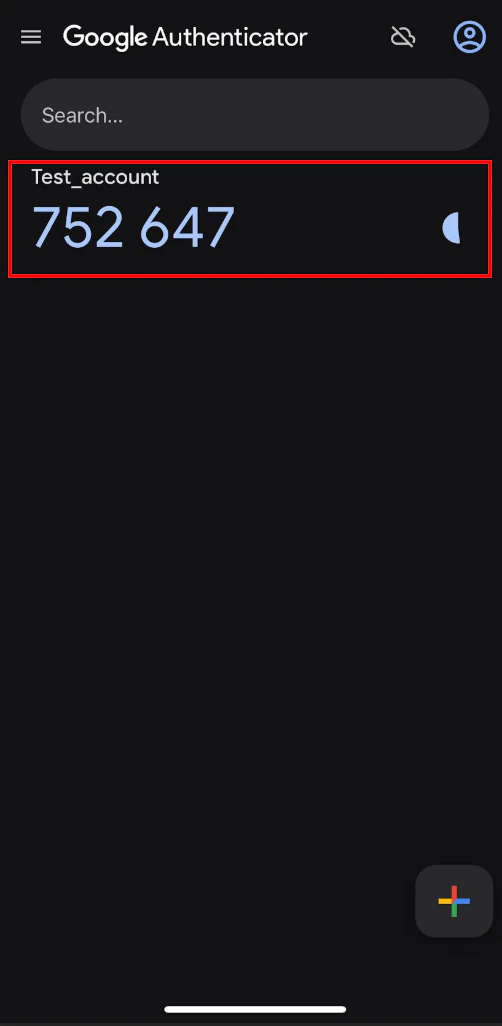
- Open the authenticator app on your device and find the 6-digit code for your MoEngage workspace.
- On the 2-Step Verification page, type the code in the Verification code boxes.
- Click Continue. MoEngage logs you in to the dashboard.
Set Up 2-Step Verification on Your Device
2-step verification requires a code from an authenticator app. Your app generates a new 6-digit code every 30 seconds. Set it up once and use it at every login.When is 2-step verification required and how it works
When is 2-step verification required and how it works
- Admin signs up for MoEngage or creates a new workspace (enabled by default).
- You’re invited to a workspace with 2-step verification enabled. A prompt appears after finishing your workspace setup.
- Admin enables 2-step verification after you’ve logged in. You’re logged out automatically and prompted on your next login.
- You enable it for your own account in My Profile.
- Workspace level: Whether 2-step verification applies to everyone in a workspace depends on the workspace’s login method. If the login method is Password or Google sign in or Google Sign In only, 2-step verification is mandatory for every user for security reasons, and your Admin cannot disable it. Only workspaces that use Single Sign On (SSO) only can have it turned off, from Settings > Security > 2-step verification.
- User level: If your workspace uses SSO and your Admin hasn’t enforced 2-step verification, you can still enable it for your own account from My Profile.
Configuration Steps
-
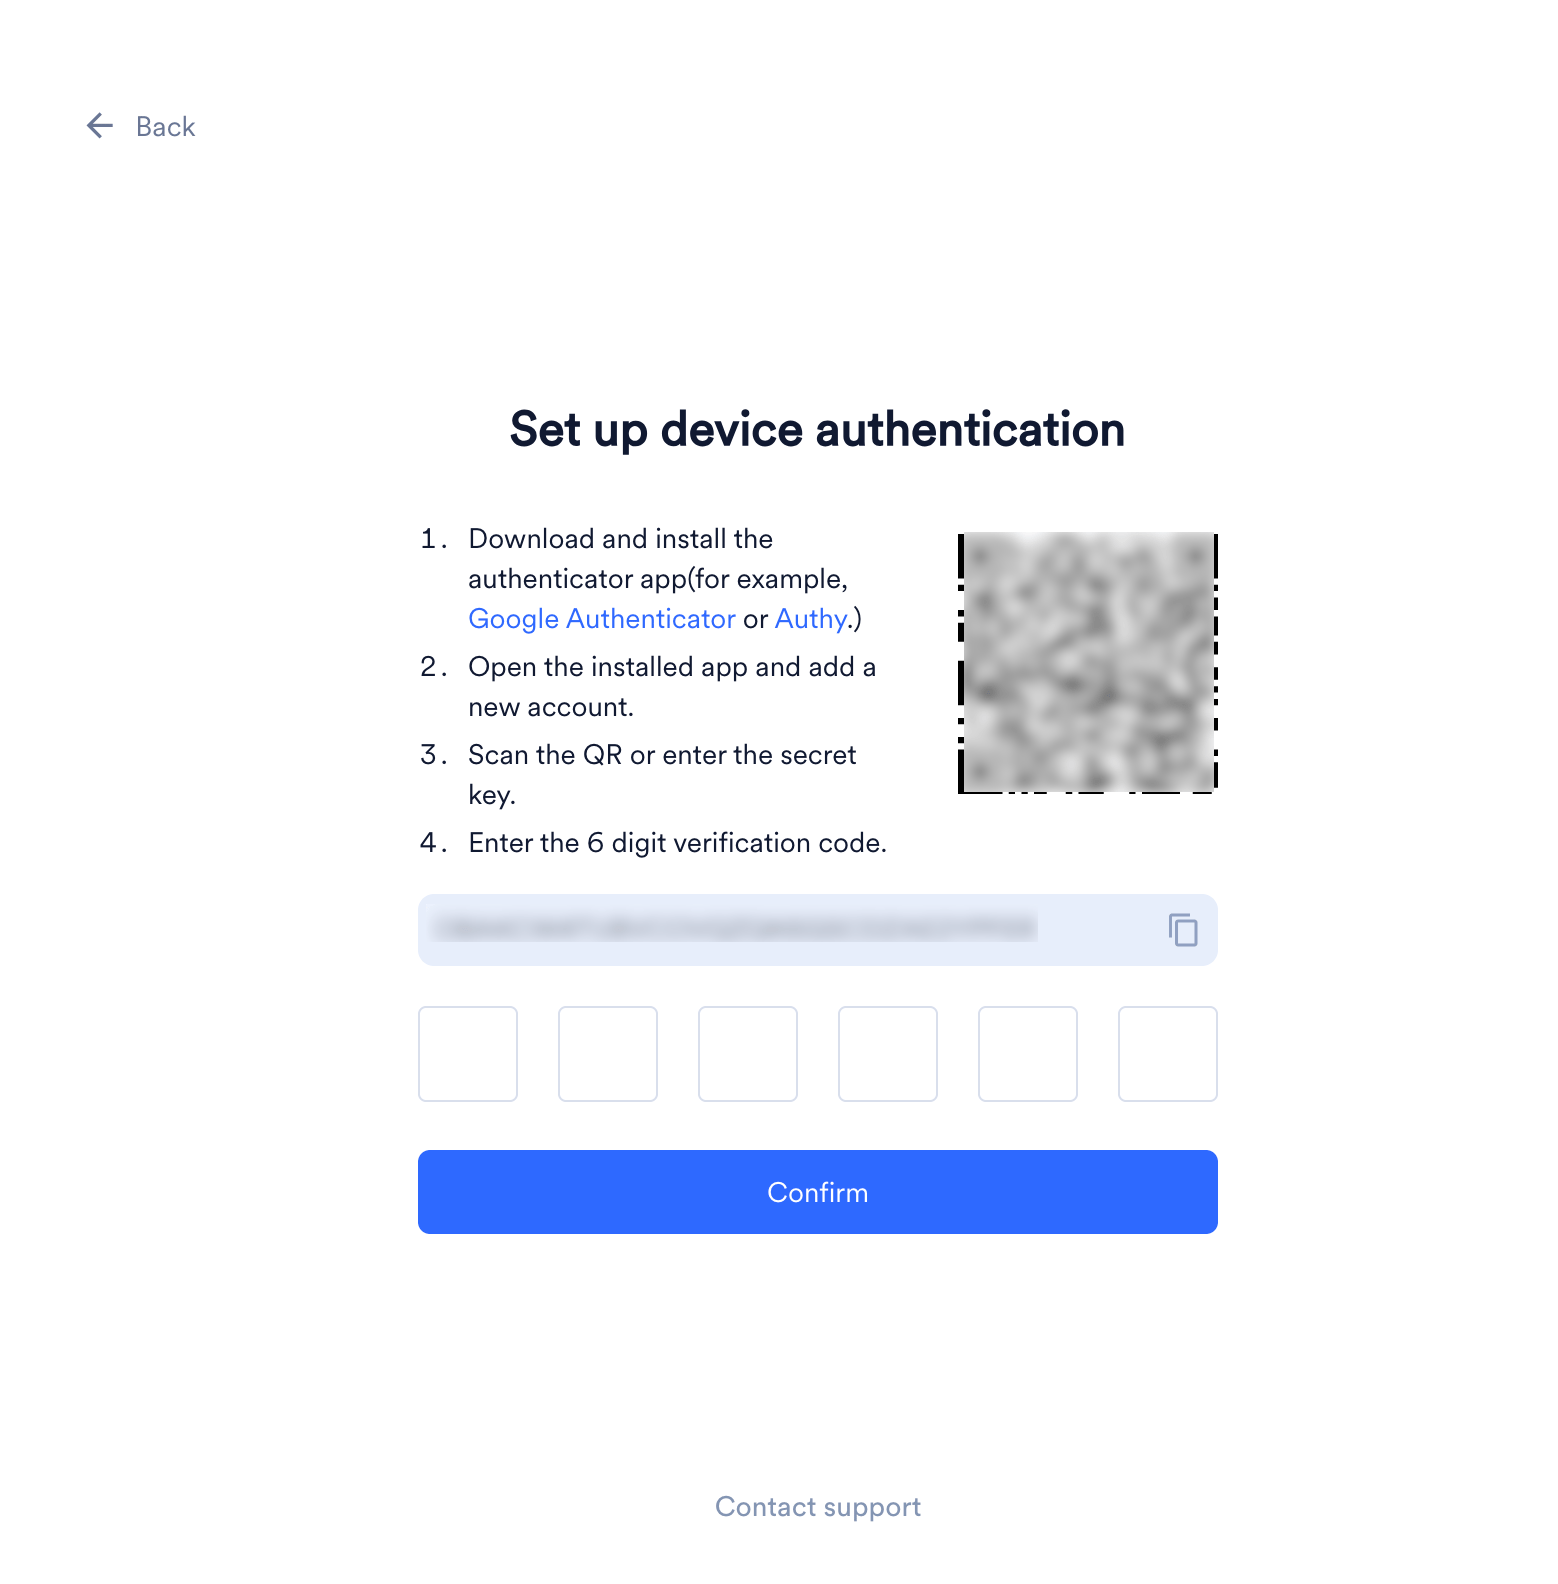
On the 2-Step Verification page, click Setup device Authentication. The Set your device authentication page appears.
-
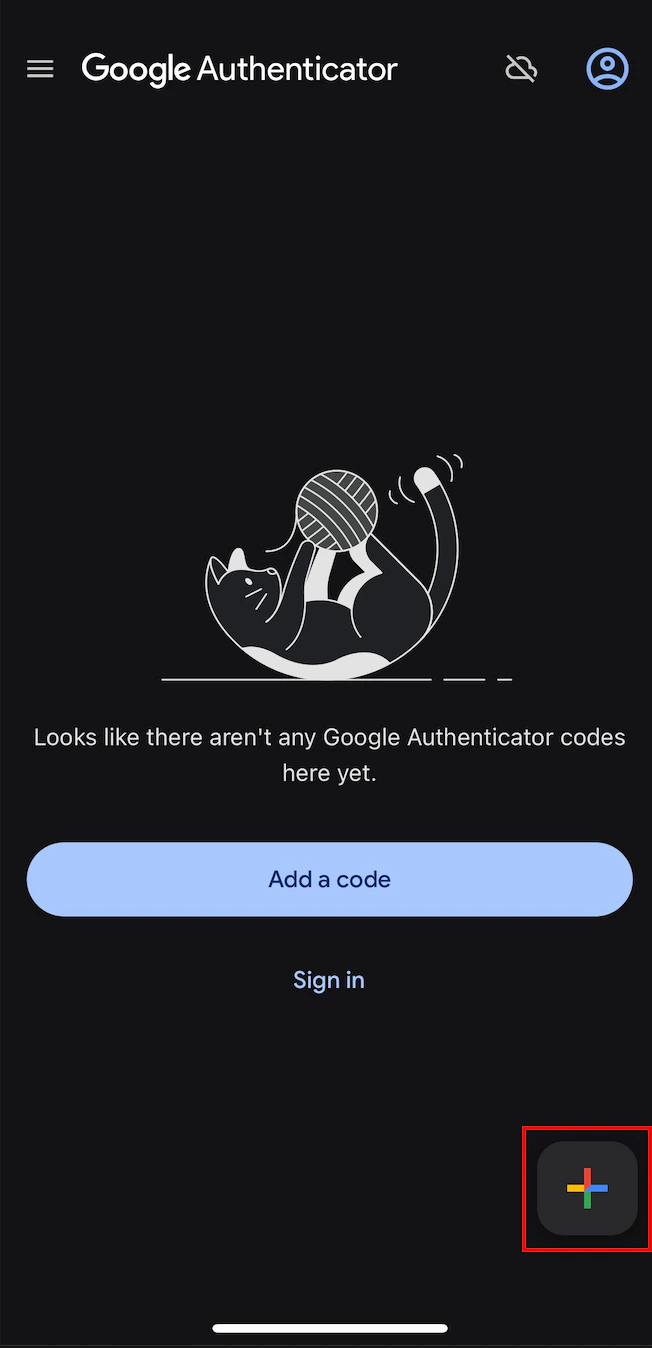
Open your authenticator app and tap the + icon.
-
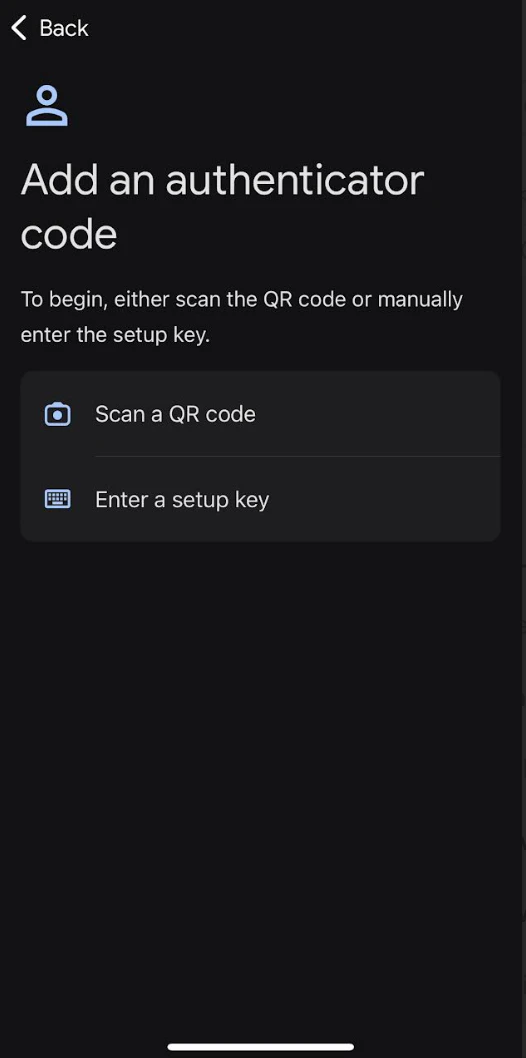
Add MoEngage to your authenticator app, use either option to add MoEngage:
- QR code
- Setup key
- Tap Scan a QR code.
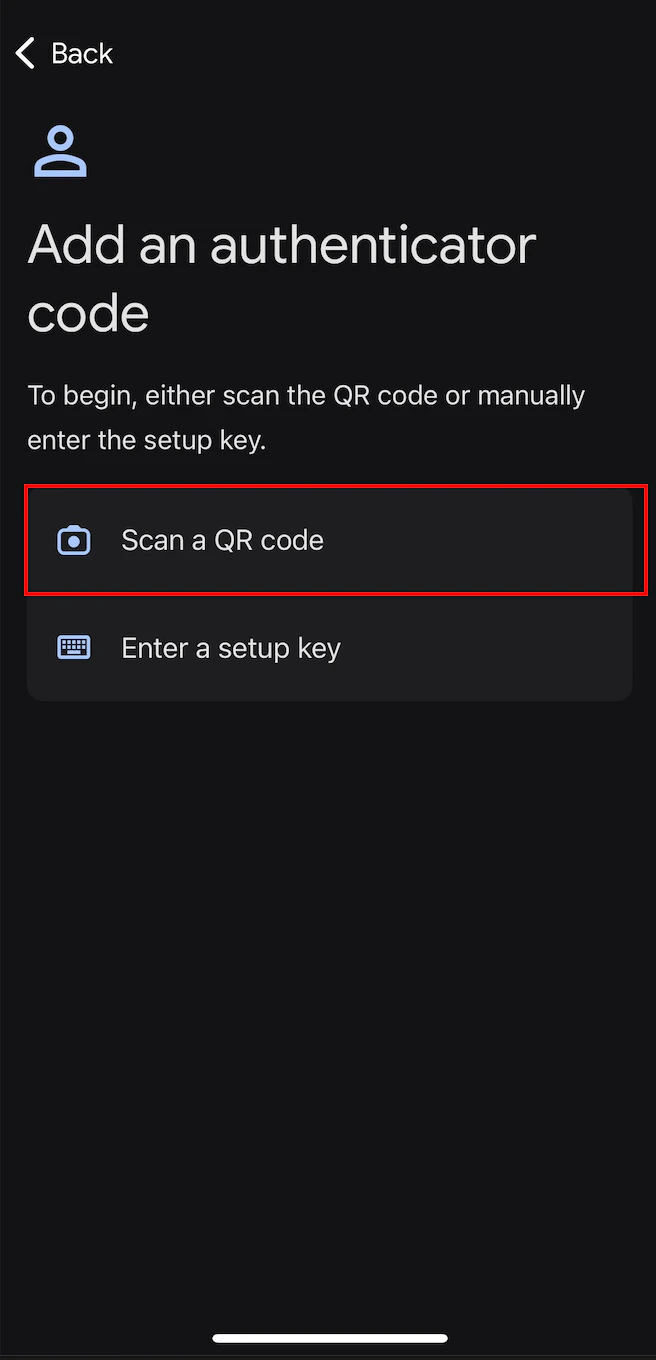
- Scan the QR code shown on the Set your device authentication page. Your authenticator app adds MoEngage and begins generating 6-digit codes.
-
In the Enter the 6 digit verification code box, type the current code from your authenticator app.
Each code is valid for 30 seconds. After that, your authenticator app generates a new code.
- Click Continue. 2-step verification is now configured on your device.
-
Click Download recovery codes to save your backup codes as a CSV file. For more information, refer to Recovery Codes.
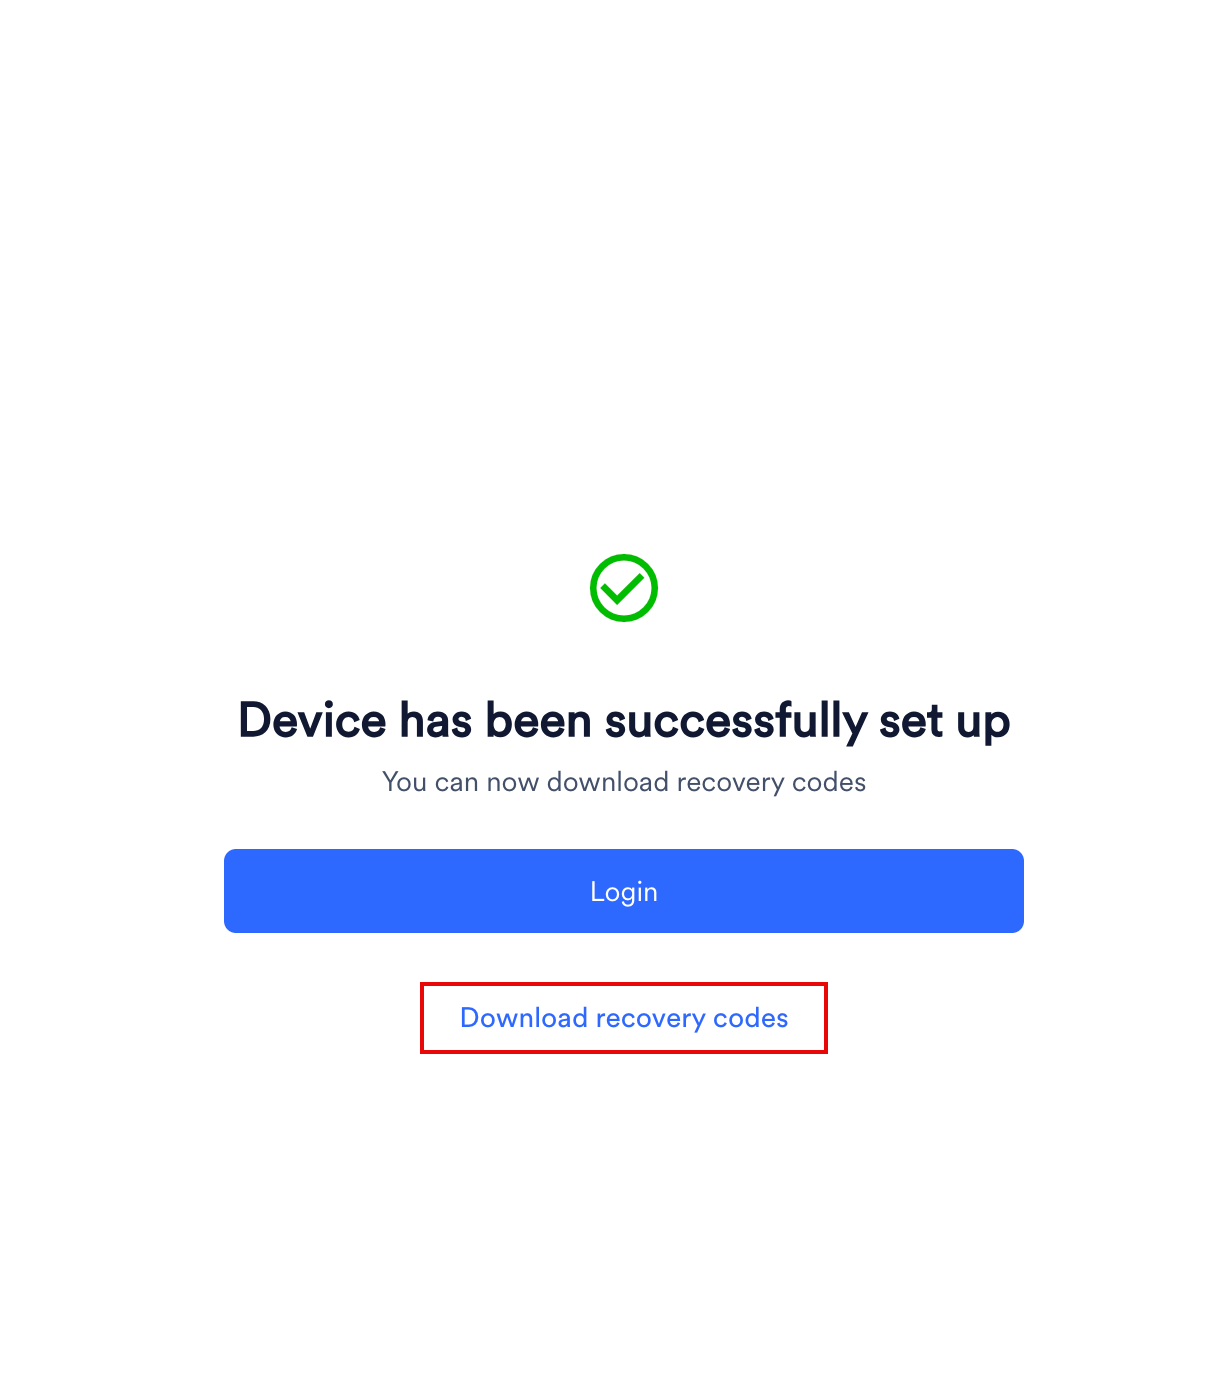
- Click Login. The Login page appears.
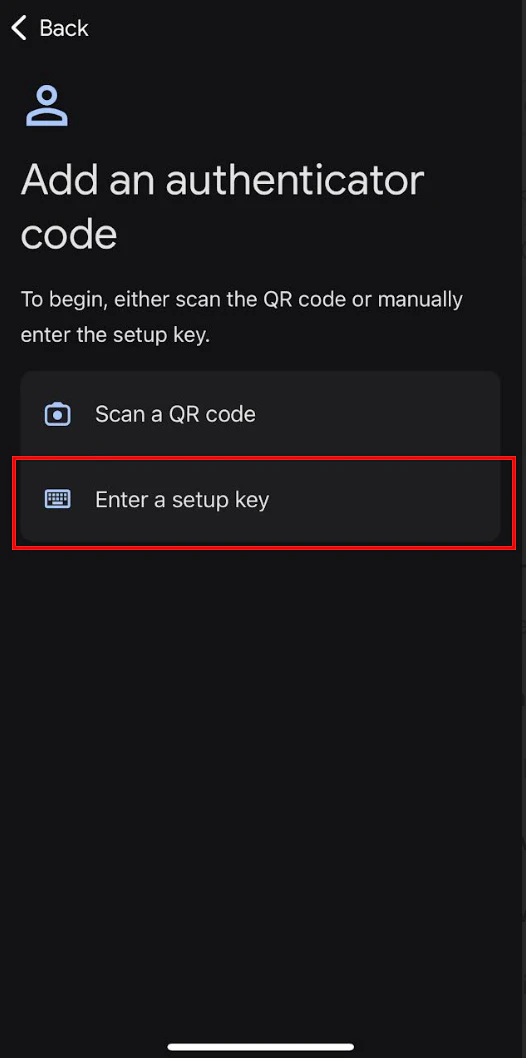
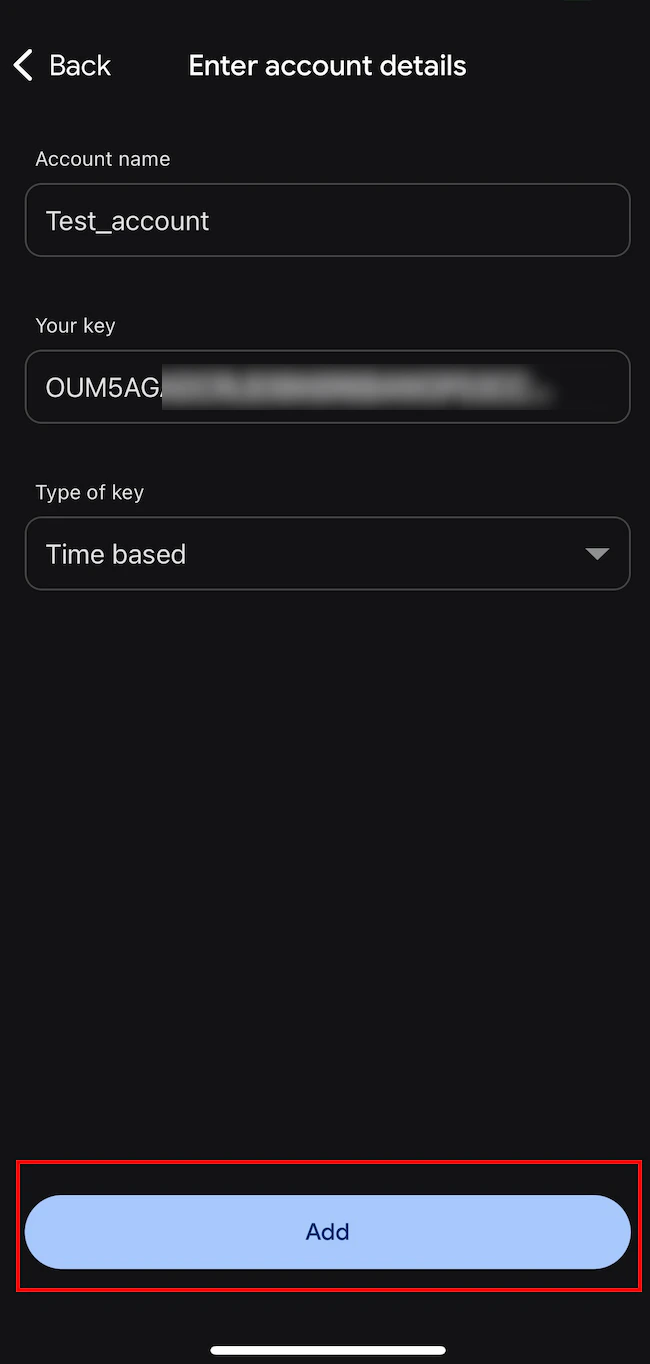
Recovery Codes
Recovery codes are 10 one-time-use backup codes you can use if your primary 2-step verification device is temporarily unavailable. MoEngage generates them when you first set up or reset 2-step verification.- Store in a secure location.
- Each code is single-use only.
- To get new codes, see Reset 2-step verification under Troubleshooting.
One-Time Password (OTP) Verification
To protect your account security, MoEngage may prompt you to enter a One-Time Password (OTP) instead of the code from your authenticator app when it detects unrecognized sign-in activity, such as logging in from a new device, a different location, an unfamiliar IP address, or an unusual time. MoEngage sends the verification code immediately to your registered email address.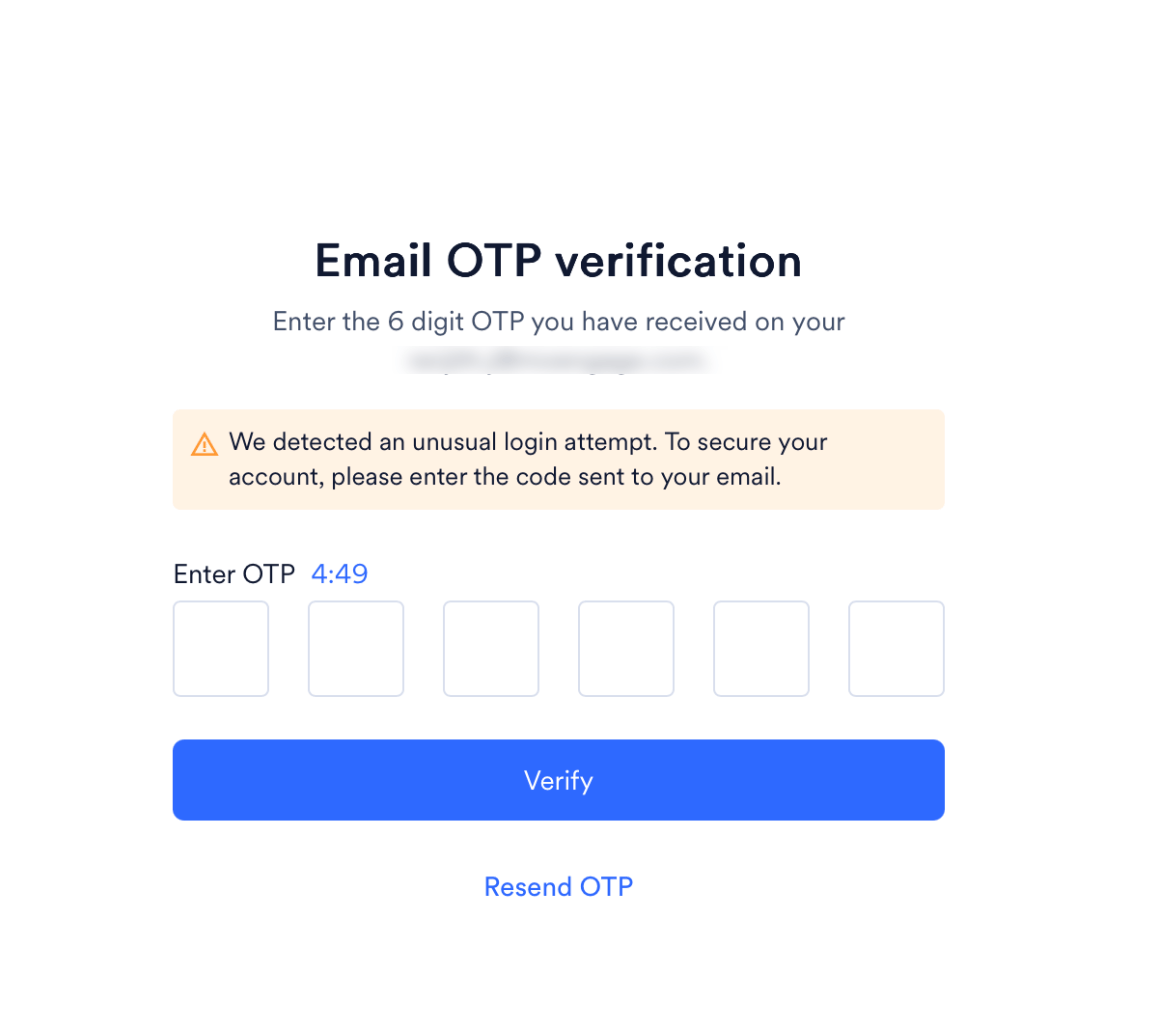
Troubleshooting
Correct codes are being rejected
Correct codes are being rejected
Login page won't load or behaves unexpectedly
Login page won't load or behaves unexpectedly
Browser Extensions Cause Errors while Resetting Password or 2-Step Verification
Browser Extensions Cause Errors while Resetting Password or 2-Step Verification
This Workspace Has Been Blocked
This Workspace Has Been Blocked
No DBs Associated With Email
No DBs Associated With Email
Changing Your Login Email Address
Changing Your Login Email Address
- Ask your Admin to invite the new email address to the workspace.
- If you no longer need access from the previous email address, ask your Admin to revoke its access.
Not sure you're on the right login page
Not sure you're on the right login page
Didn't receive a reset email
Didn't receive a reset email
Forgot Your Password
Forgot Your Password
Request a password reset
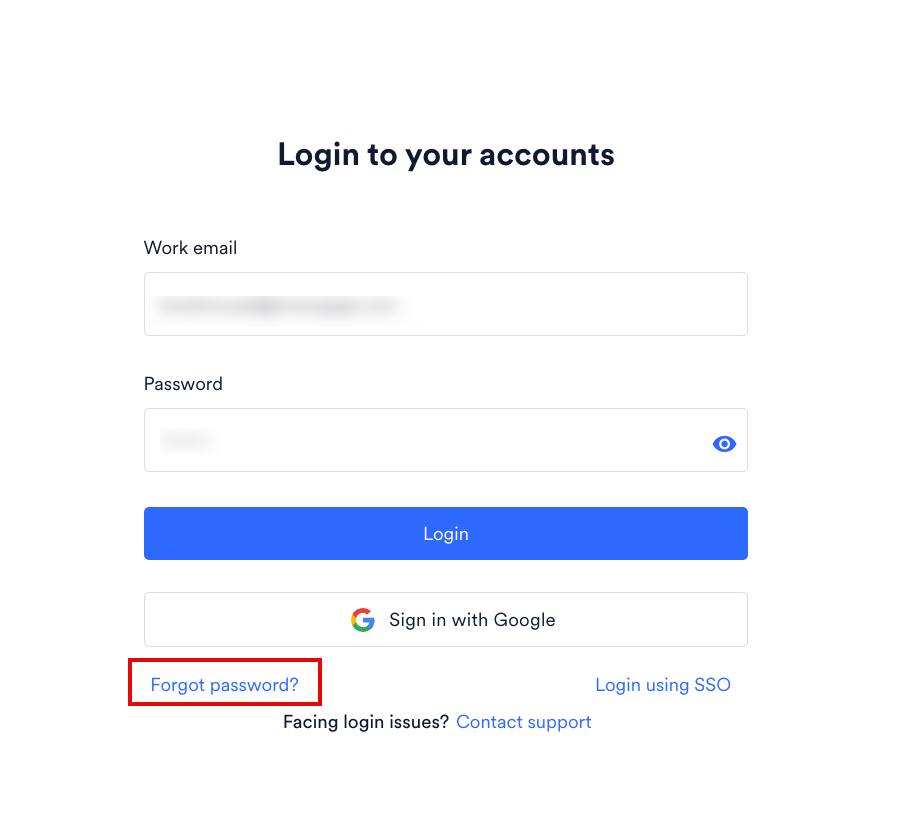
Enter your email
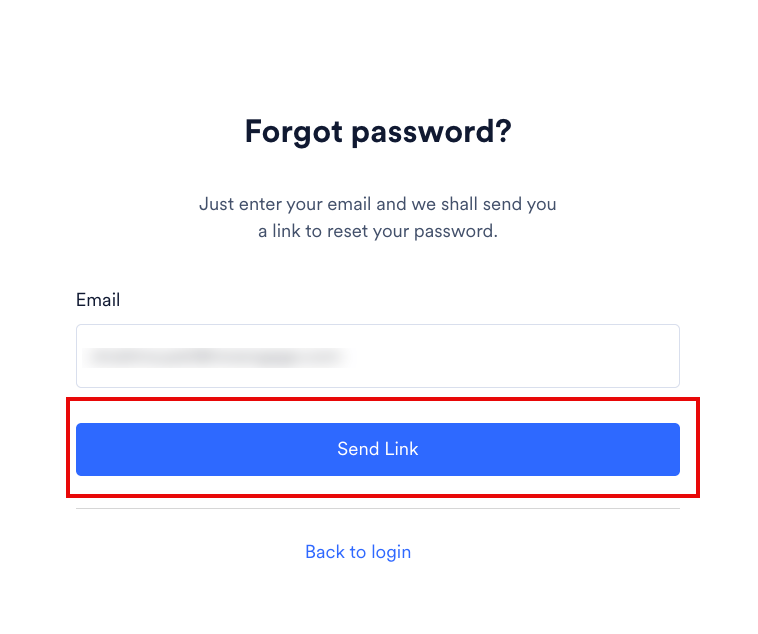
Open the reset link
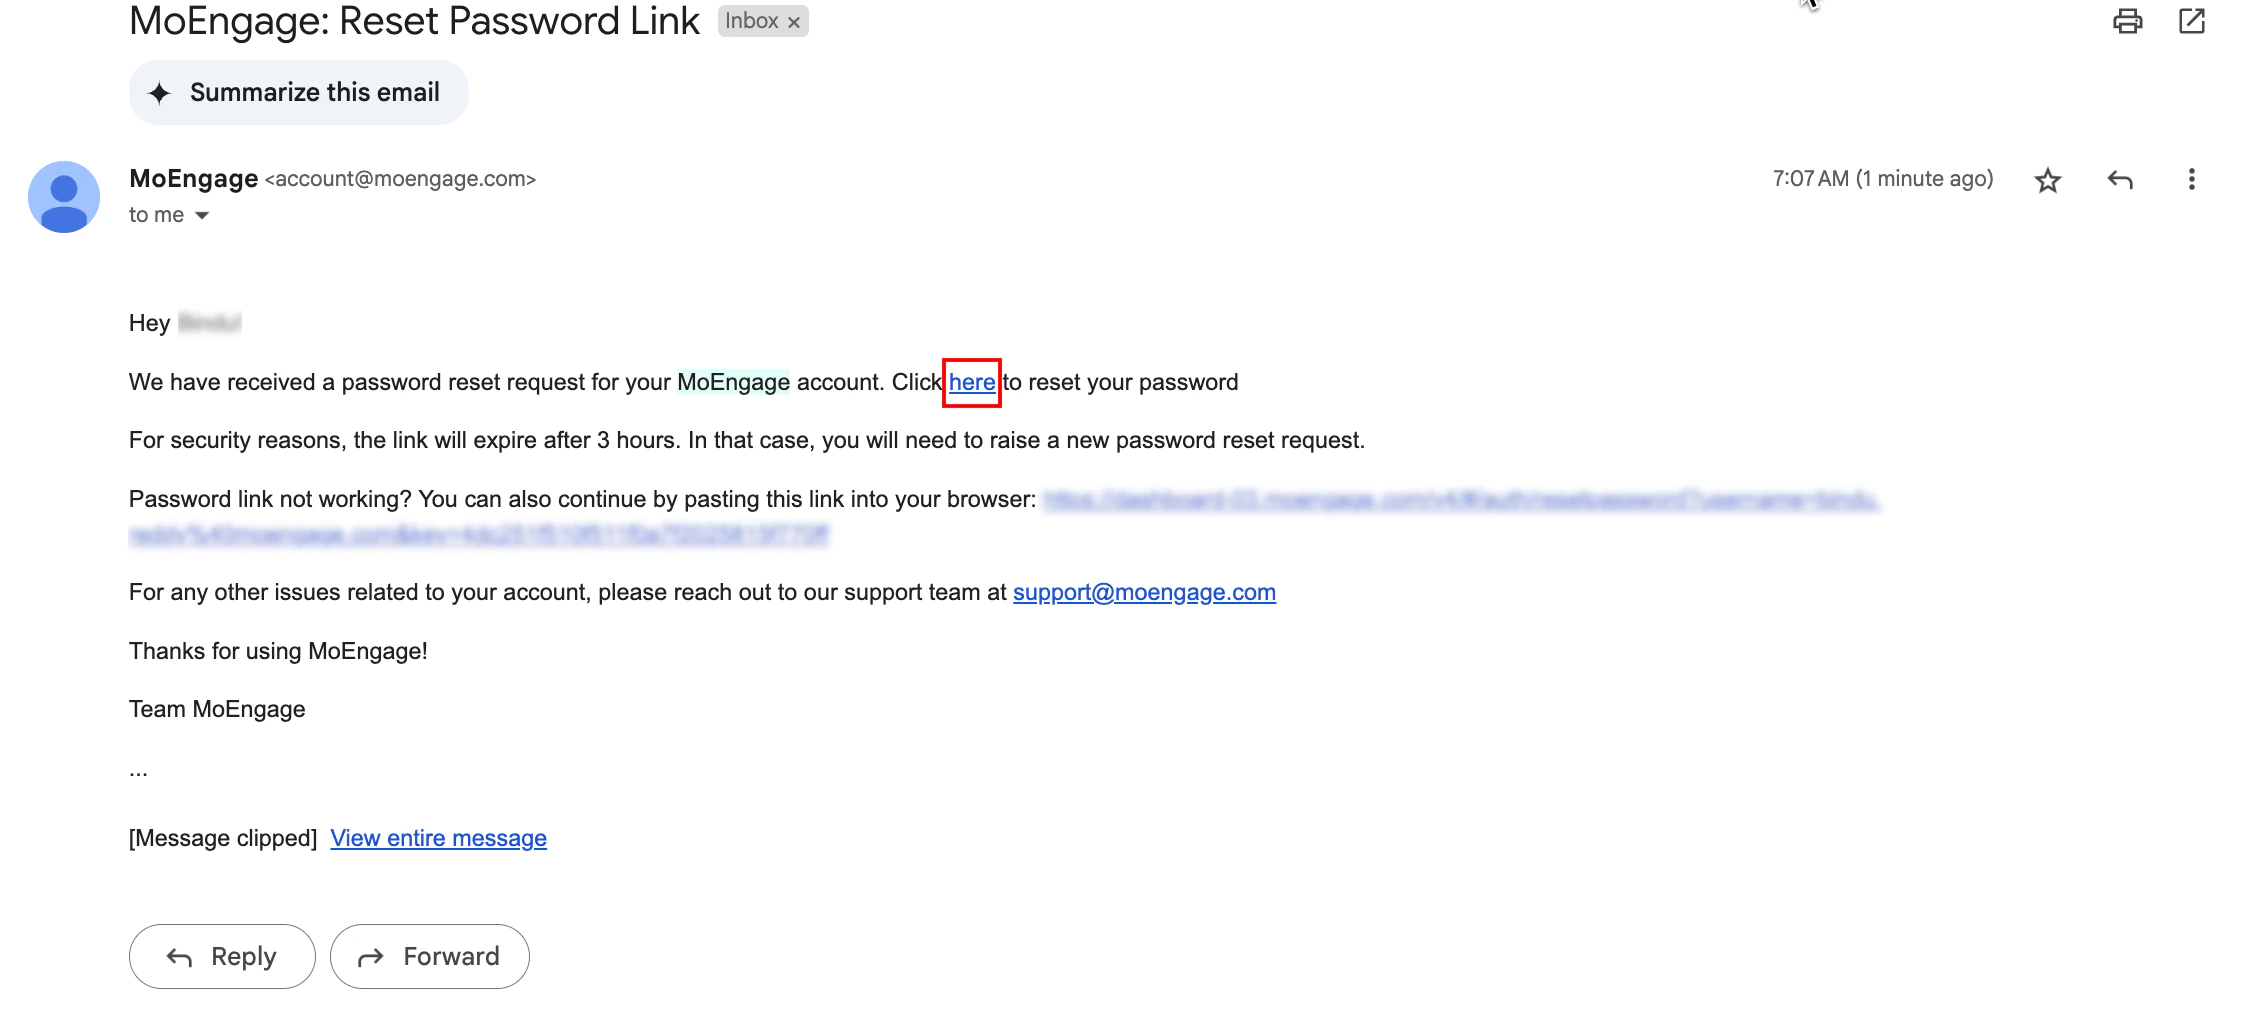
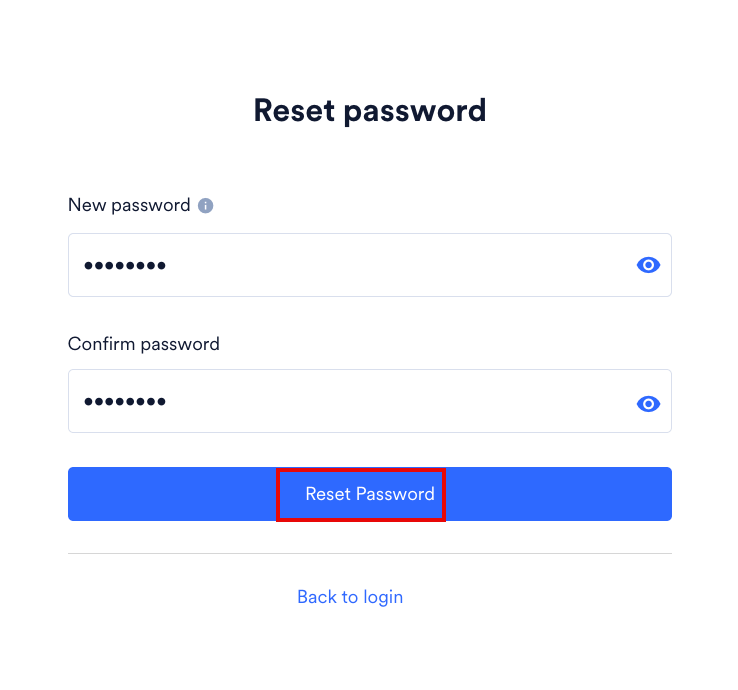
Create a new password
- 8–20 characters
- At least one uppercase letter
- At least one number
- At least one special character:
! @ # $ % ^ & * ( ) _ ? / , < > ; : { } | ~
Reset 2-Step verification if you reinstalled/changed the authenticator application or lost/changed your device
Reset 2-Step verification if you reinstalled/changed the authenticator application or lost/changed your device
- Try to log in to your workspace using your credentials.
- On the ** Reset 2-Step Verification** page, enter your work email id and click Send link.
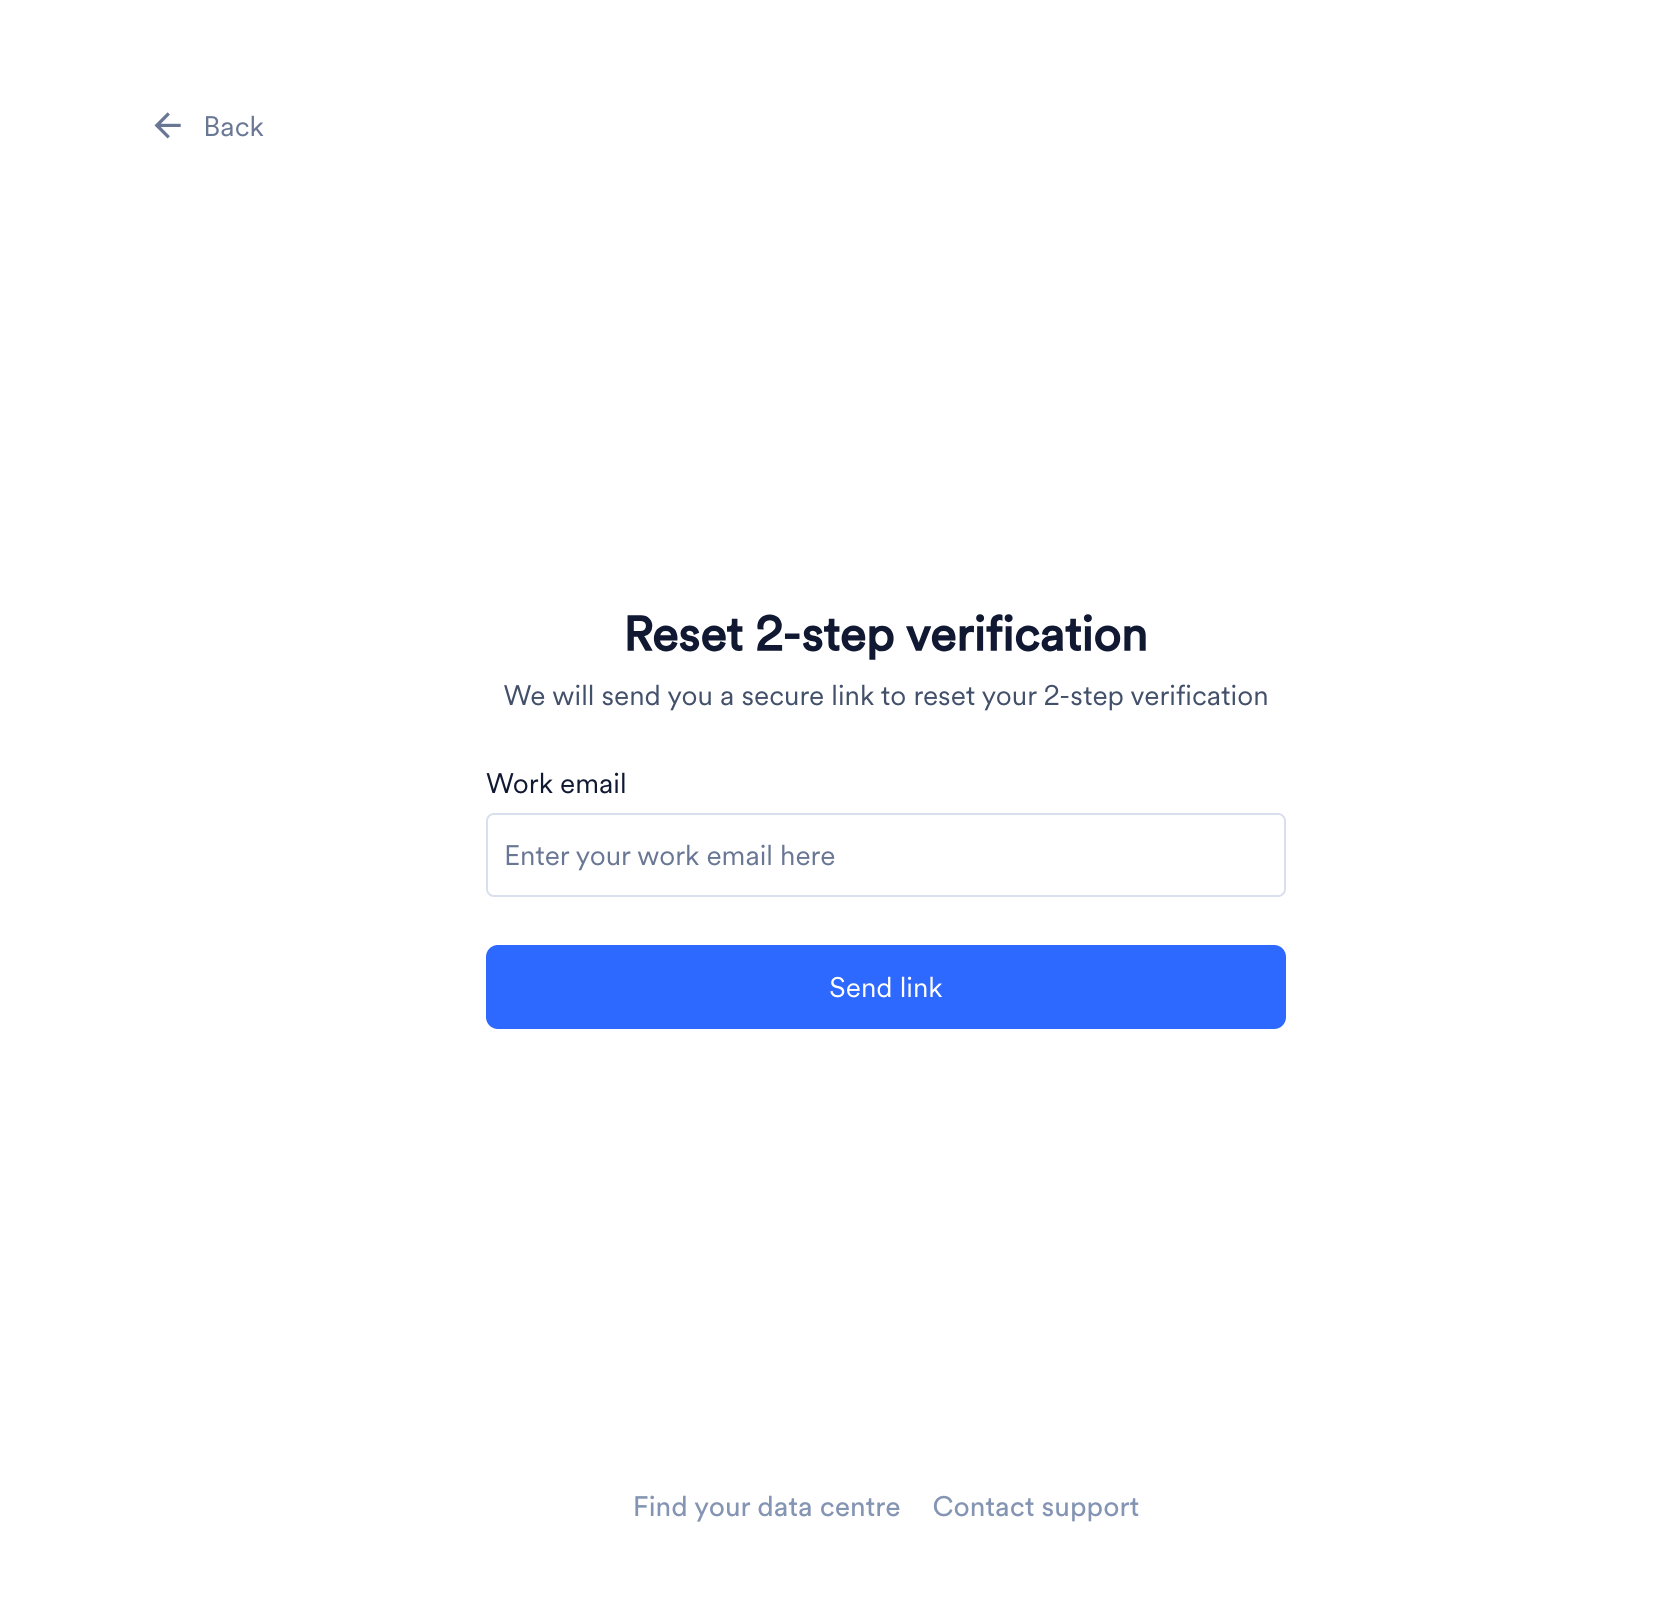
- MoEngage sends a reset link to your email address.
- Open the email from MoEngage and click here to reset your 2FA credentials.
 You land on the Login to your accounts page in a new browser tab.
- Log in using your credentials. MoEngage takes you to the 2-Step Verification page.
- Click Setup your device. The Set up your device authentication page appears.
Add MoEngage to your authenticator app using either a QR code or a setup key. Refer to Configuration Steps for details on both options.
- In the Enter the 6 digit verification code box, type the code from your authenticator app.
Each code is valid for 30 seconds.
- Click Confirm. 2-step verification is now reset on your device. Use the verification code from this new authenticator instance for all future logins.
- Click Download recovery codes to save a new set of backup codes as a CSV file. Your previous recovery codes no longer work.
- Click Login.
No access to the authenticator application? Log in using a recovery code
No access to the authenticator application? Log in using a recovery code
Log in with your credentials
Switch to recovery code
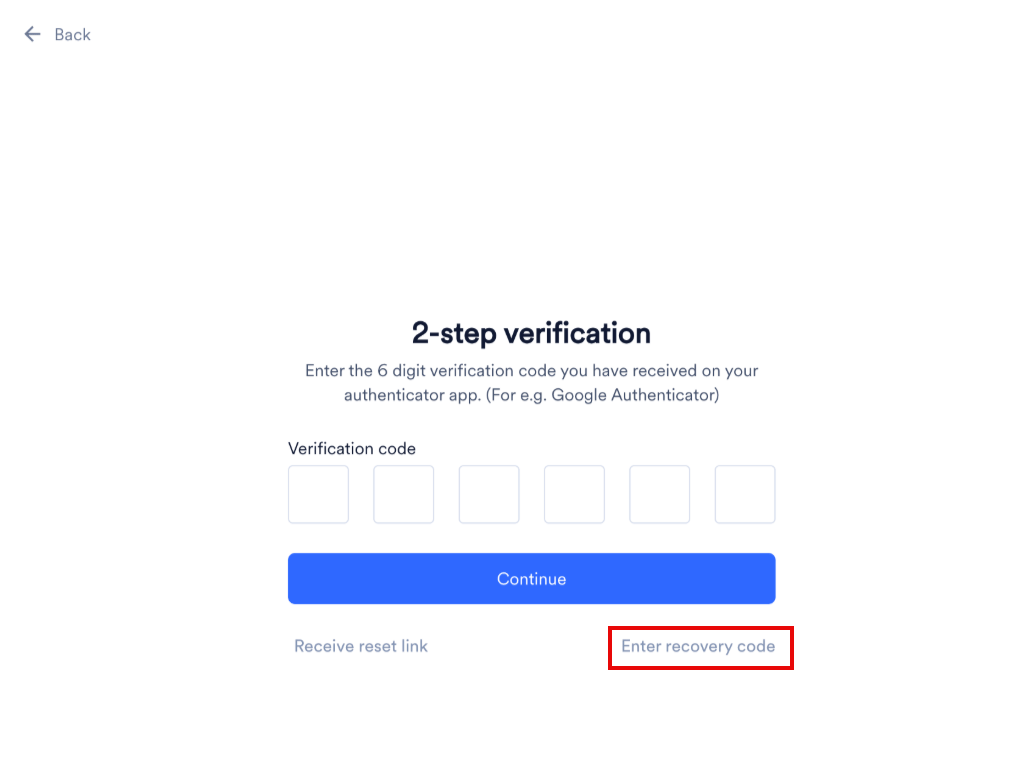
Enter your code
Verify
 You’re logged in.
Not able to connect via MCP
Not able to connect via MCP
Account Lockout
Account Lockout
- As a user: Wait 3 hours (180 minutes), then log in using your correct credentials. Alternatively, contact your MoEngage Admin to unblock your account faster.
- As an Admin: Wait 3 hours (180 minutes), then log in using your correct credentials.
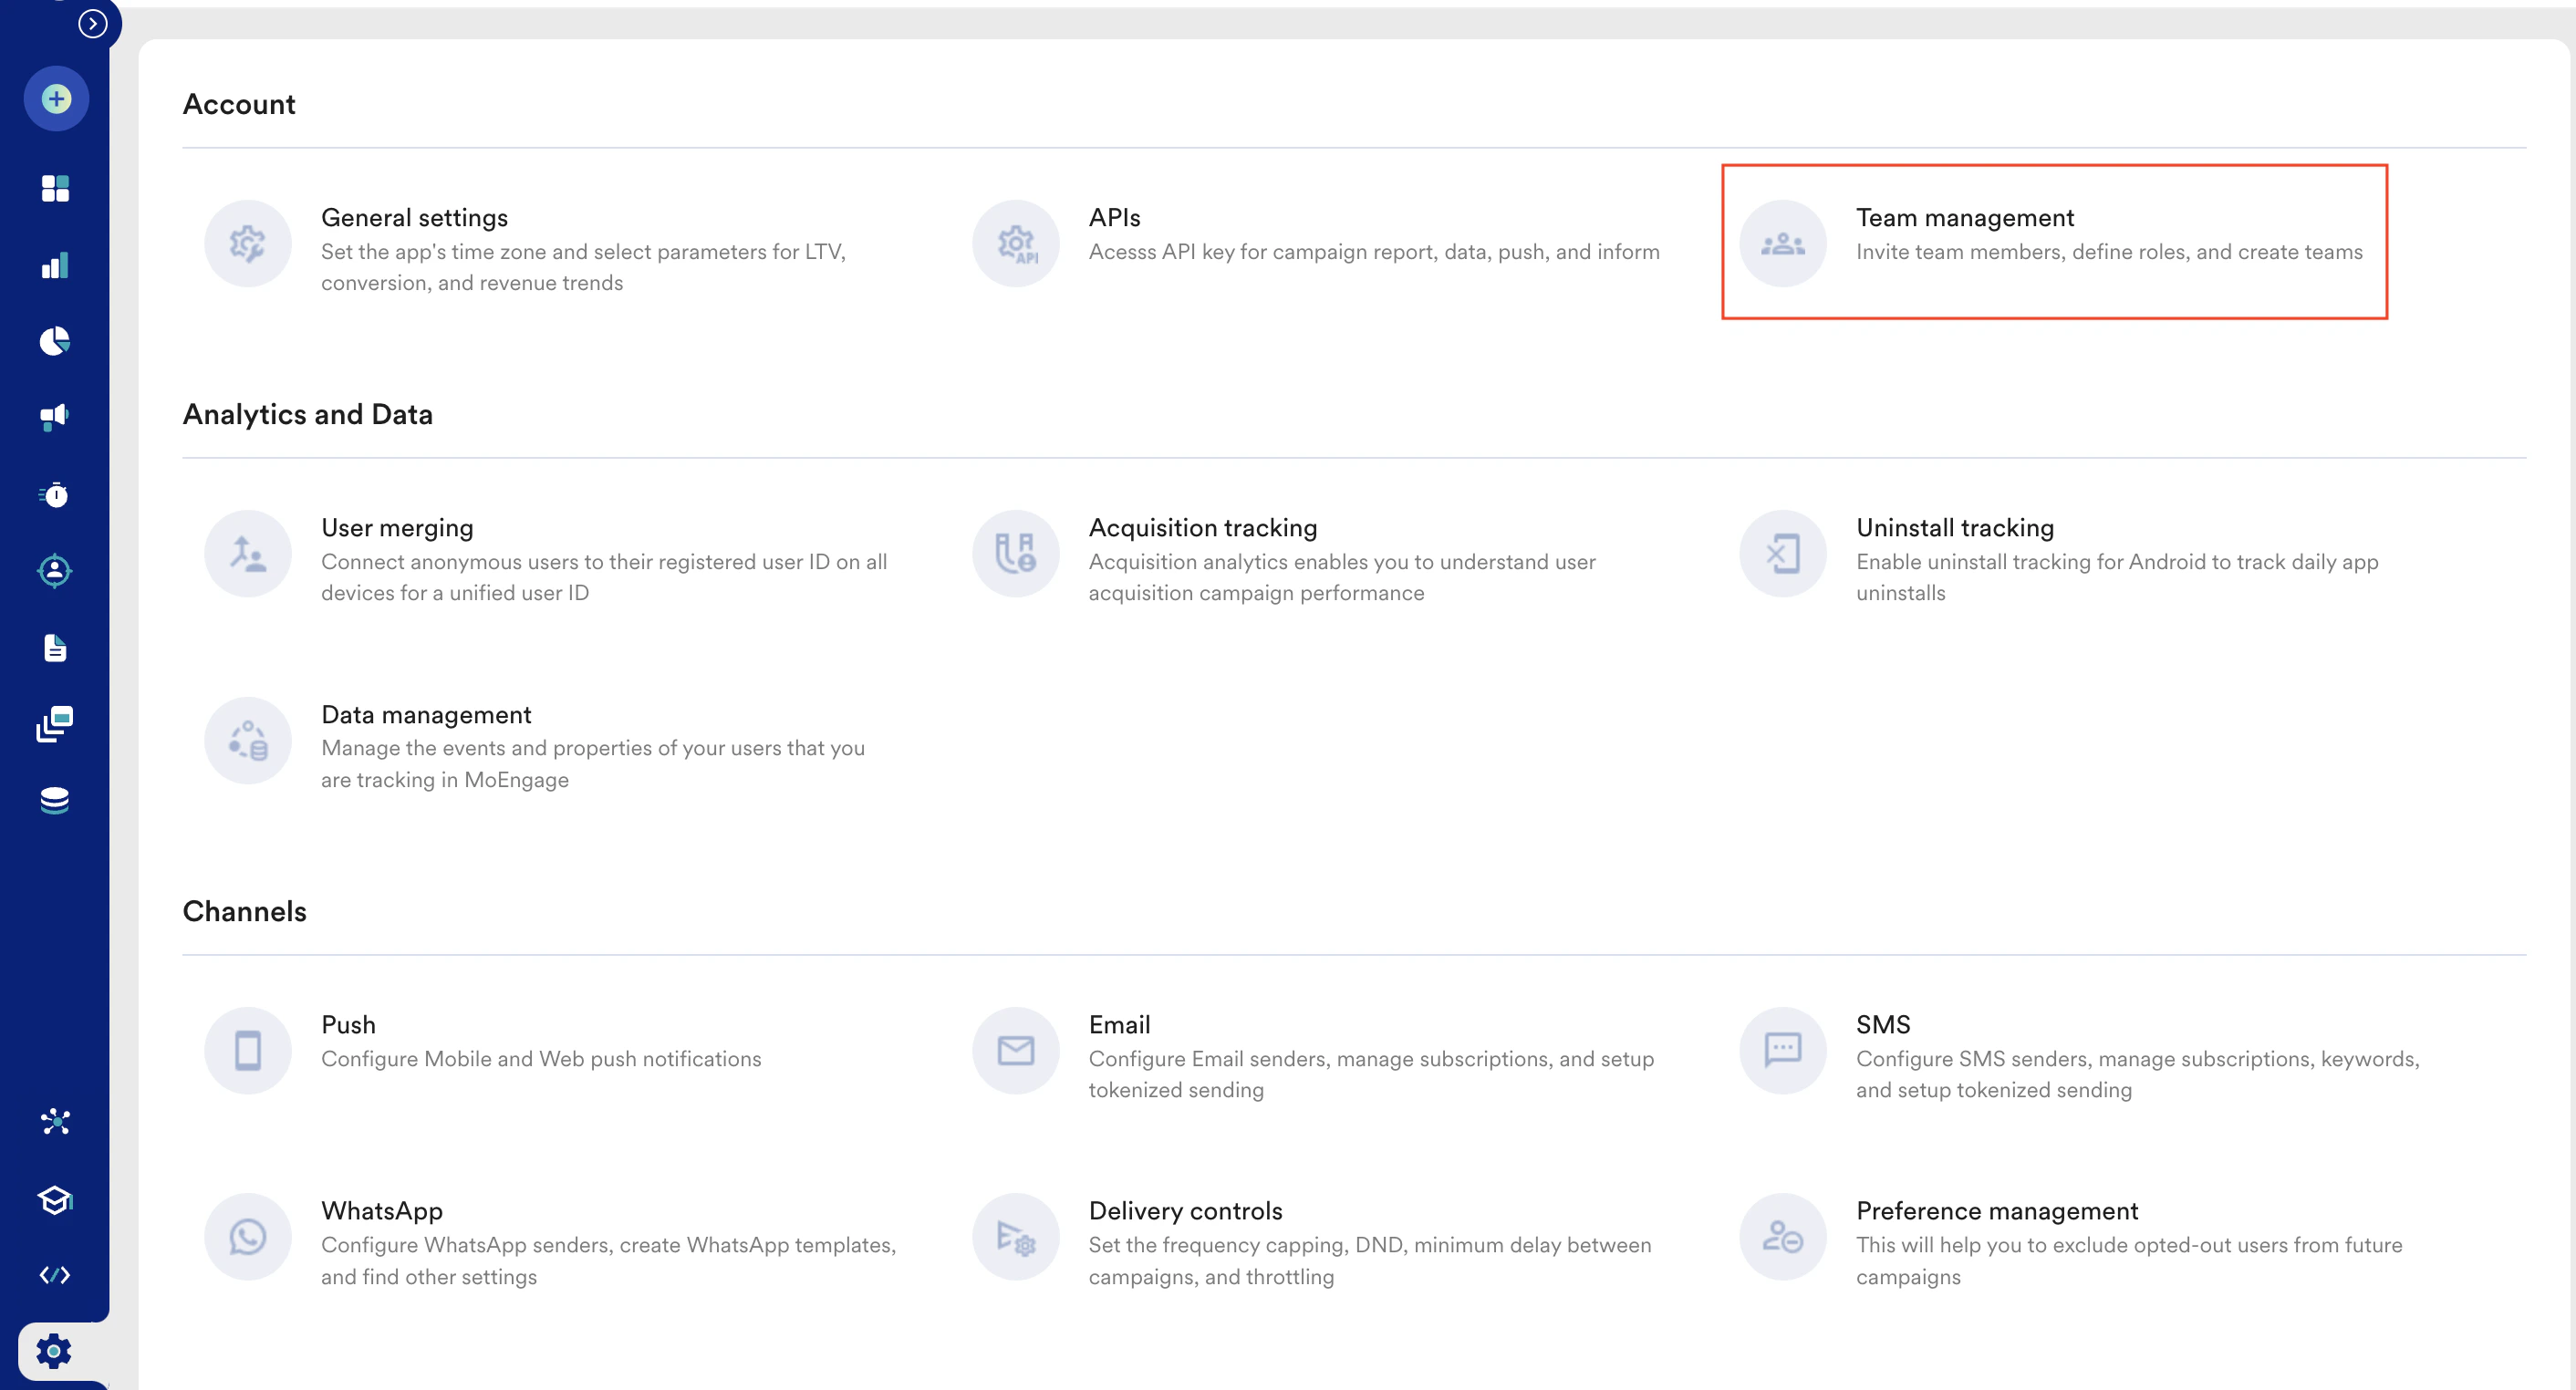
- On the left navigation menu in the MoEngage dashboard, click Settings > Account > Team management.
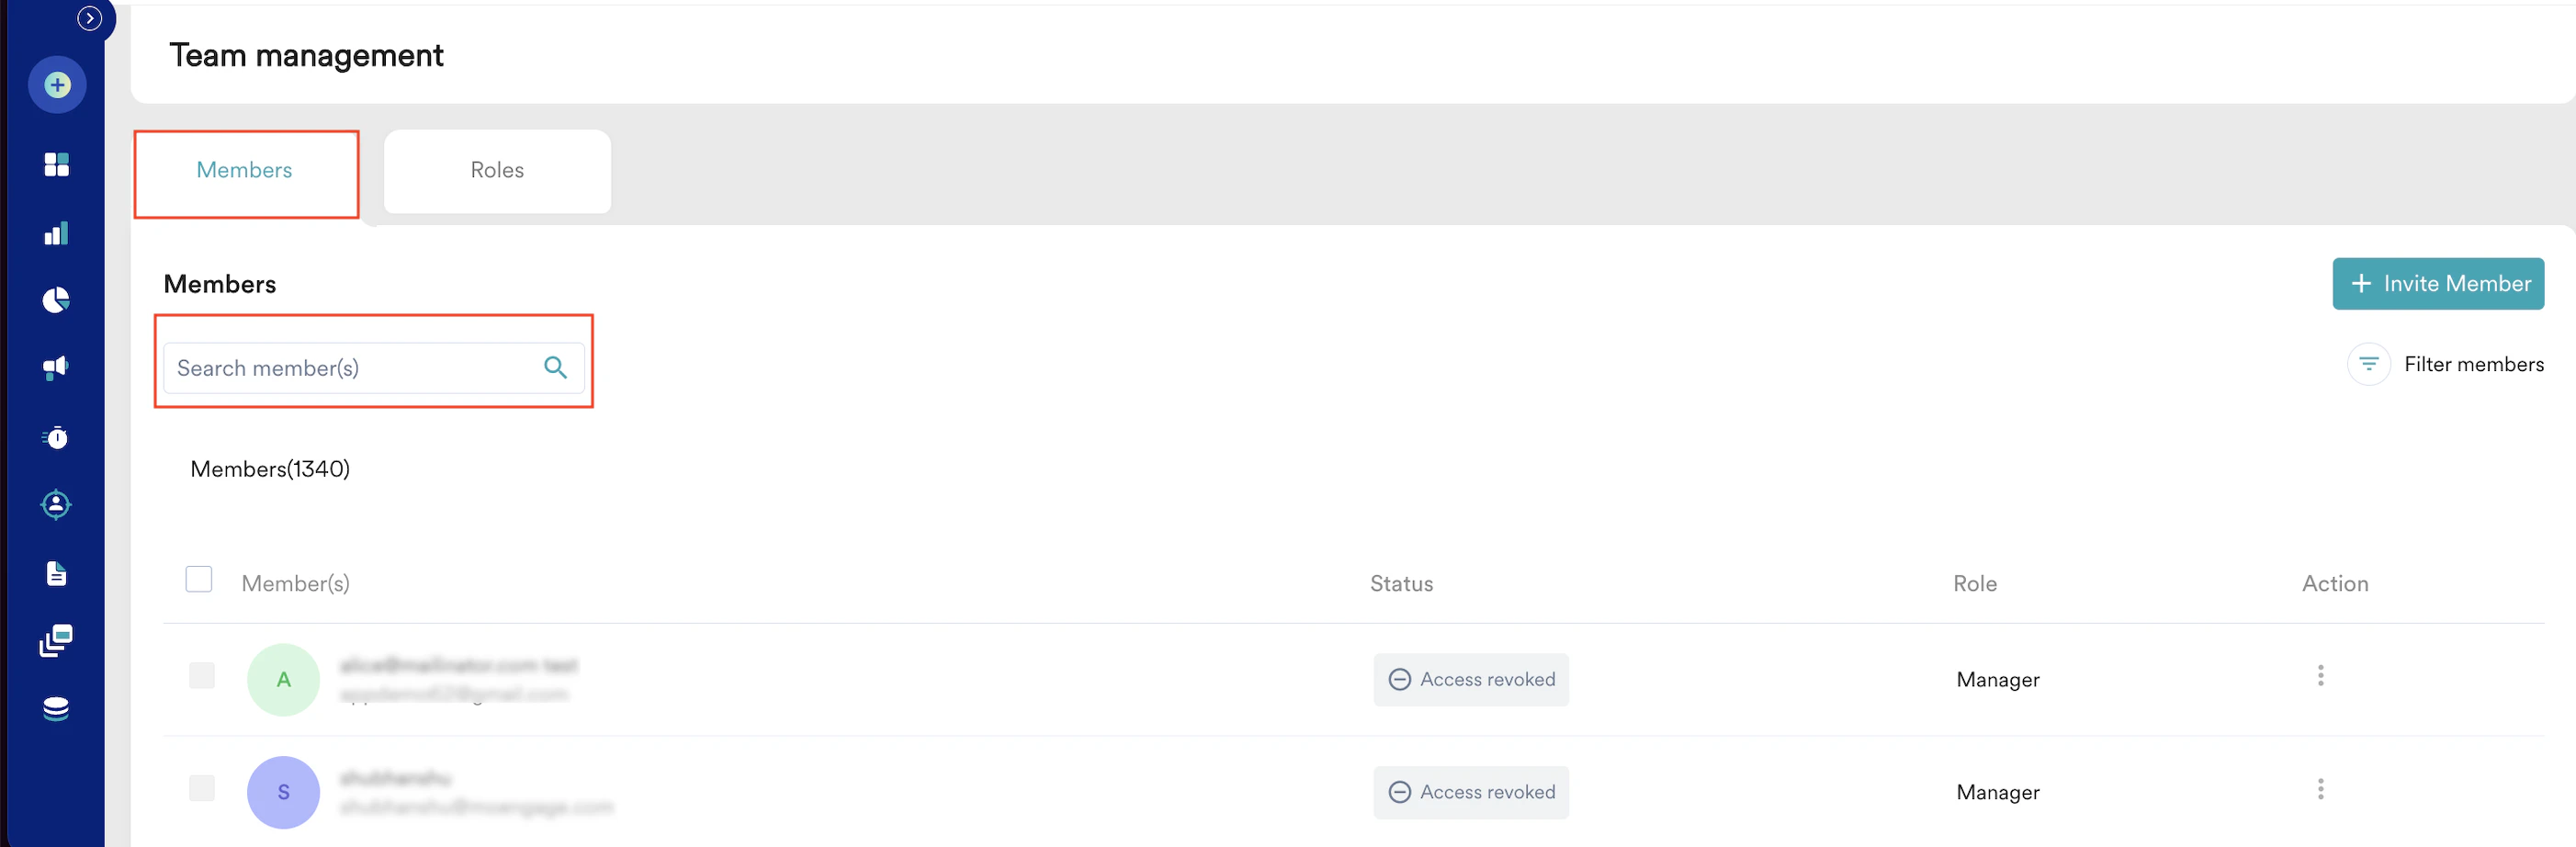
- On the Team management page, click the Members tab.
- In the Search member(s) box, type the email address of the user whose account is blocked.
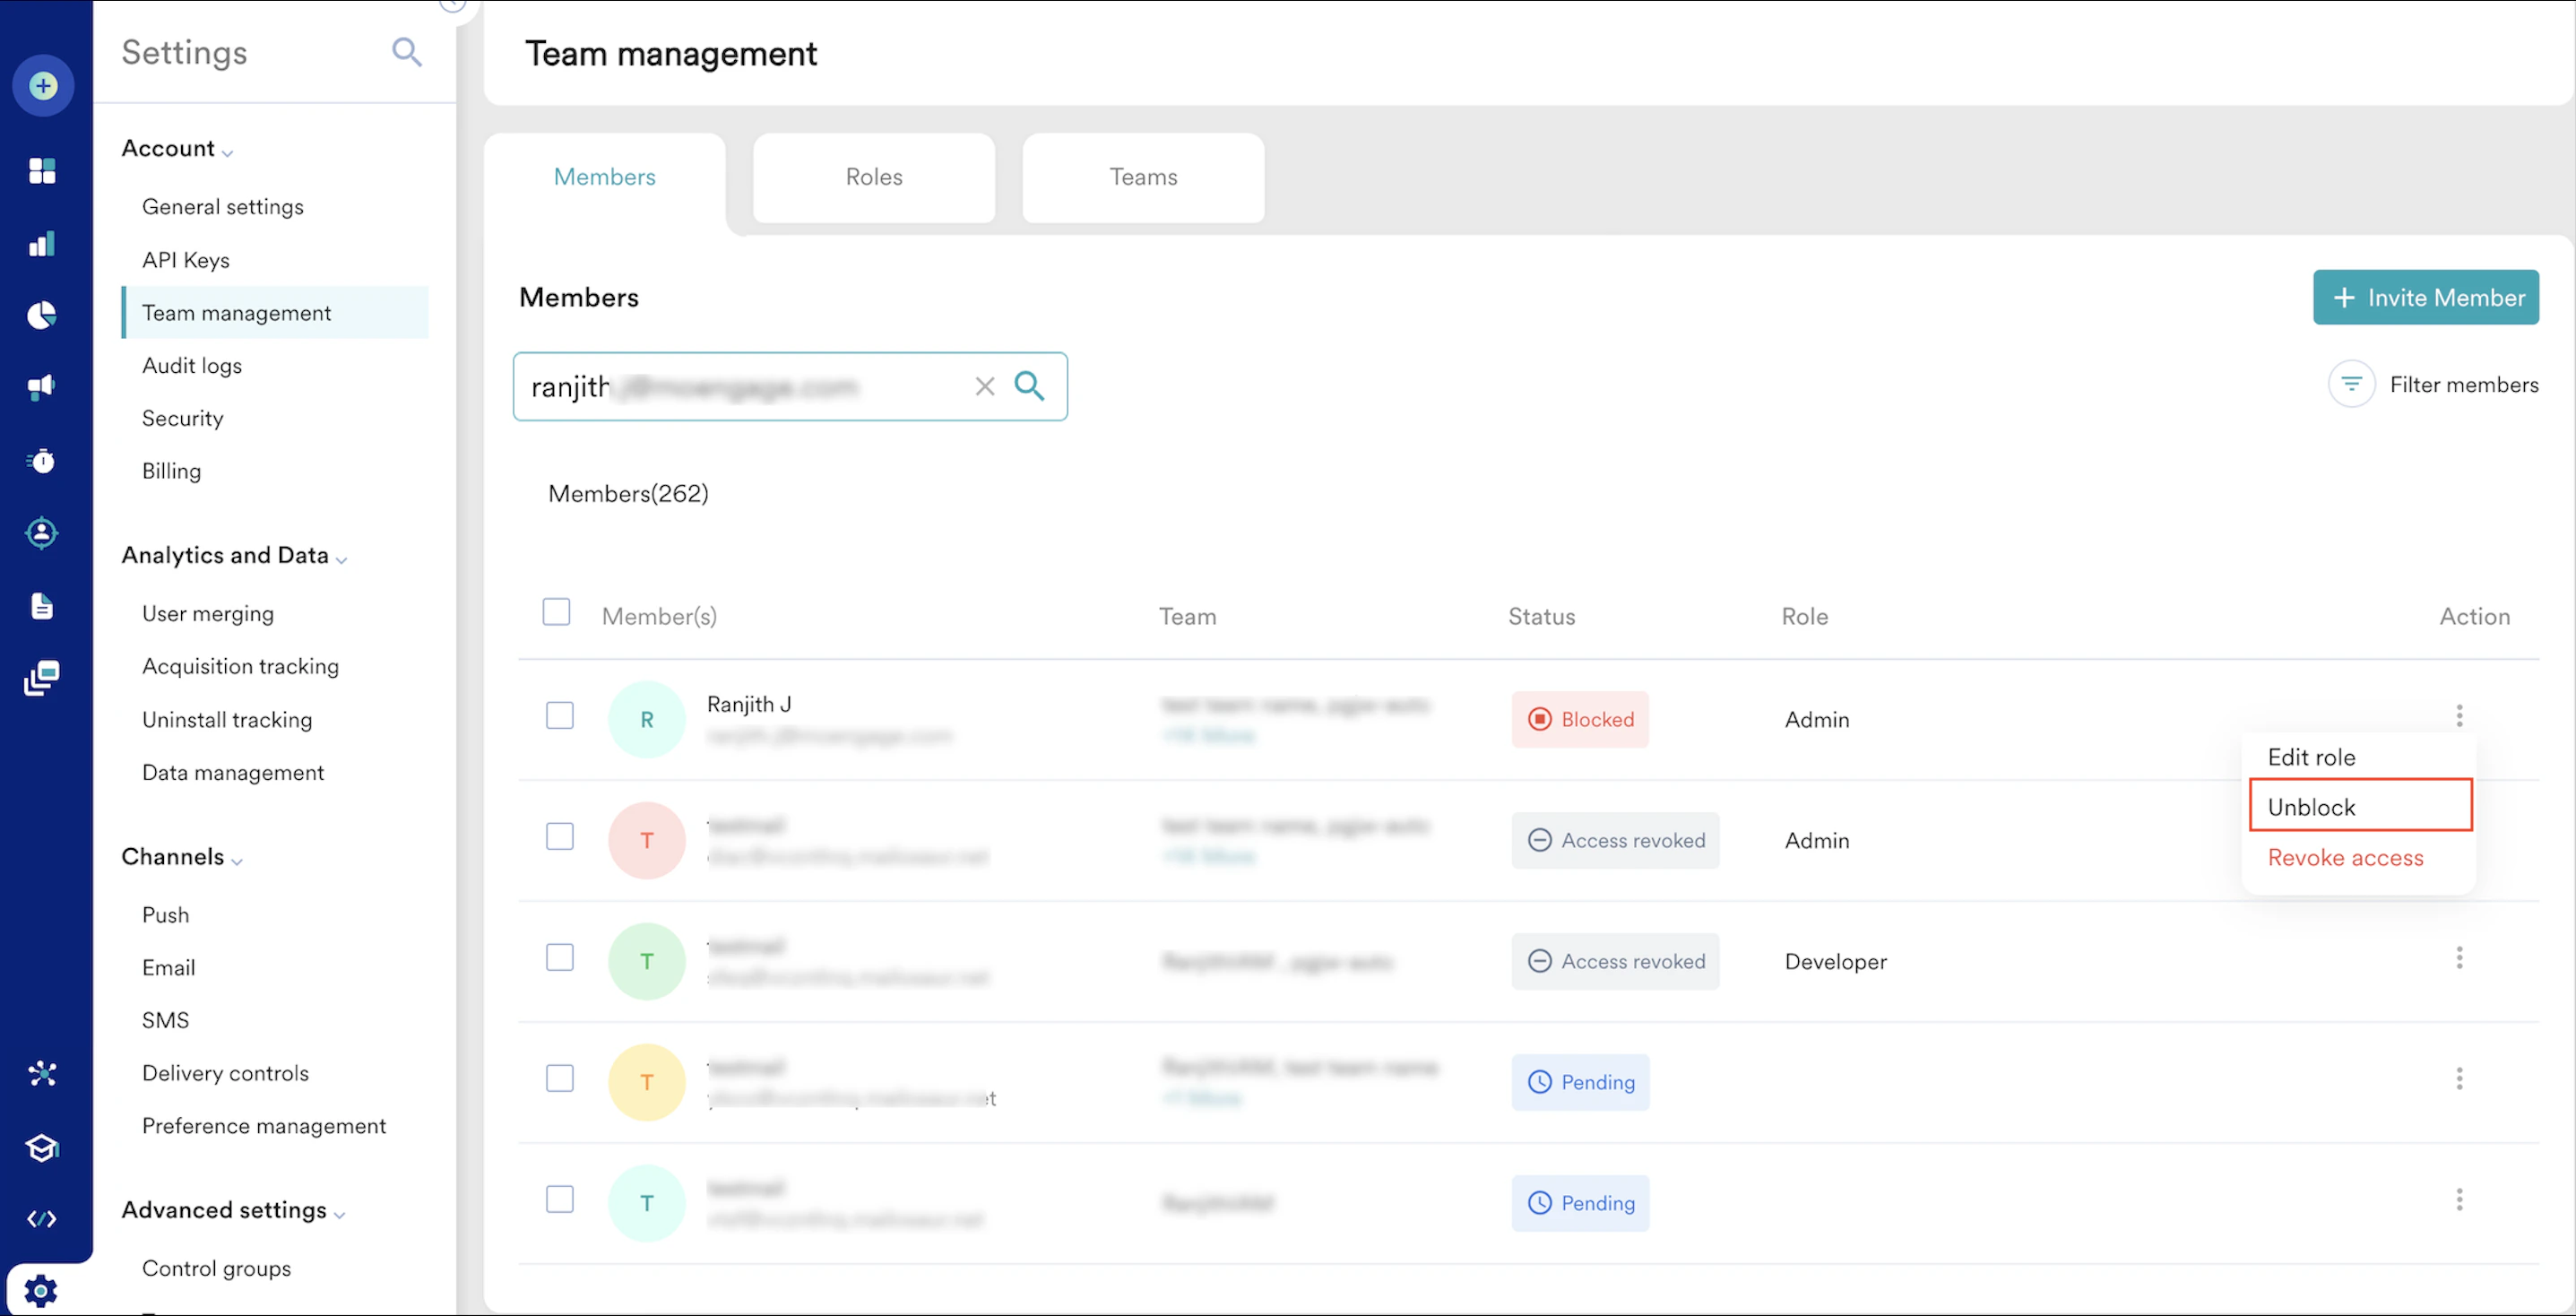
- Under the Action column, click the ellipsis icon and click Unblock. Only accounts with Blocked status show the Unblock option.
Contact Support
Contact Support