Sender Configuration
To configure a Sender from AiSensy on the MoEngage Dashboard, do the following:- Go to Settings->WhatsApp->Sender Configuration.
- Click +Add connector on the left menu.
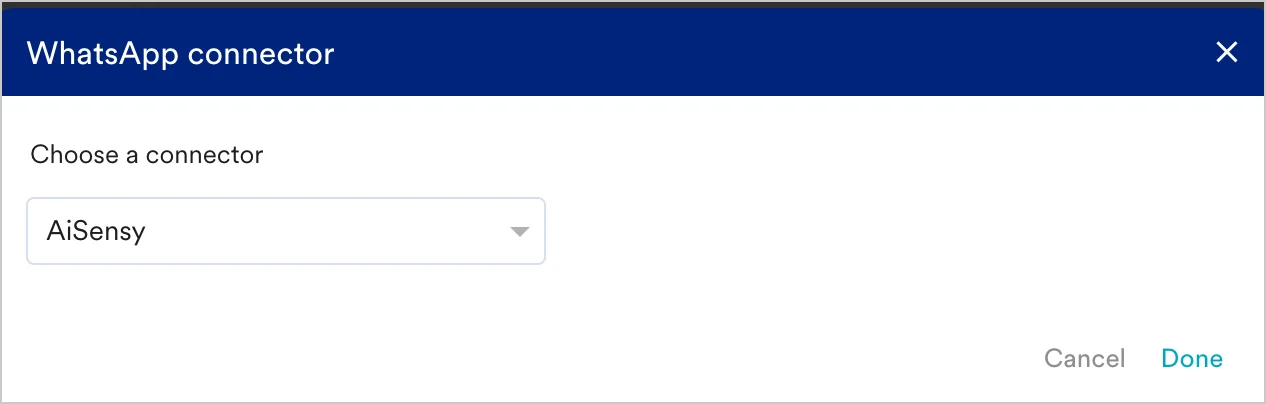
- Choose AiSensy from the list of WA providers or connectors available in the dropdown available and click Done.
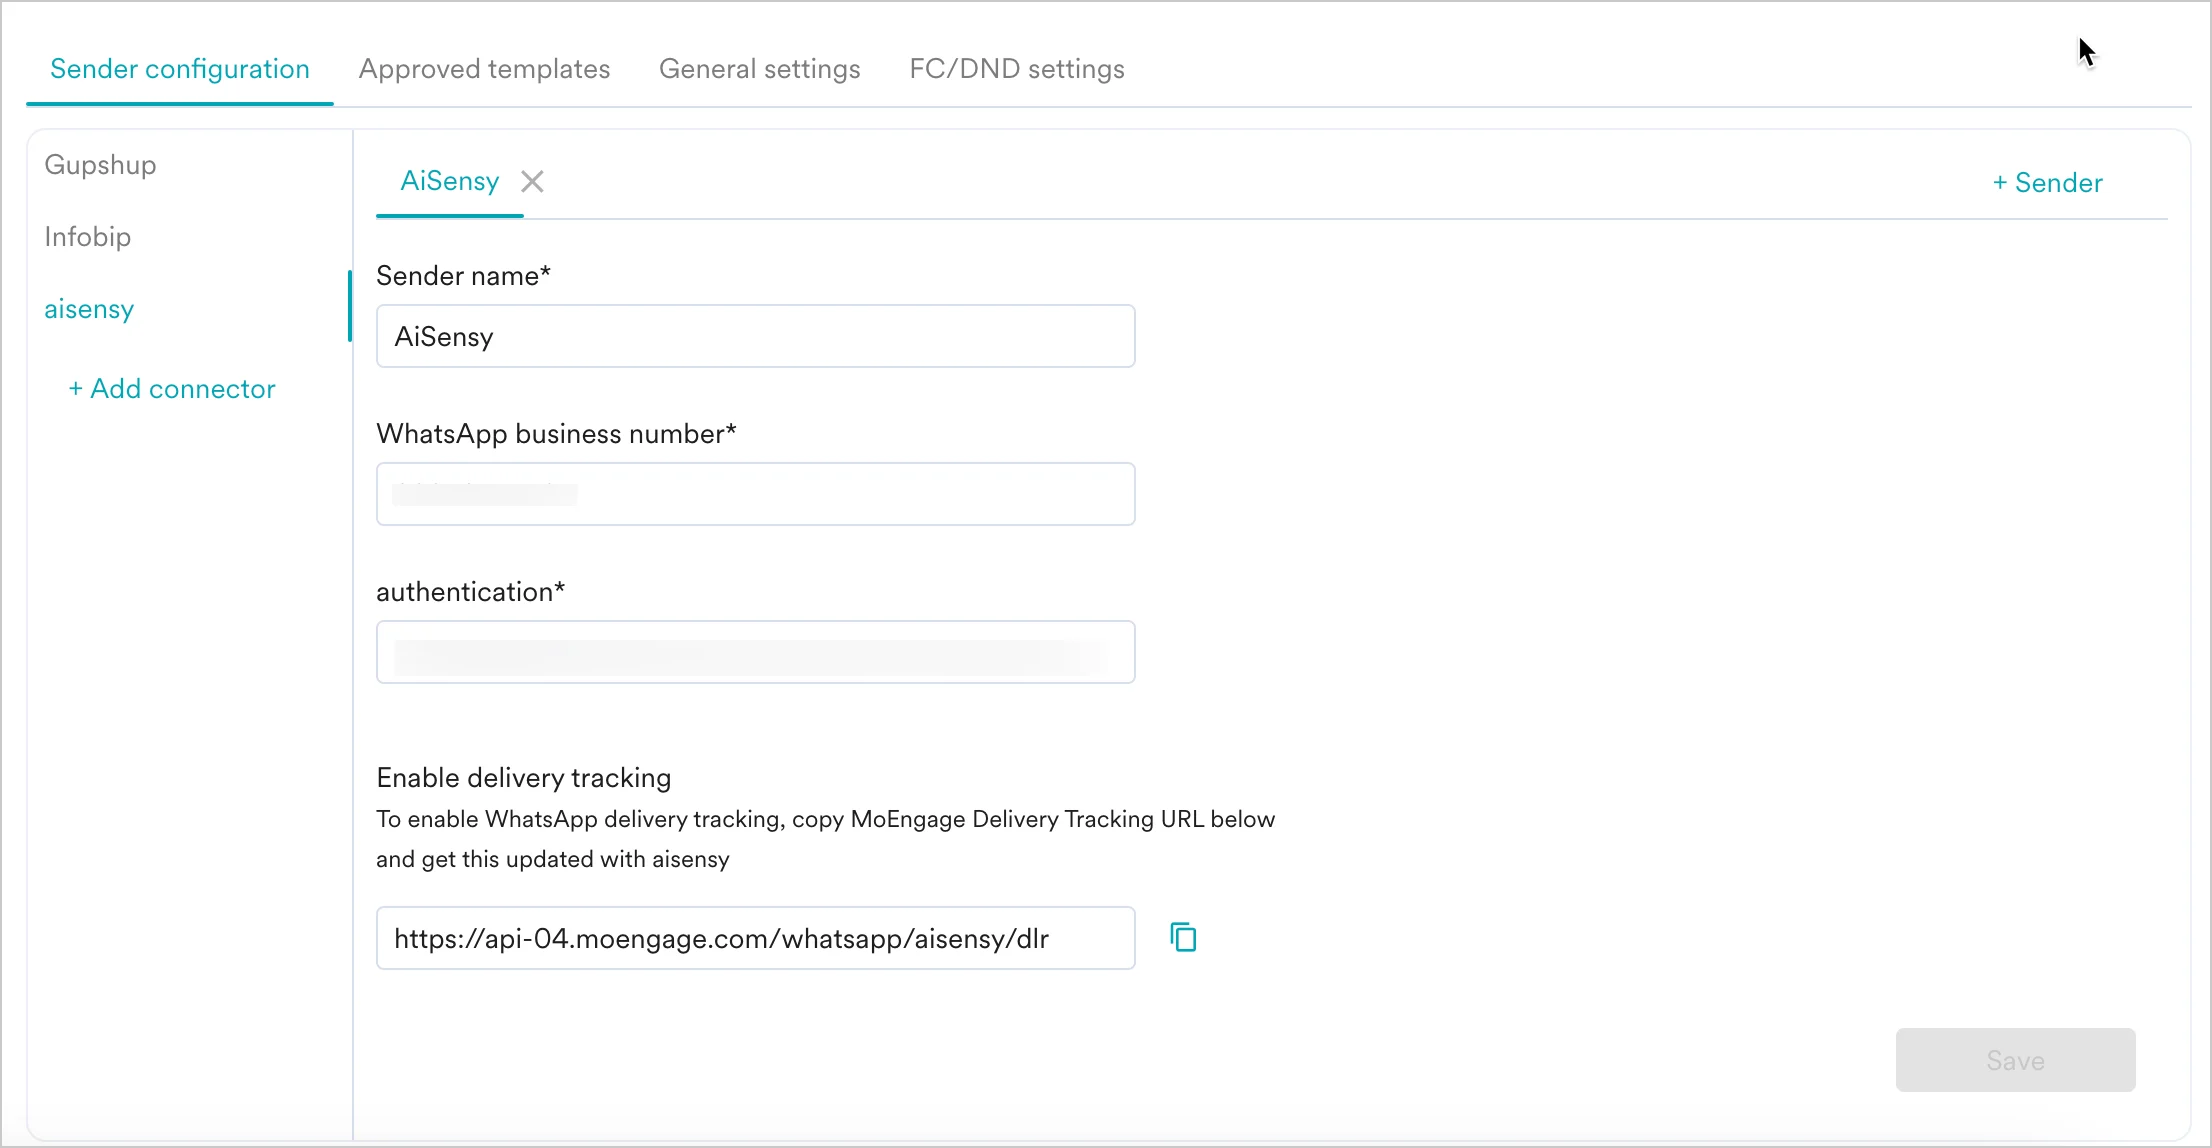
- Click on + Sender at the top right corner of the screen to configure the sender details, as explained below.
| Field Name | Description |
|---|---|
| Sender name | This field denotes the name you want to provide to the Sender profile. This would be available in the Sender so that you can recognize this easily while using it to create a campaign inside MoEngage. The Sender Name should be between 5-50 characters. This is a mandatory field. |
| WhatsApp business number | This field denotes the phone number registered with WhatsApp (directly or via AiSensy) using which you want to send out WhatsApp Messages to your users. This is a mandatory field and is also referred to as the WABA number. On AiSensy, you can find Sender Details on Channels & Numbers ->WhatsApp ->Senders. |
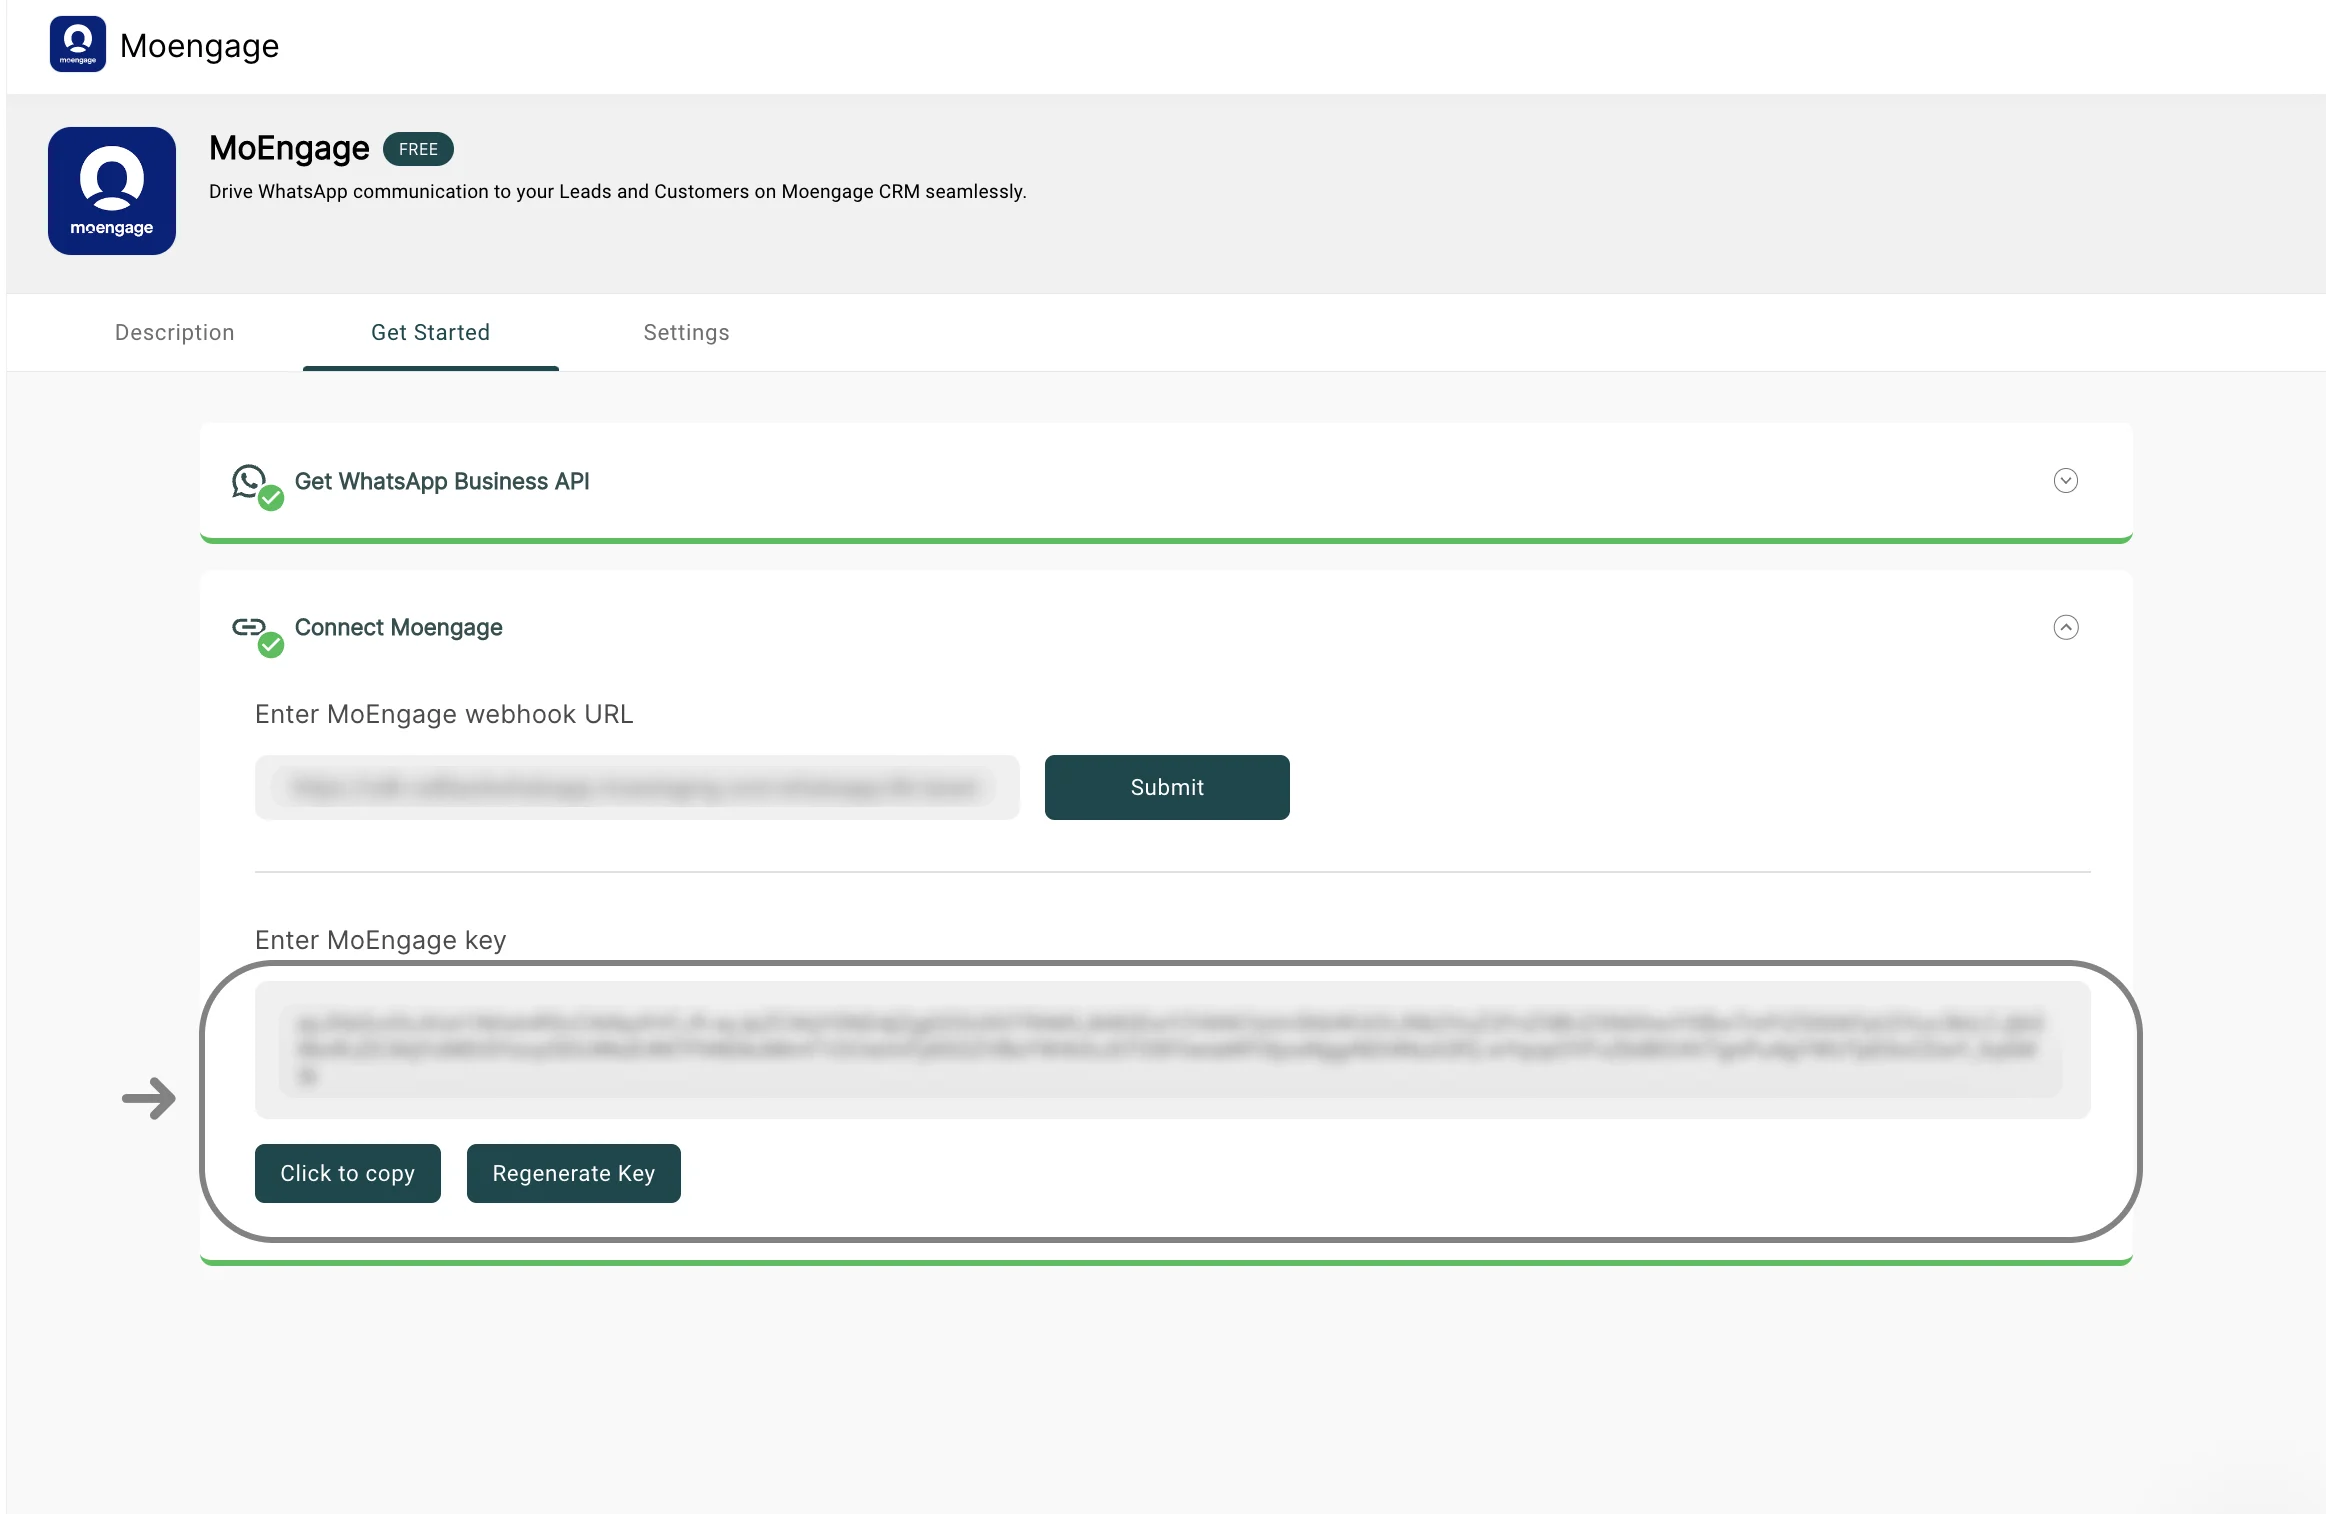
| authentication | This field denotes the API Key and will be used to identify the account that is making the API call. Provide the API Key of your AiSensy account here. To get your API Key:
|
| delivery-report-callback-url | To track the delivery of your WhatsApp Messages in MoEngage, copy the MoEngage Delivery Tracking URL and pass it to the AiSensy team. You should be able to see the URL as shown below:
|
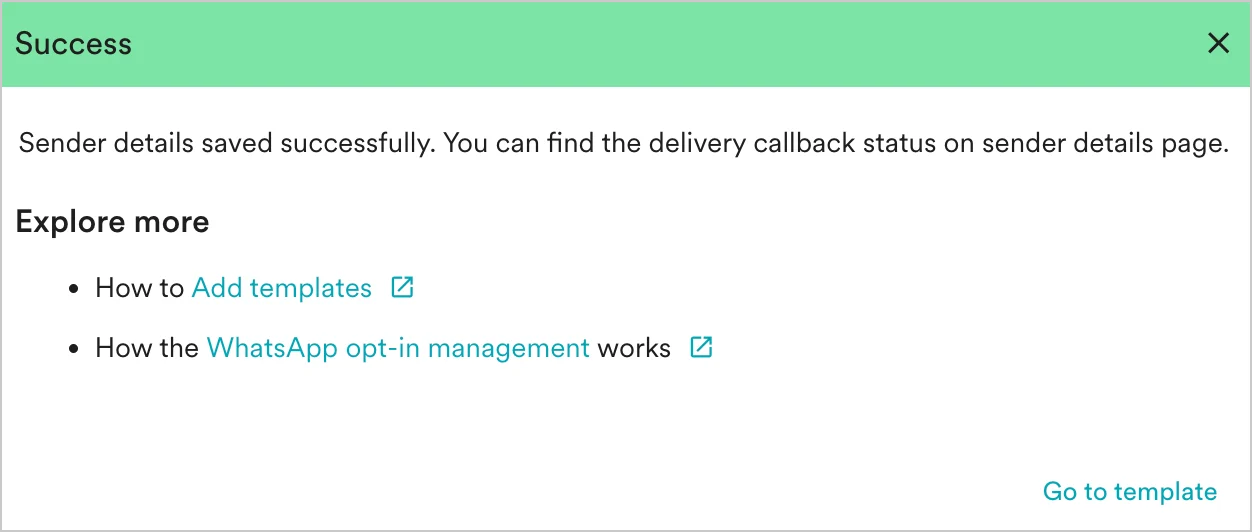
- Click Save to save the sender’s details. Upon successful integration, you will get a success message.
- You should have pre-approved templates with AiSensy to create a WhatsApp campaign for an AiSensy Sender in MoEngage.
- You can create the same template verbatim in MoEngage. For more information, refer to Add Templates.