

Introduction
Zapier is an online platform that helps you automate workflows by connecting the apps and services you use. Using the MoEngage and Zapier integration, you can create custom workflow automation for more than 5,000+ apps on Zapier.MoEngage and Zapier
The MoEngage and Zapier integration allows you to connect your MoEngage account to various 3rd party destinations listed on Zapier’s marketplace, such as Google Workplace, Slack, Salesforce, WordPress, etc., to automate various actions. For example, let’s say you have asked your customers to opt-in for beta testing using a Google Form. Now, you want to connect the form to MoEngage such that as soon as users fill in the Google Form, a user attribute “beta user” with the value true is updated. Using Zapier, you can create the following workflow: For Every New Response (trigger) in Google Form, Update User (action) in MoEngage. You can learn more about how Zapier works with this Quick Start Guide by Zapier.Triggers and actions
Using Zapier’s terminology, a “zap” is an automated workflow that connects your apps and services. The first part of any zap is to designate a trigger. Once your zap is enabled, Zapier will automatically perform the respective actions whenever your trigger is detected. The following Triggers and Actions are supported:Supported triggers
With MoEngage’s Connector Campaigns, you can use MoEngage to trigger your Zapier workflows for a multitude of purposes. Read about how to use MoEngage as a trigger and its use cases here.Supported actions
The following actions are supported:Integration
Prerequisites
- Ensure you have access to your Zapier account.
Connecting Zapier to MoEngage
Zapier must connect to your MoEngage account before you can build any Zaps. On your Zapier Dashboard:- Navigate to My Apps > Add connection.
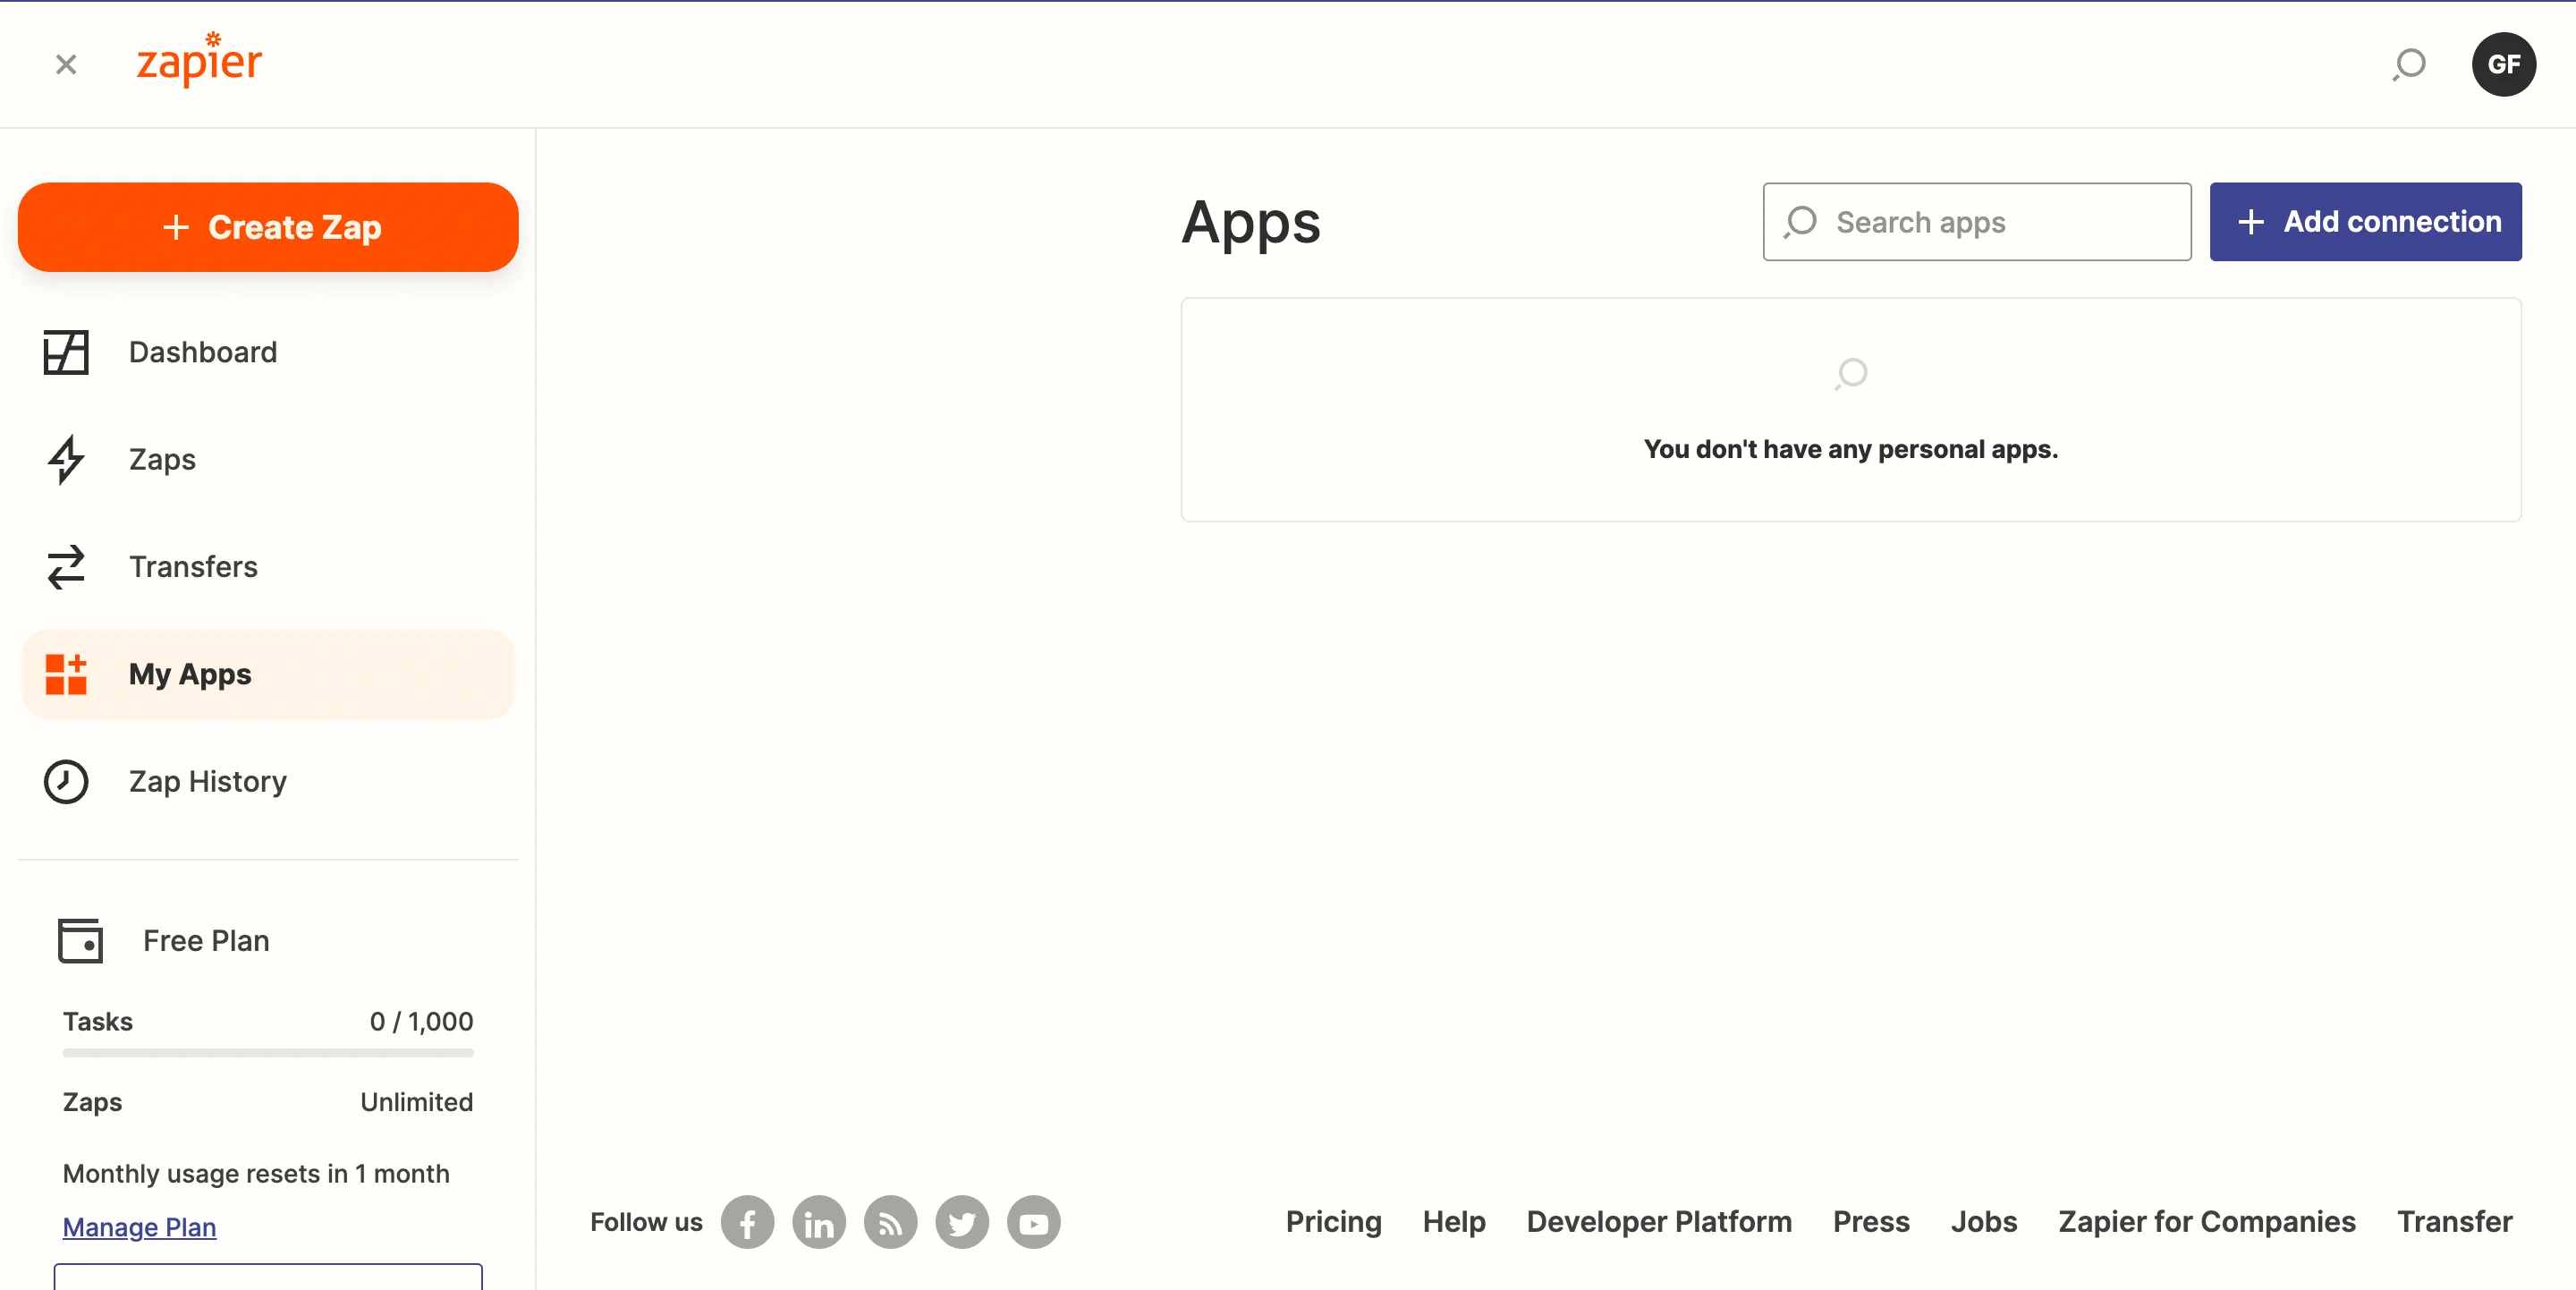
- Search for MoEngage. A new window will open for you to enter your credentials.
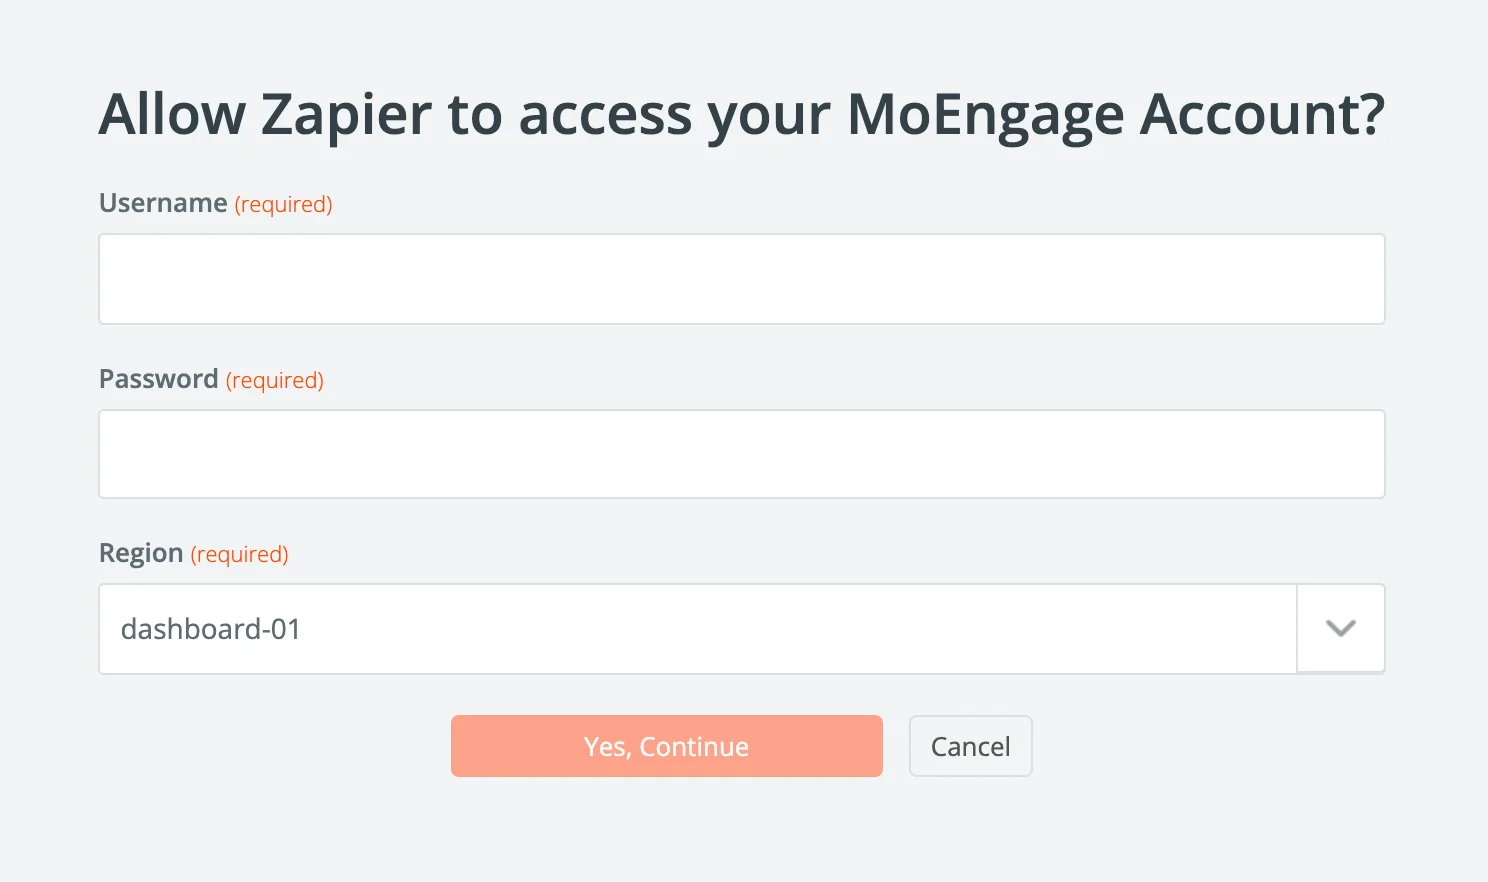
- Click Yes, Continue.
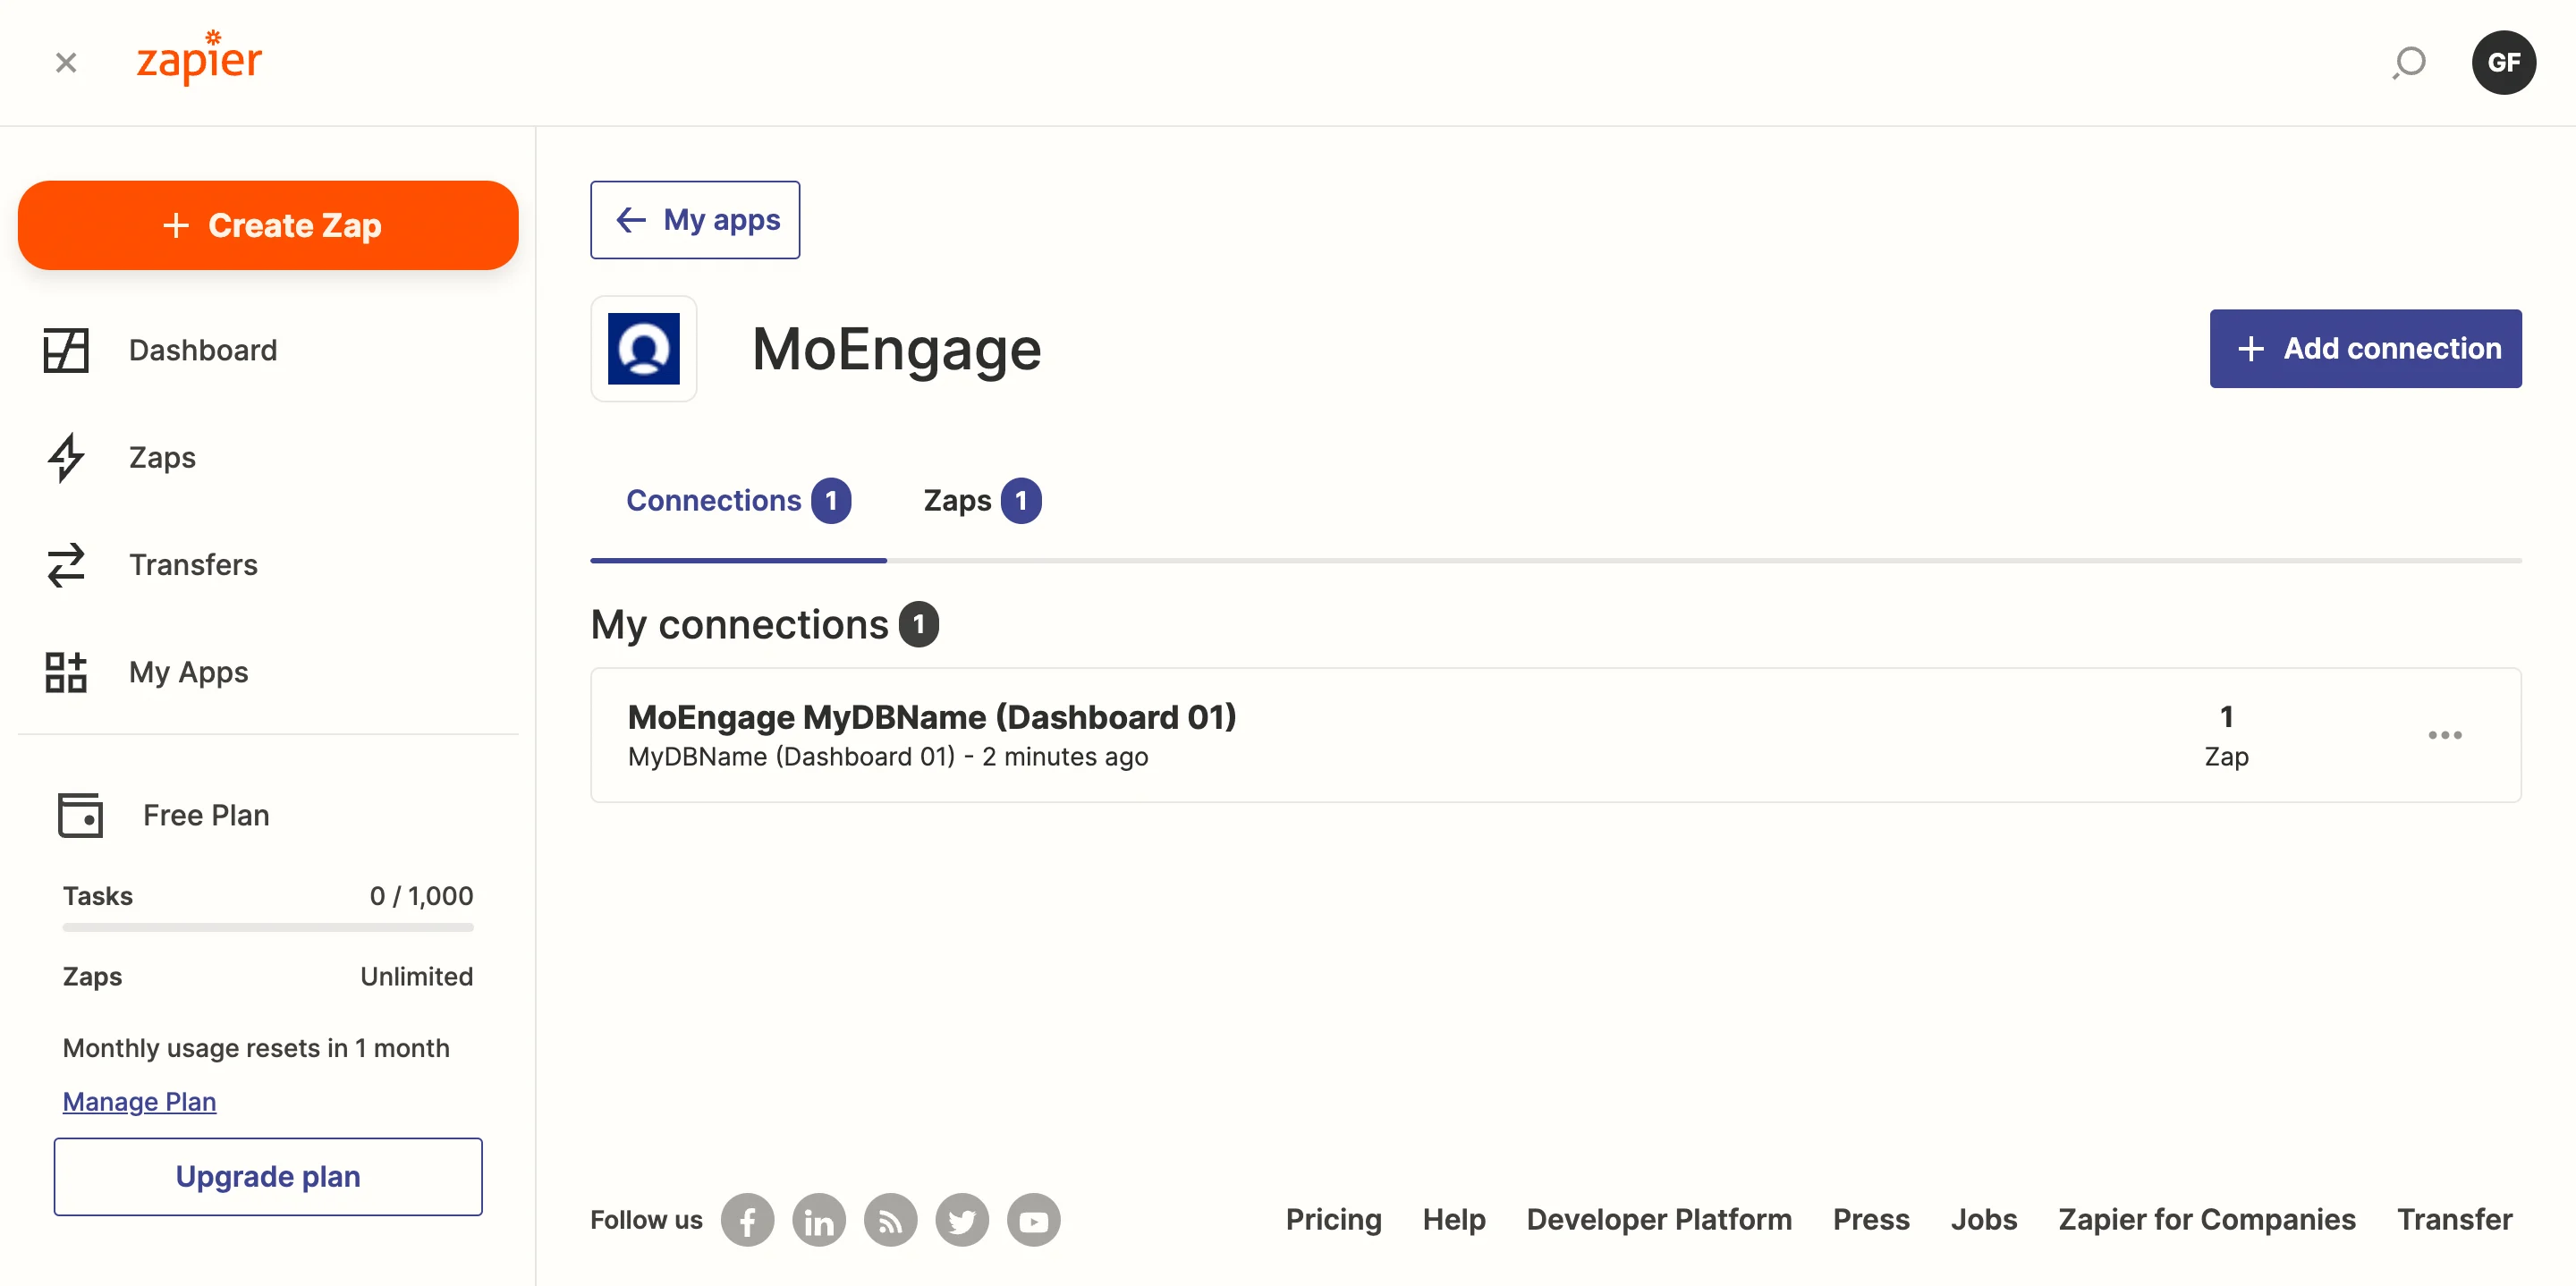
- You should now see MoEngage listed under your apps. You can validate your MoEngage app name and region here.
Creating your first Zap
In the following example, we will be sending cohorts from Google Form to MoEngage. These cohorts can then be used for targeting in MoEngage campaigns. We will create a zap: “For Every New Response (trigger) in Google Form, Add the User to a Cohort (action) in MoEngage”. On your Zapier Dashboard, click on the “Create Zap” button.Step A: Select your trigger app
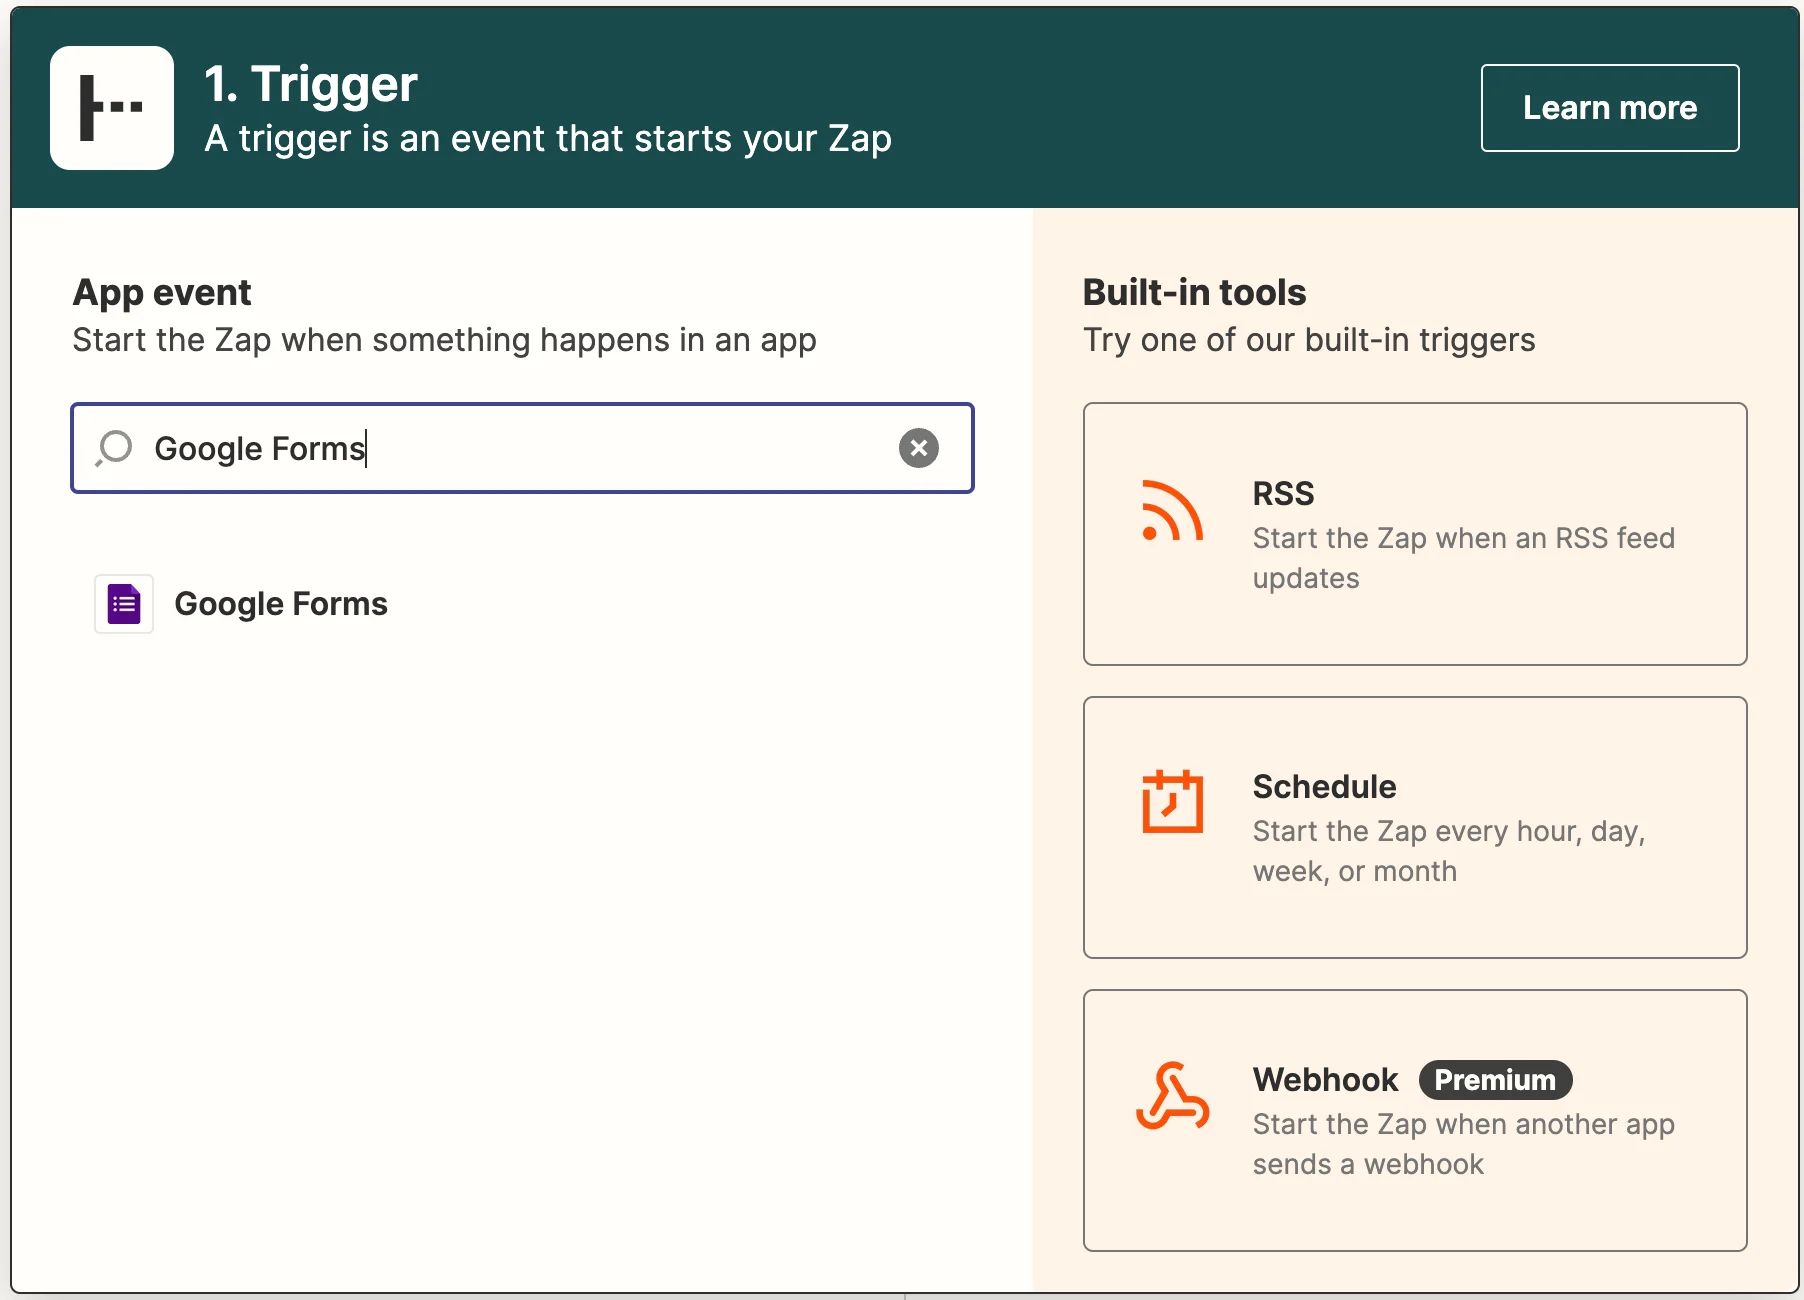
- Type in “Google Forms” and select it.
- In the workflow editor:
- Choose event: New Form Response. Click on Continue and then sign in to your Google Account.
- Choose account: Select your connected account from the dropdown and click on Continue.
- Setup trigger: Select the form name from the dropdown box and click on Continue. Zapier will then fetch a sample entry for you to test out the trigger. Then click on Continue to move on to the next step.
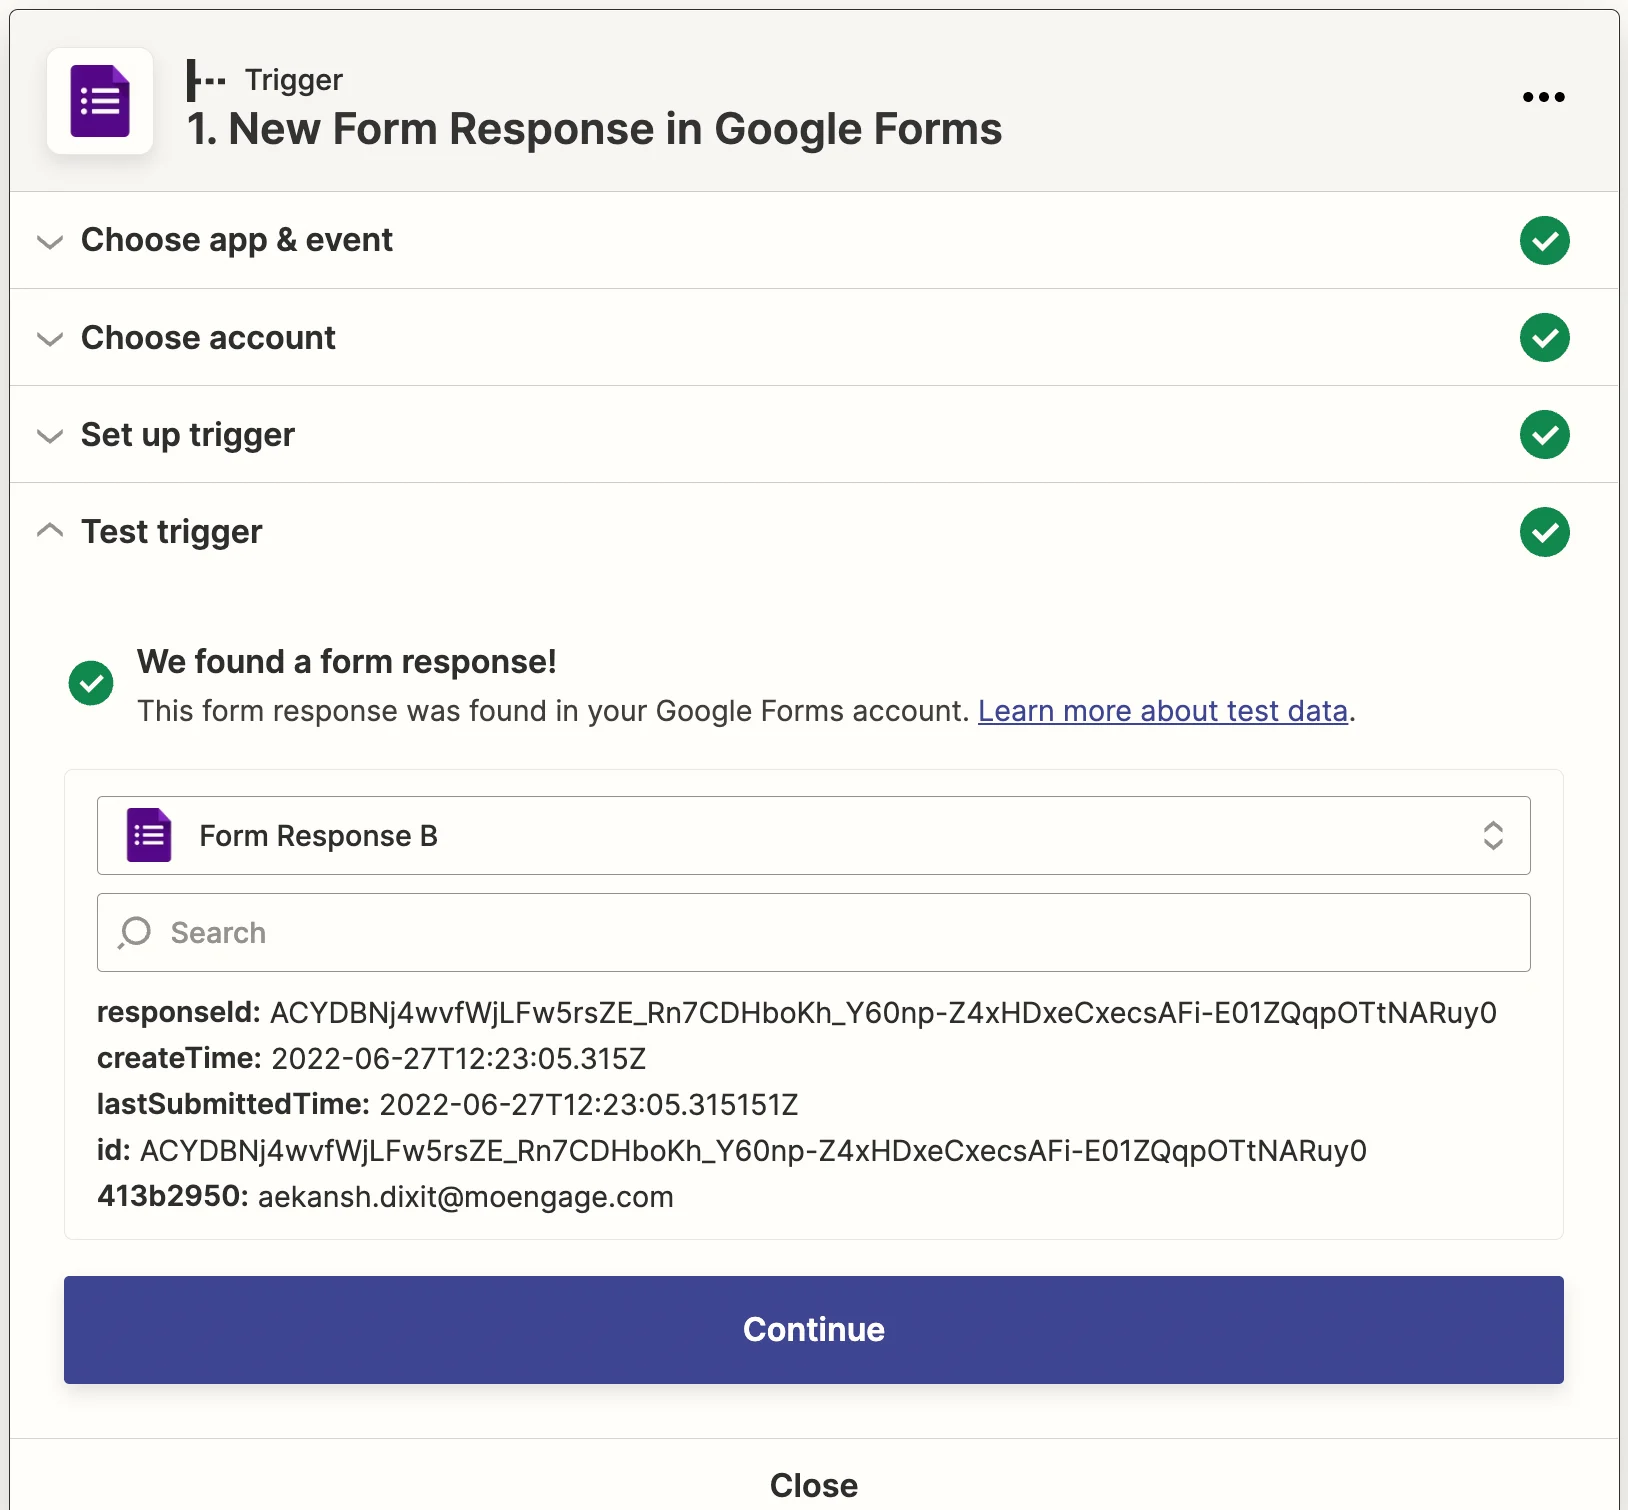
- Now you need to setup MoEngage as an action. Click on ”+” and search for MoEngage.
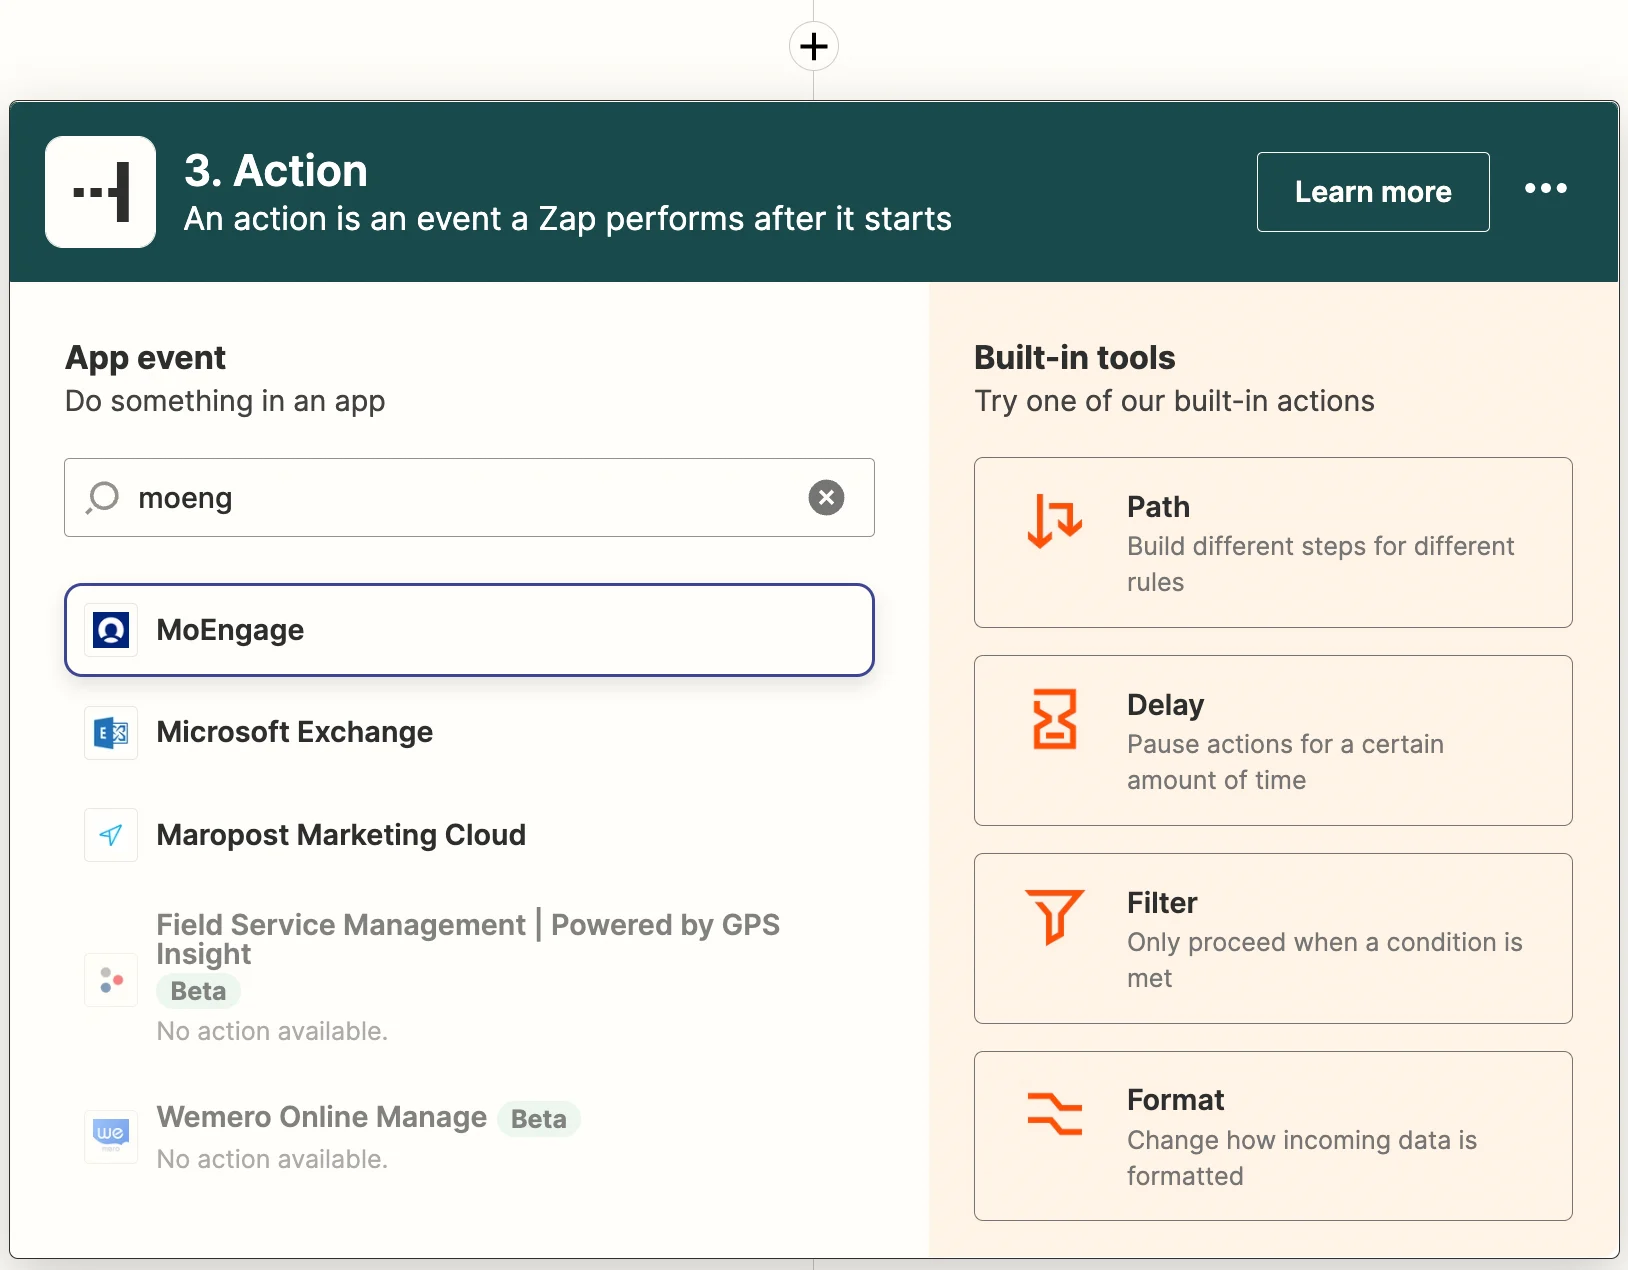
- Select “Add or Remove User from Cohort (Audience)” from the list of Actions. Click on “Continue”.
- Next, choose your account from the list of populations. It should already show the account you connected before. Click “Continue”.
- Type in the value for the fields. Read more about Cohort APIs here. You are free to either type values or choose to map the outputs of the previous steps.
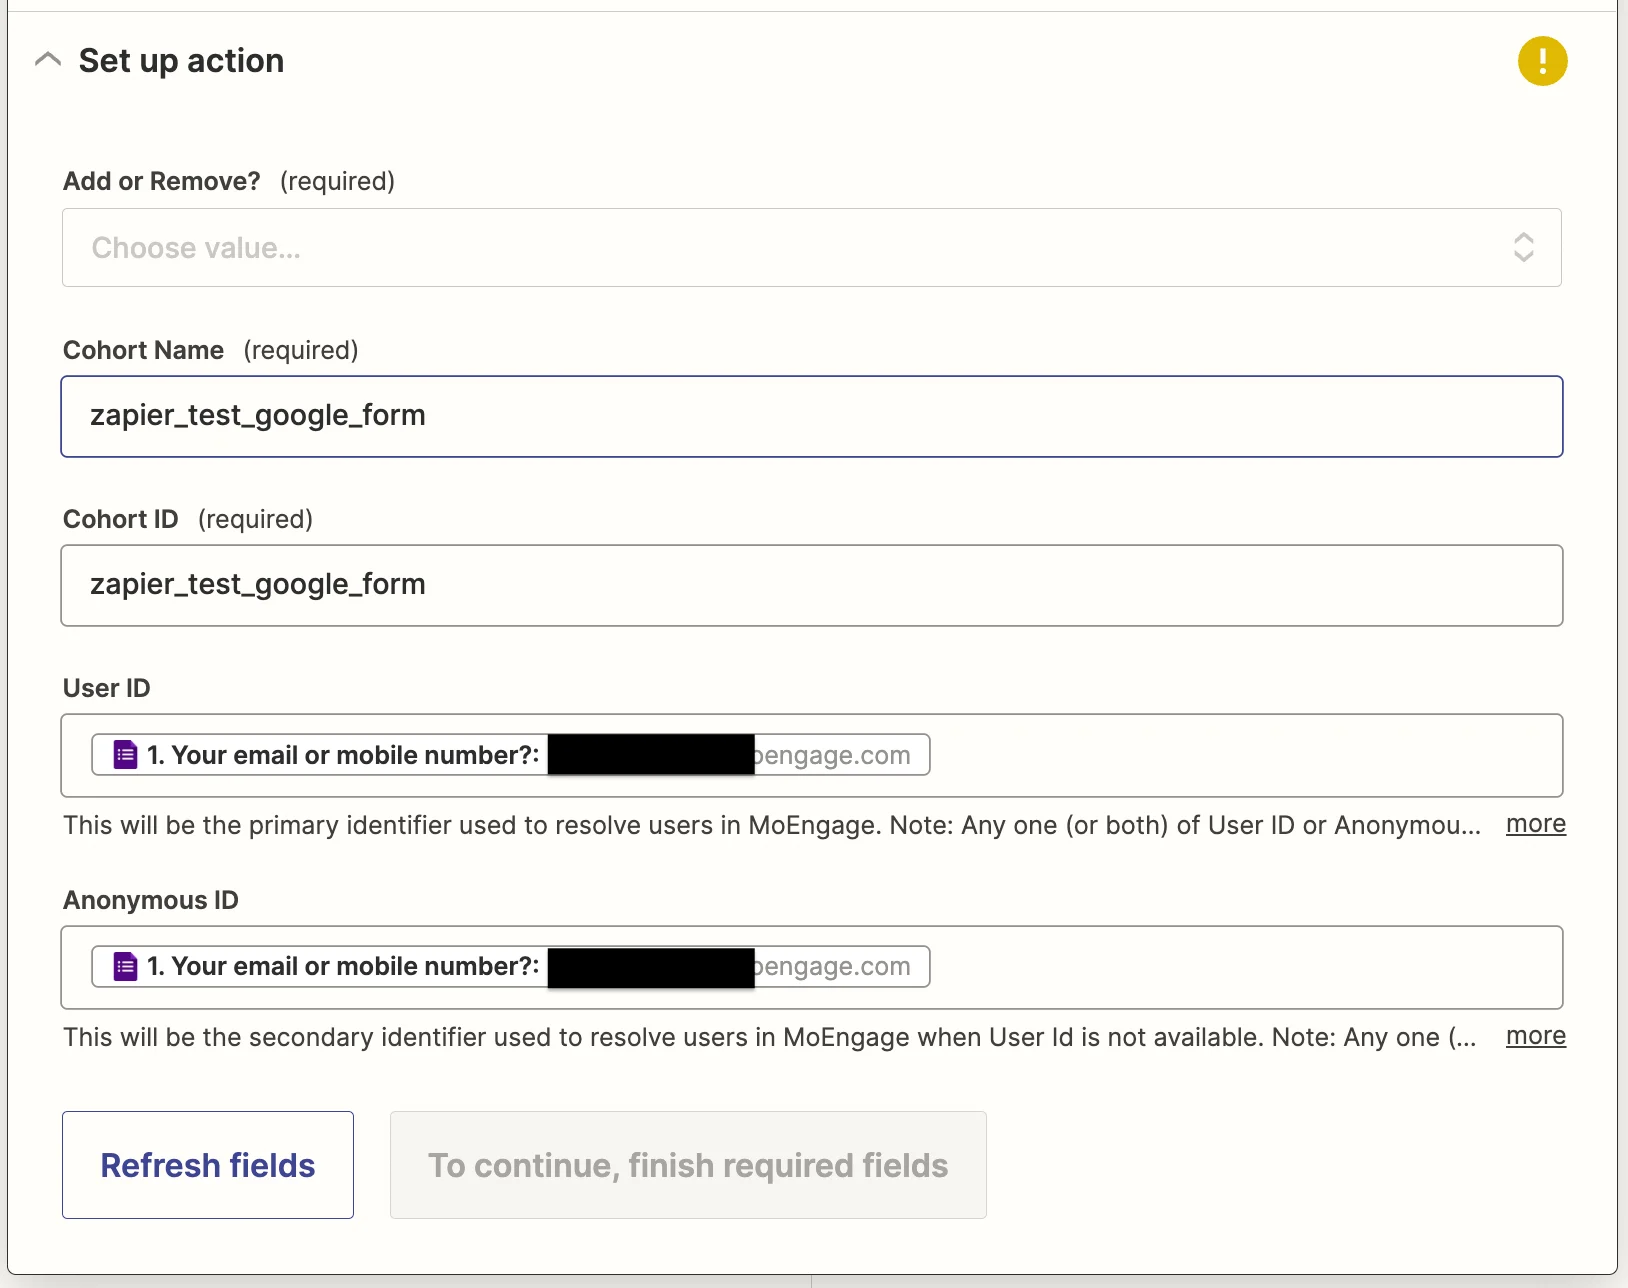
- Click on “Test & Continue”.
- Your Zap is now ready to be published.