

What Are Recommendations?
The recommendation engine is a potent personalization tool to ease out the product discovery process of your customers. It can help improve user engagement and conversion rates on the platform and in marketing campaigns. You can use recommendations to suggest products, content, or other items likely to interest the user based on their past behavior and interactions with your brand.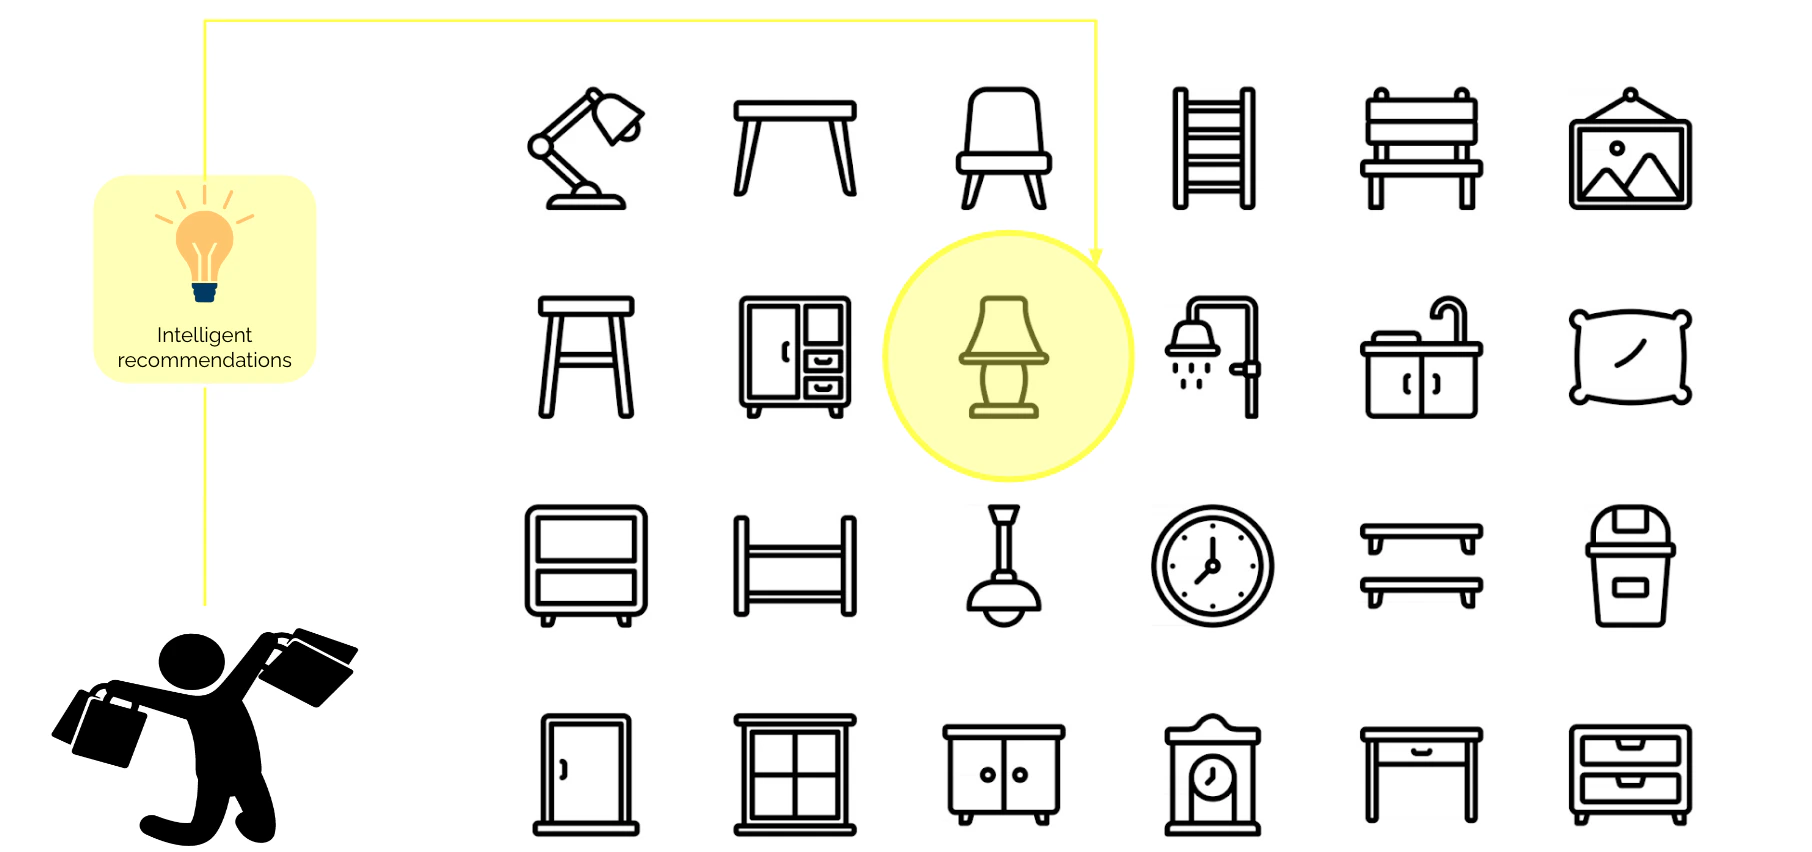
Benefits of Using Recommendations
Using recommendations can provide several benefits for your business, including:- Increased customer engagement: Recommendations help keep your customers engaged with your brand by providing personalized suggestions relevant to their interests.
- Higher conversion rates: Relevant recommendations increase the likelihood of customers purchasing, leading to higher conversion rates and revenue for businesses.
- Improved customer experience: By offering personalized recommendations, businesses can provide a more tailored experience to their customers, making them feel valued and understood.
- Reduced churn: By offering the right items at the right touch point, businesses can reduce customer churn and keep customers engaged and interested in their products or services.
- Enhanced cross-selling and upselling: Contextual recommendations help businesses cross-sell and upsell their products or services, increasing revenue and profitability.
- Improved customer loyalty: By providing personalized recommendations, you can help build stronger relationships with your customers and increase their loyalty to your brand.
Recommendations Across Industries
Recommendations can be used in various industries and scenarios, including E-commerce, media, travel, and more. Here are some examples:
Understanding the different types of recommendations is crucial for creating a pertinent experience for customers at the correct delivery point.